

1
Choose the 3D view
Open the Revit project and select it in Studio’s Connected Apps menu. Identify the exact 3D view to export. Check its visible categories and section box so the export contains the intended model.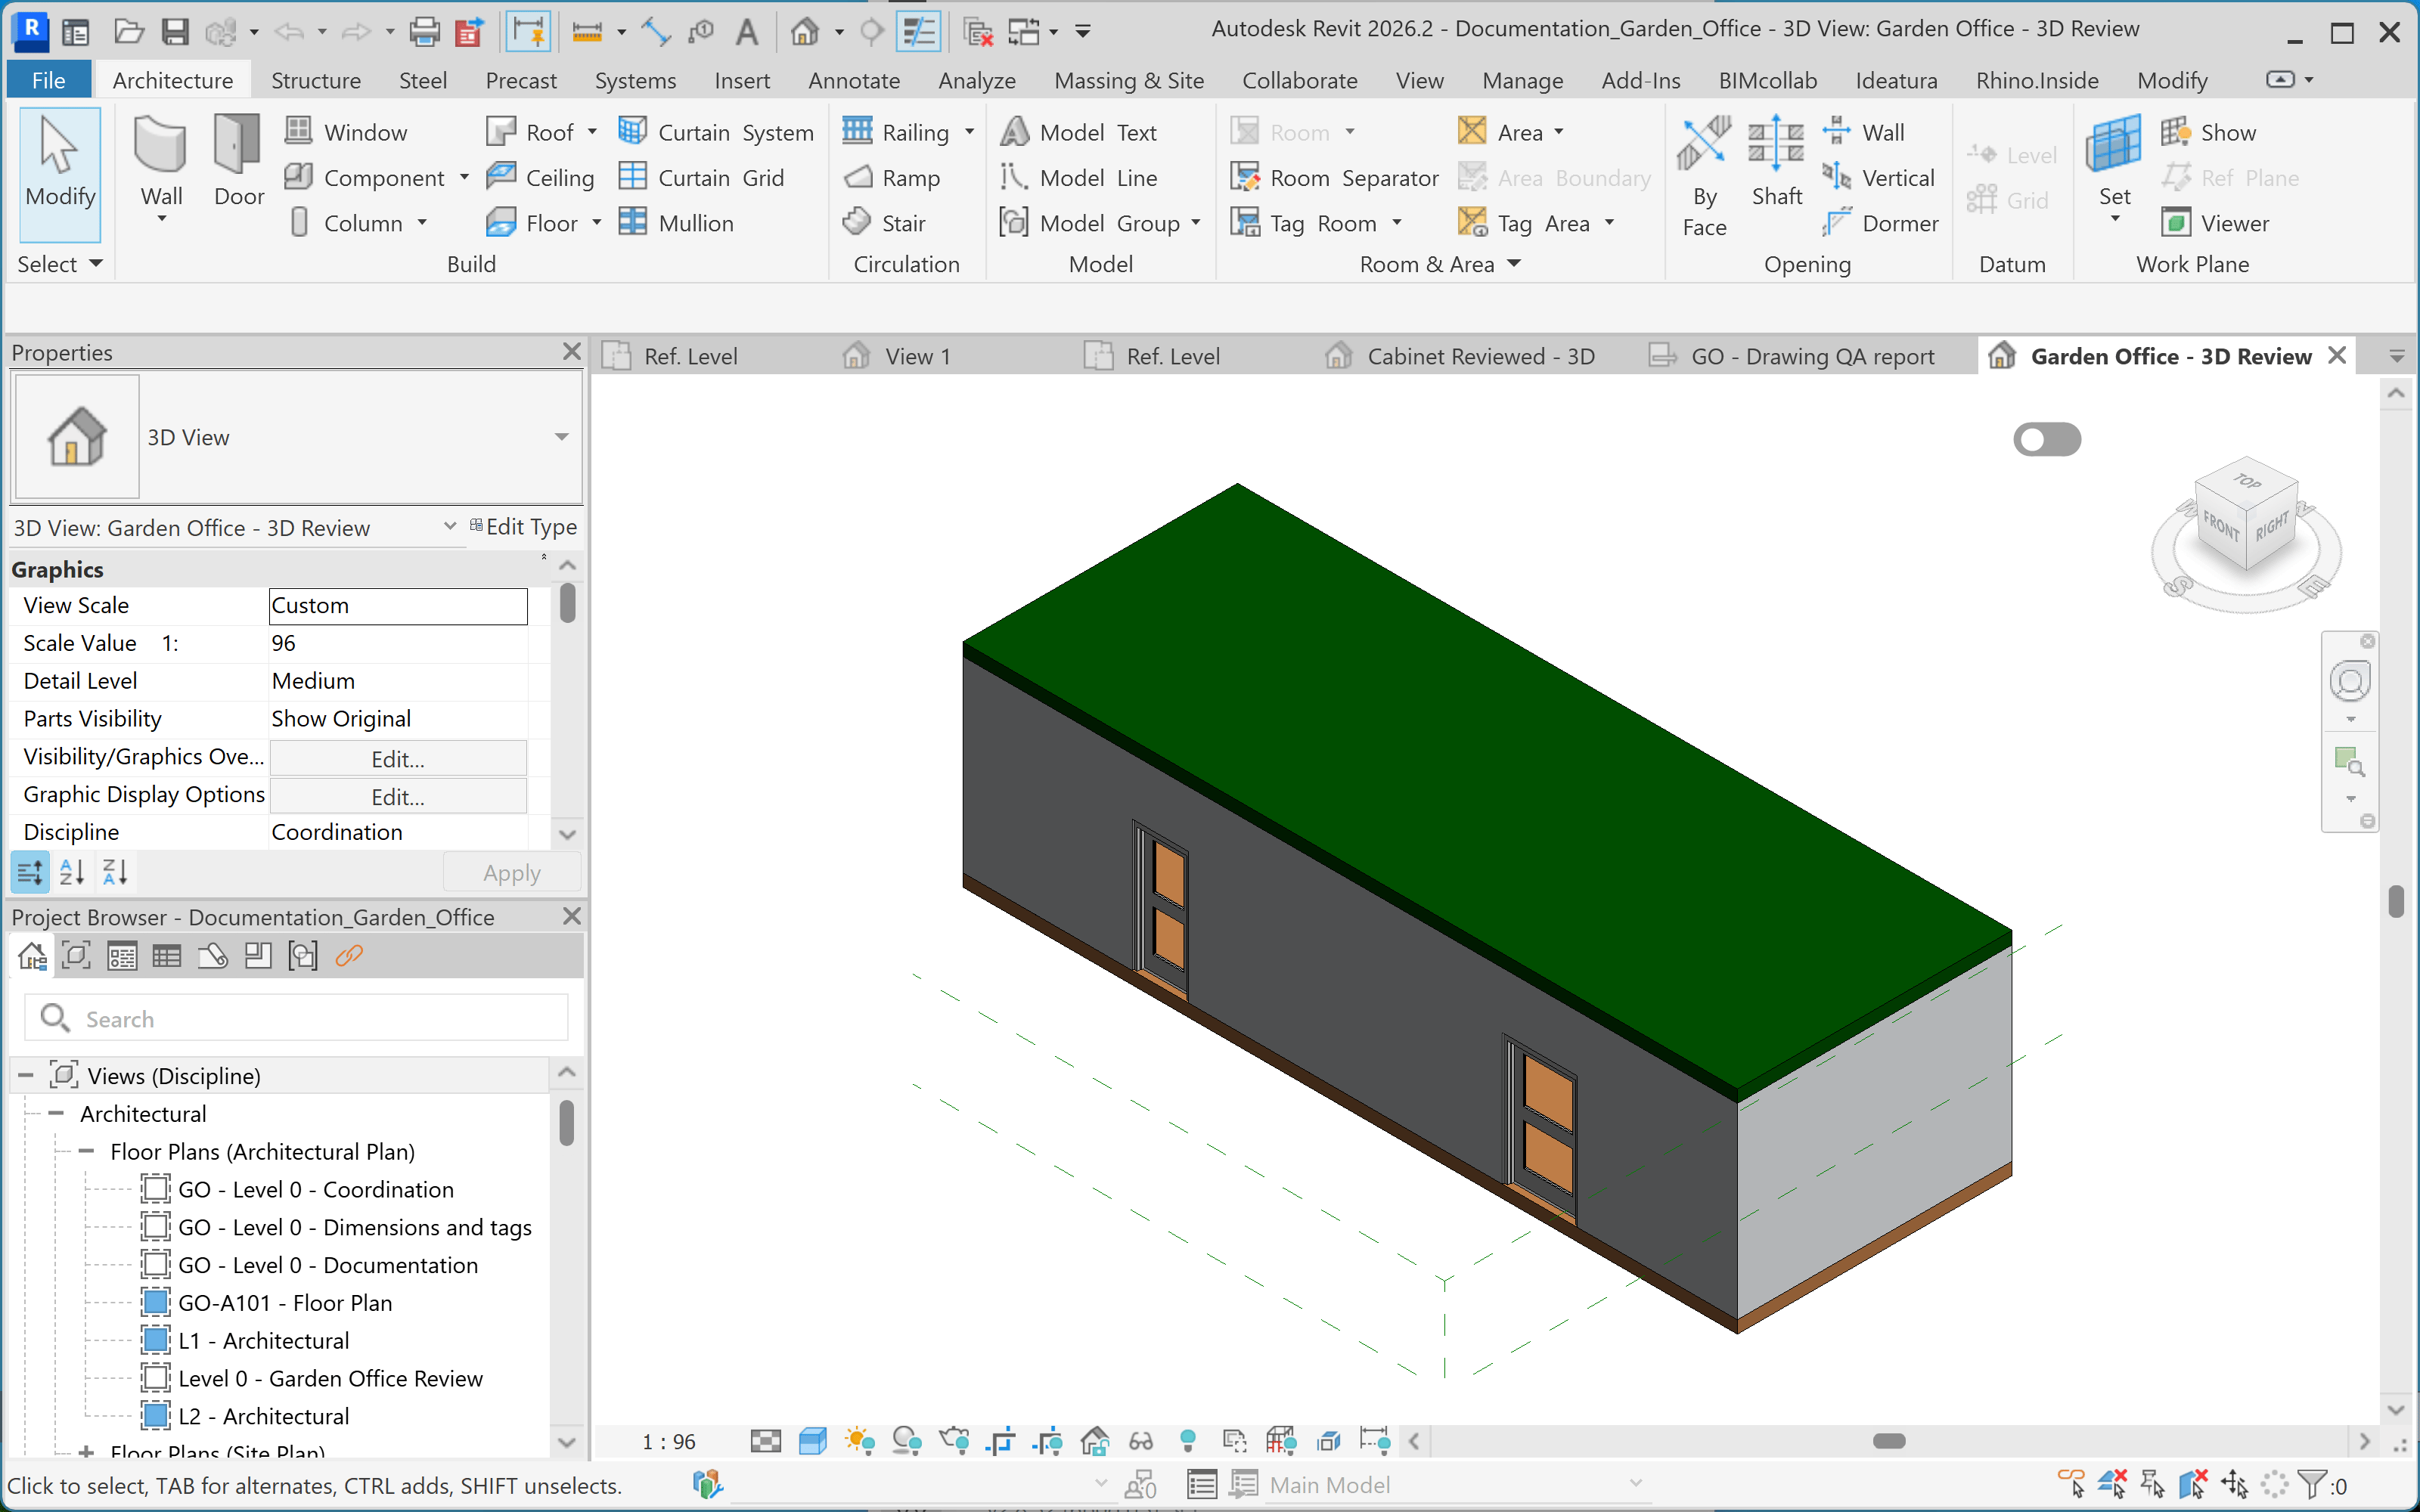
2
Specify the export
3
Open the DWG in AutoCAD
Open the exported file in AutoCAD and select it in Connected Apps. Switch to an isometric view, check the units and measure a known dimension. Select several objects and inspect their entity types and layers.In the Garden Office example, the exported DWG reopened with millimetre units, seven 3D solids and ten block references. A block reference can contain multiple entities, so inspect its contents when checking a particular part of the model.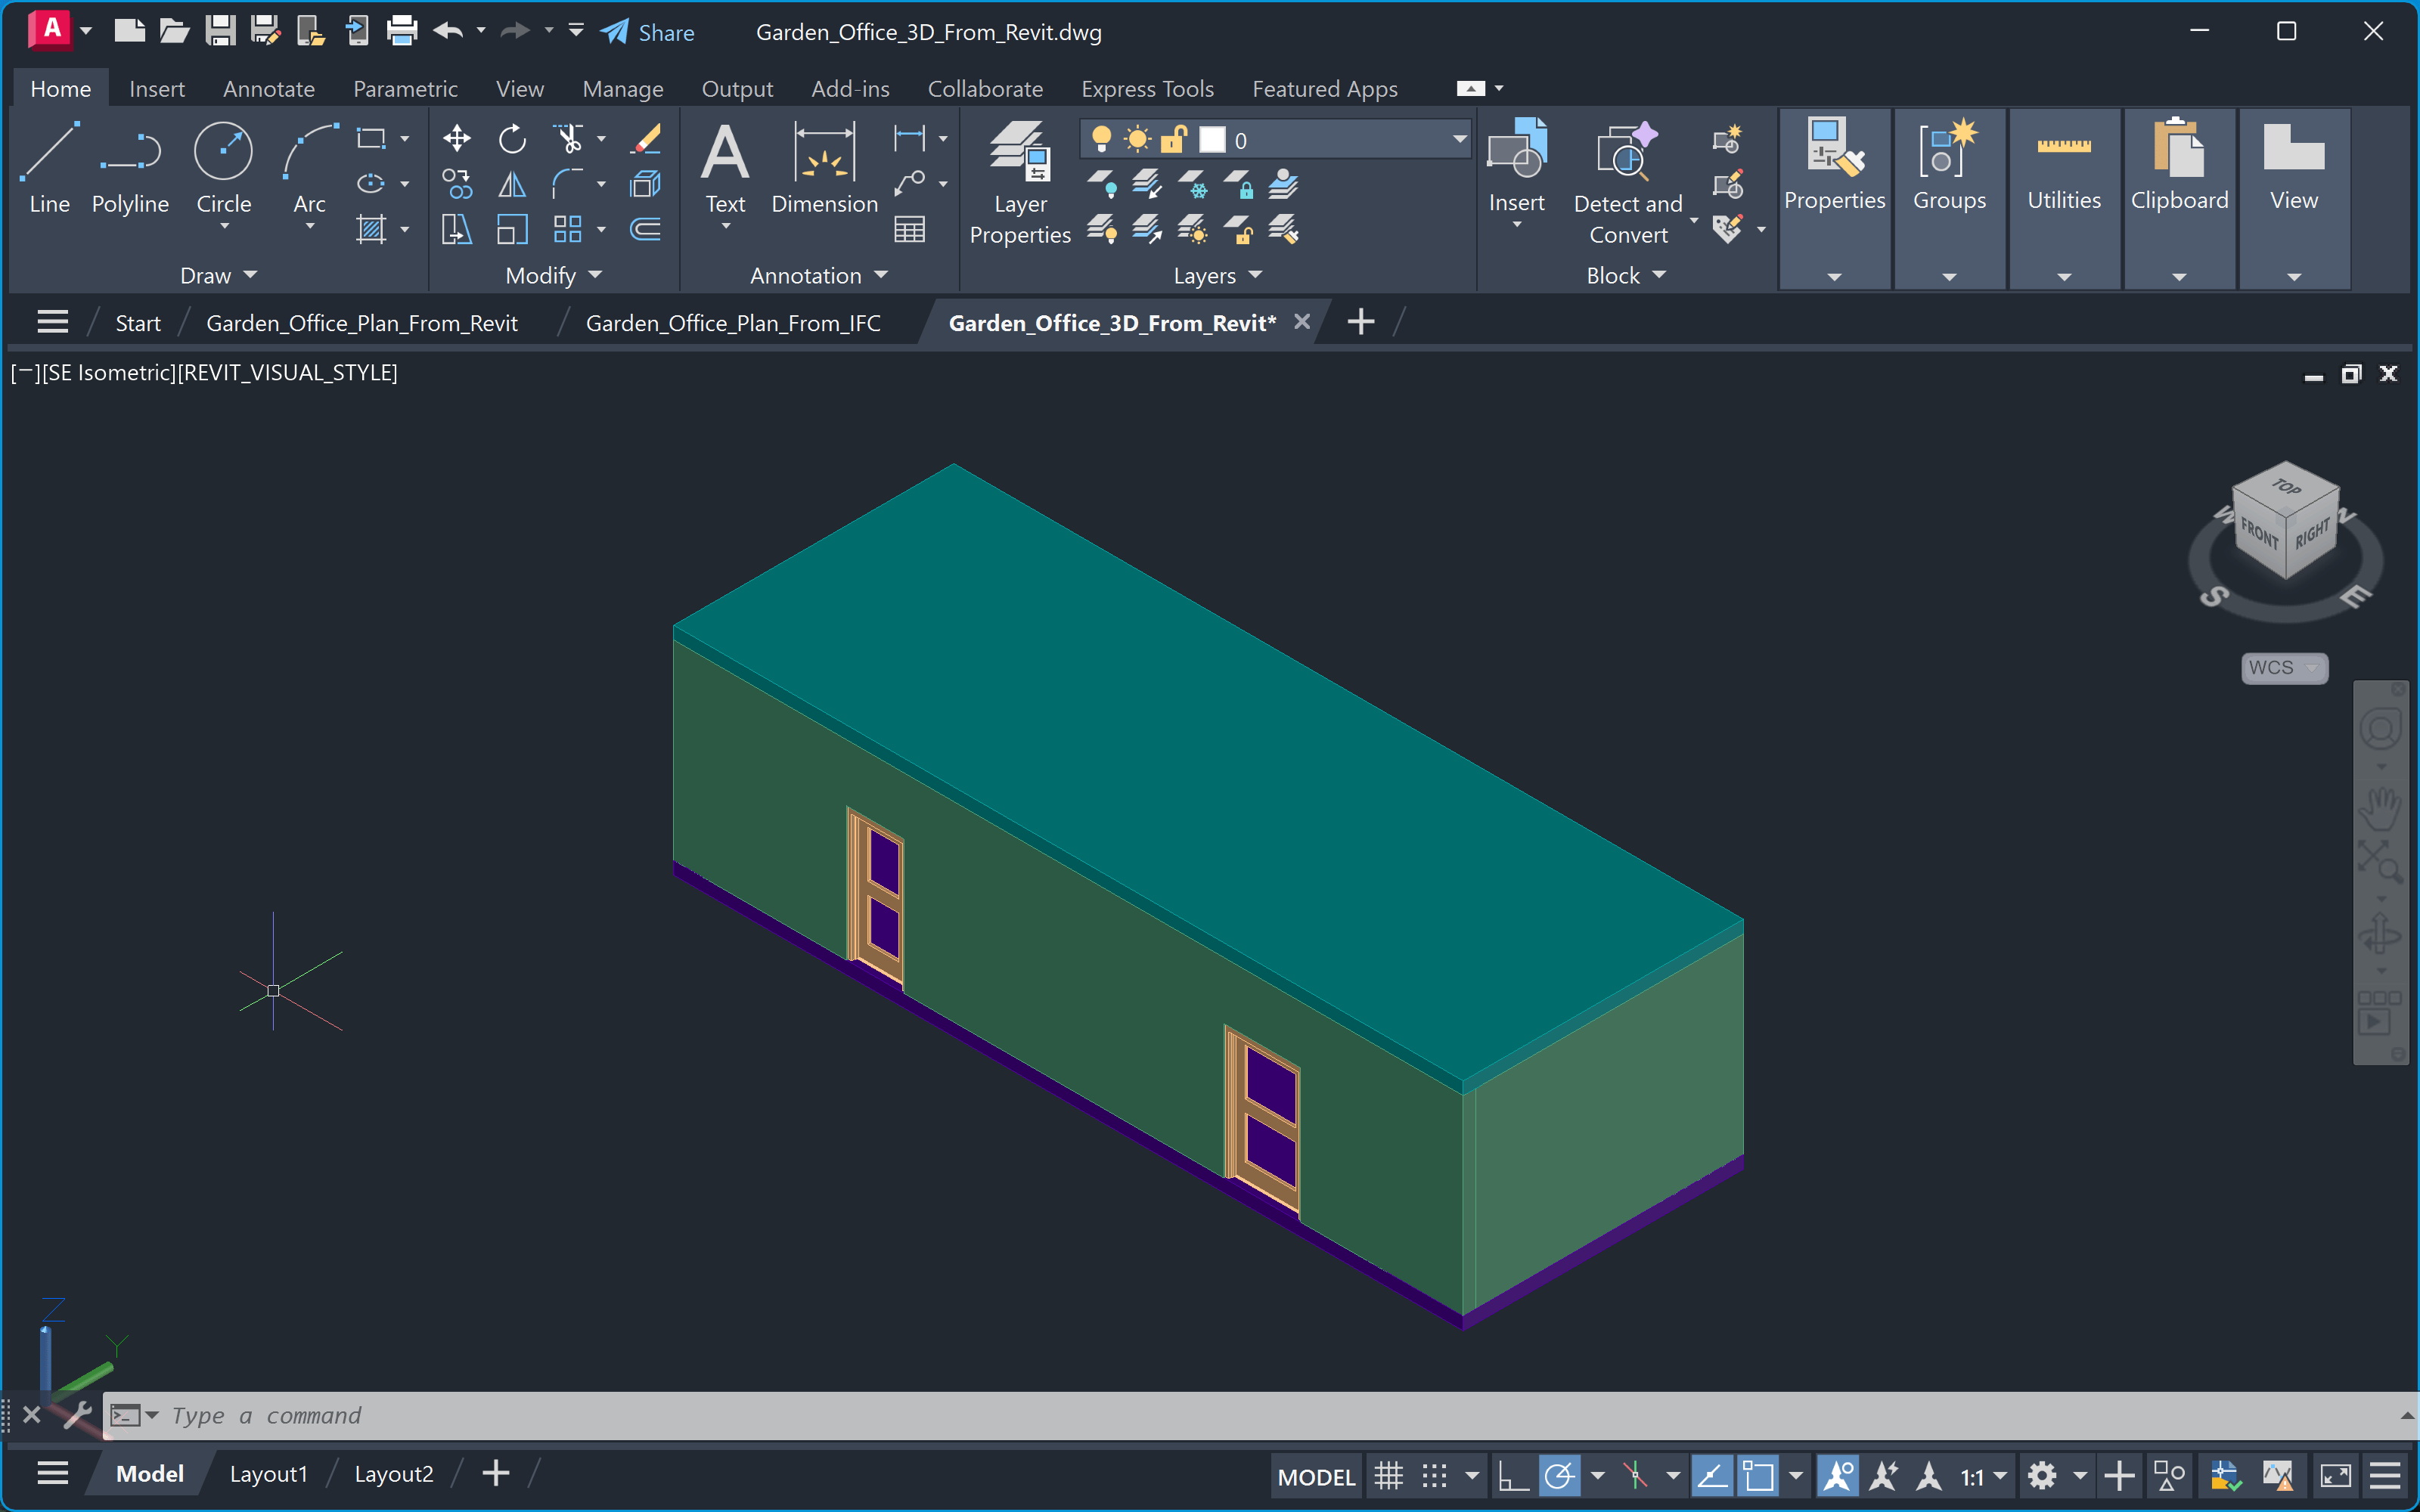
4
Check the delivery
Compare the building extent, heights and openings with the Revit model. Check any external reference files before sharing the DWG.Save any AutoCAD edits separately. They do not update the Revit source automatically; regenerate the export when the source model changes.For a 2D delivery, export a named floor plan, elevation or sheet instead. Review its crop, annotations and layer mapping, then compare the DWG with that view.