1
Define the views
Connect the Revit project and describe the required views, scale, crop and naming. Choose templates already present in the project.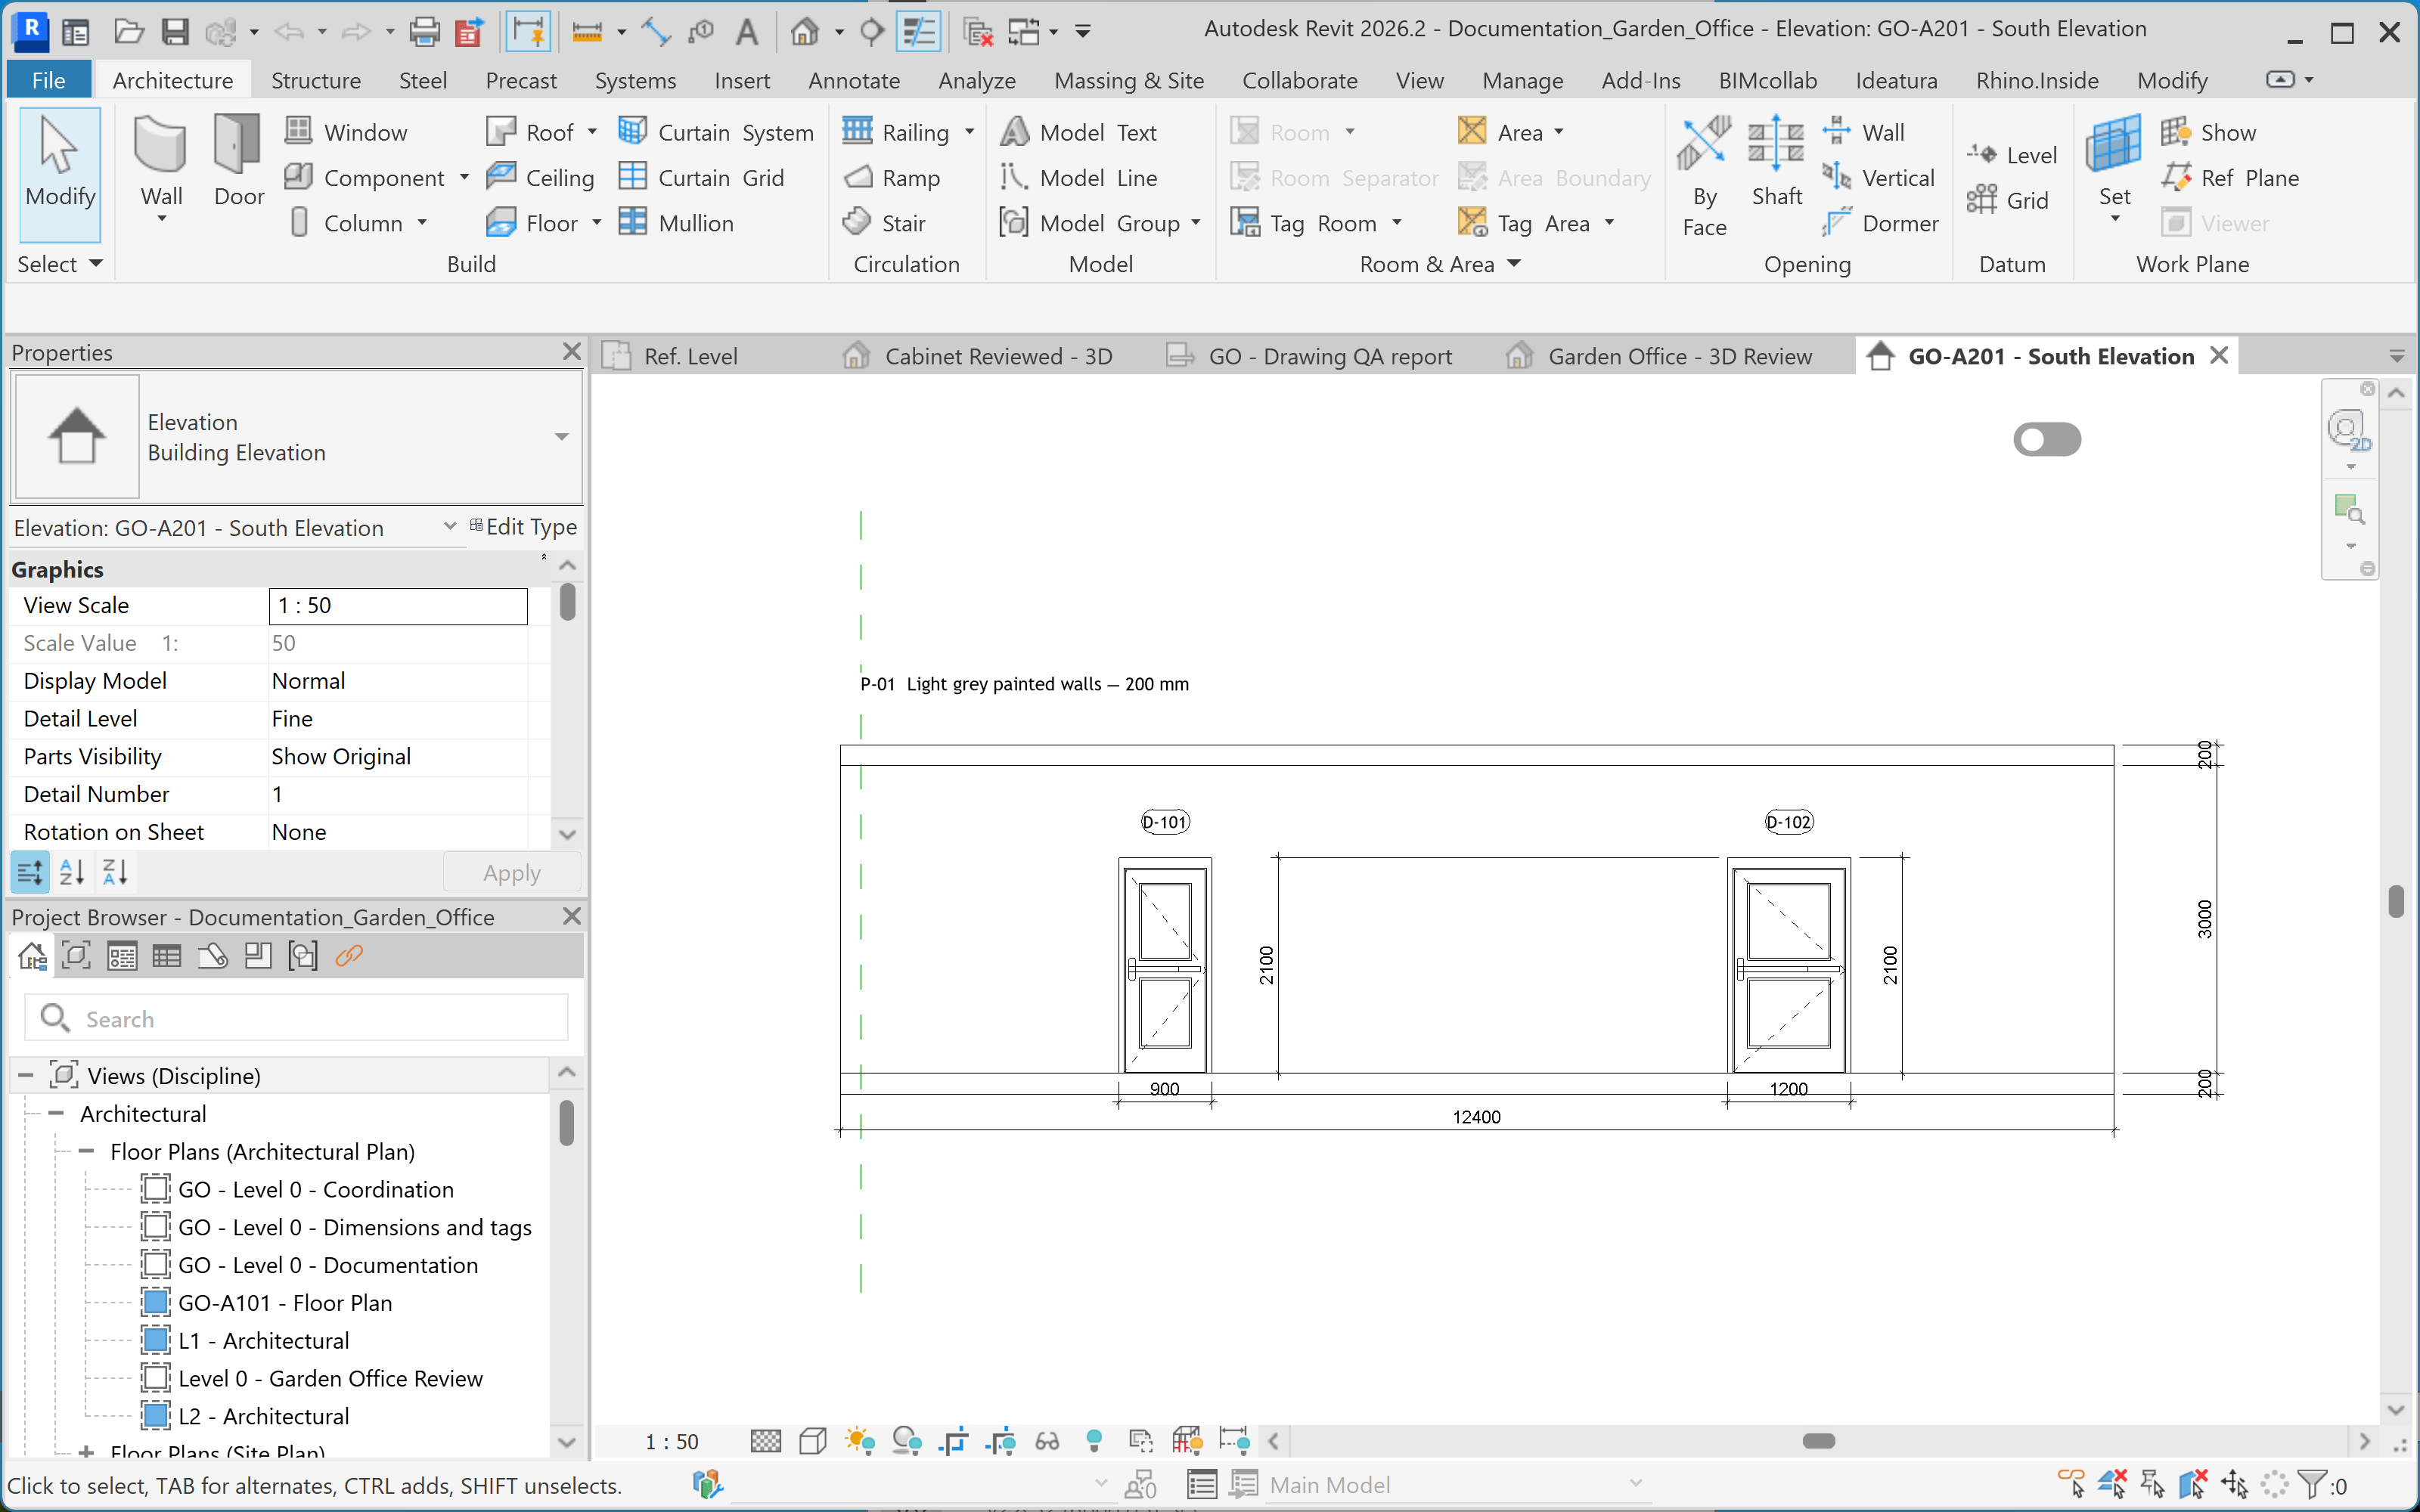
Create a floor plan for the ground level and four building elevations. Use a 1:50 scale, crop around the building with a clear margin, and prefix the names with GO. List the templates available in the project before choosing one. Do not create duplicate views.Open each view in Revit. Check the crop, visible levels and category visibility before reusing the task.
2
Create an automation
Continue in the same chat:
Turn this into an automation. Let me choose the levels, elevation directions, view templates, scale and naming prefix. Show a summary of the proposed names. Skip matching views that already exist and report them.Run it on one level first. Inspect the created views and correct the automation in the same chat if necessary.
3
Save it to the library
On the automation card, choose … → Star. Give it a recognizable name, such as Create building views, and choose its library folder.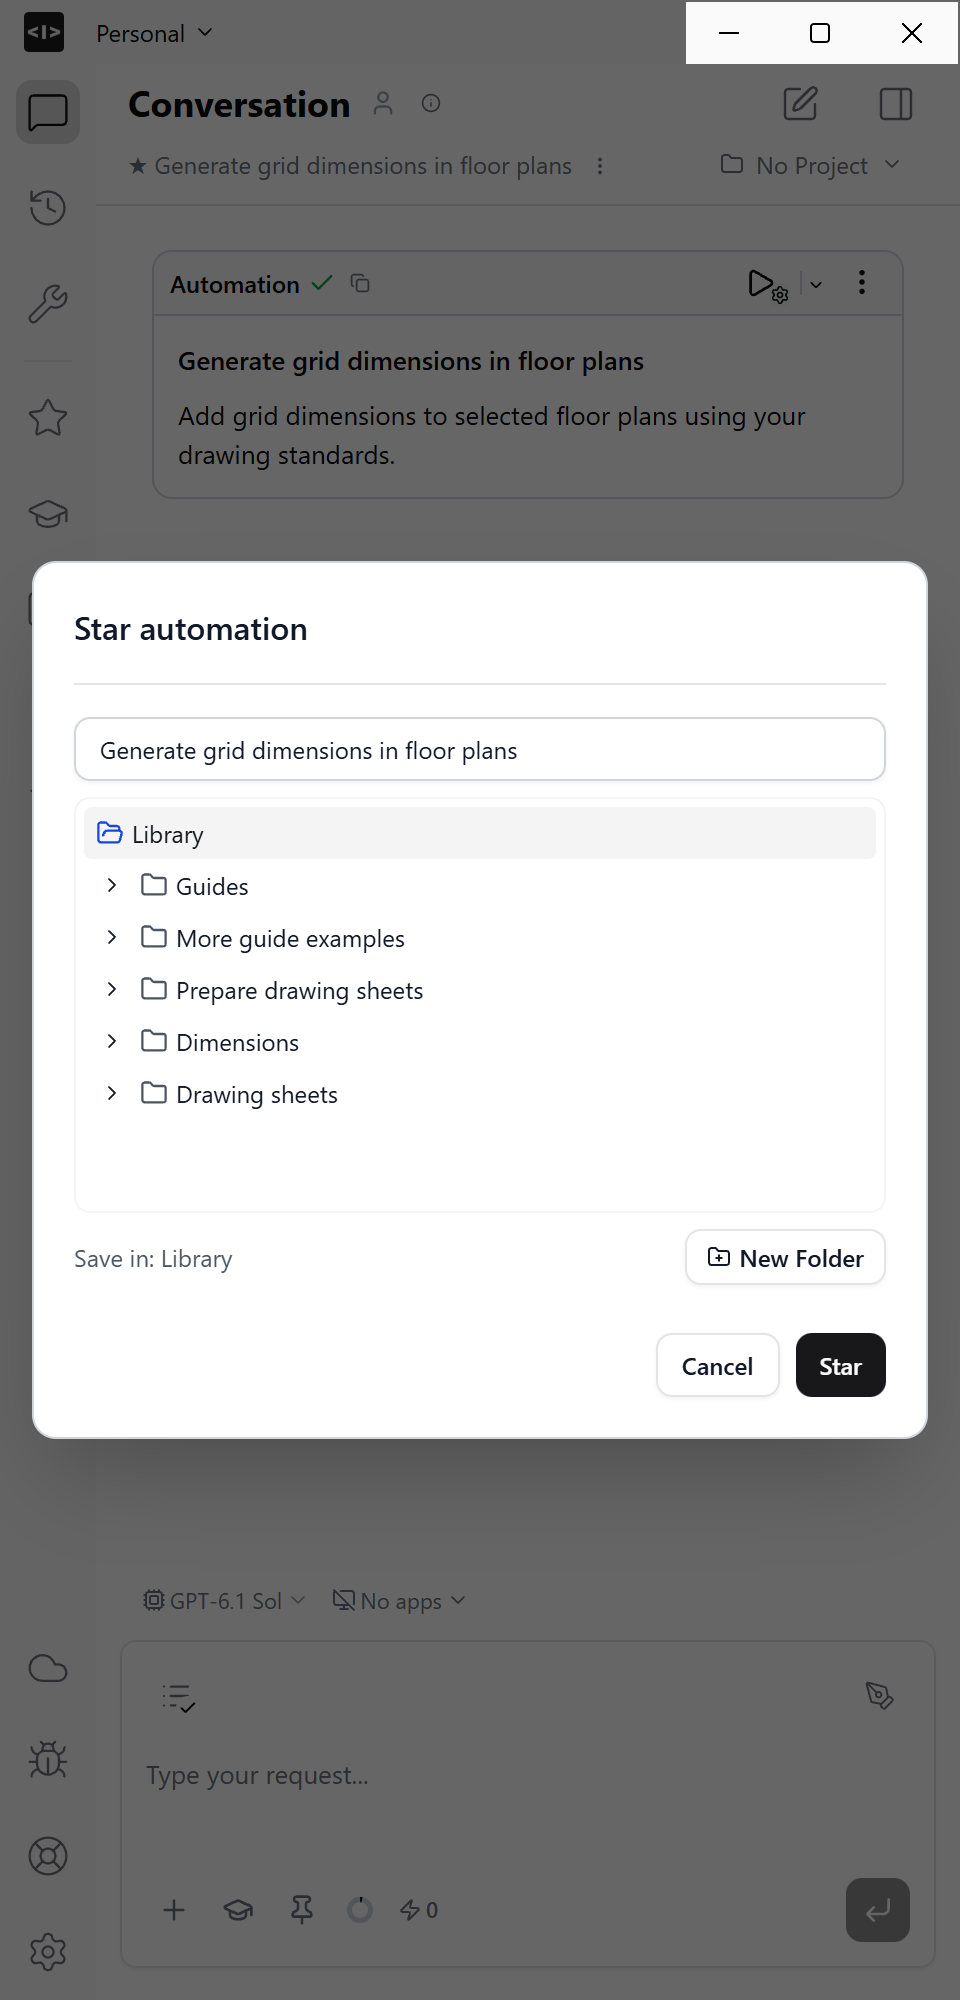
4
Run it with new inputs
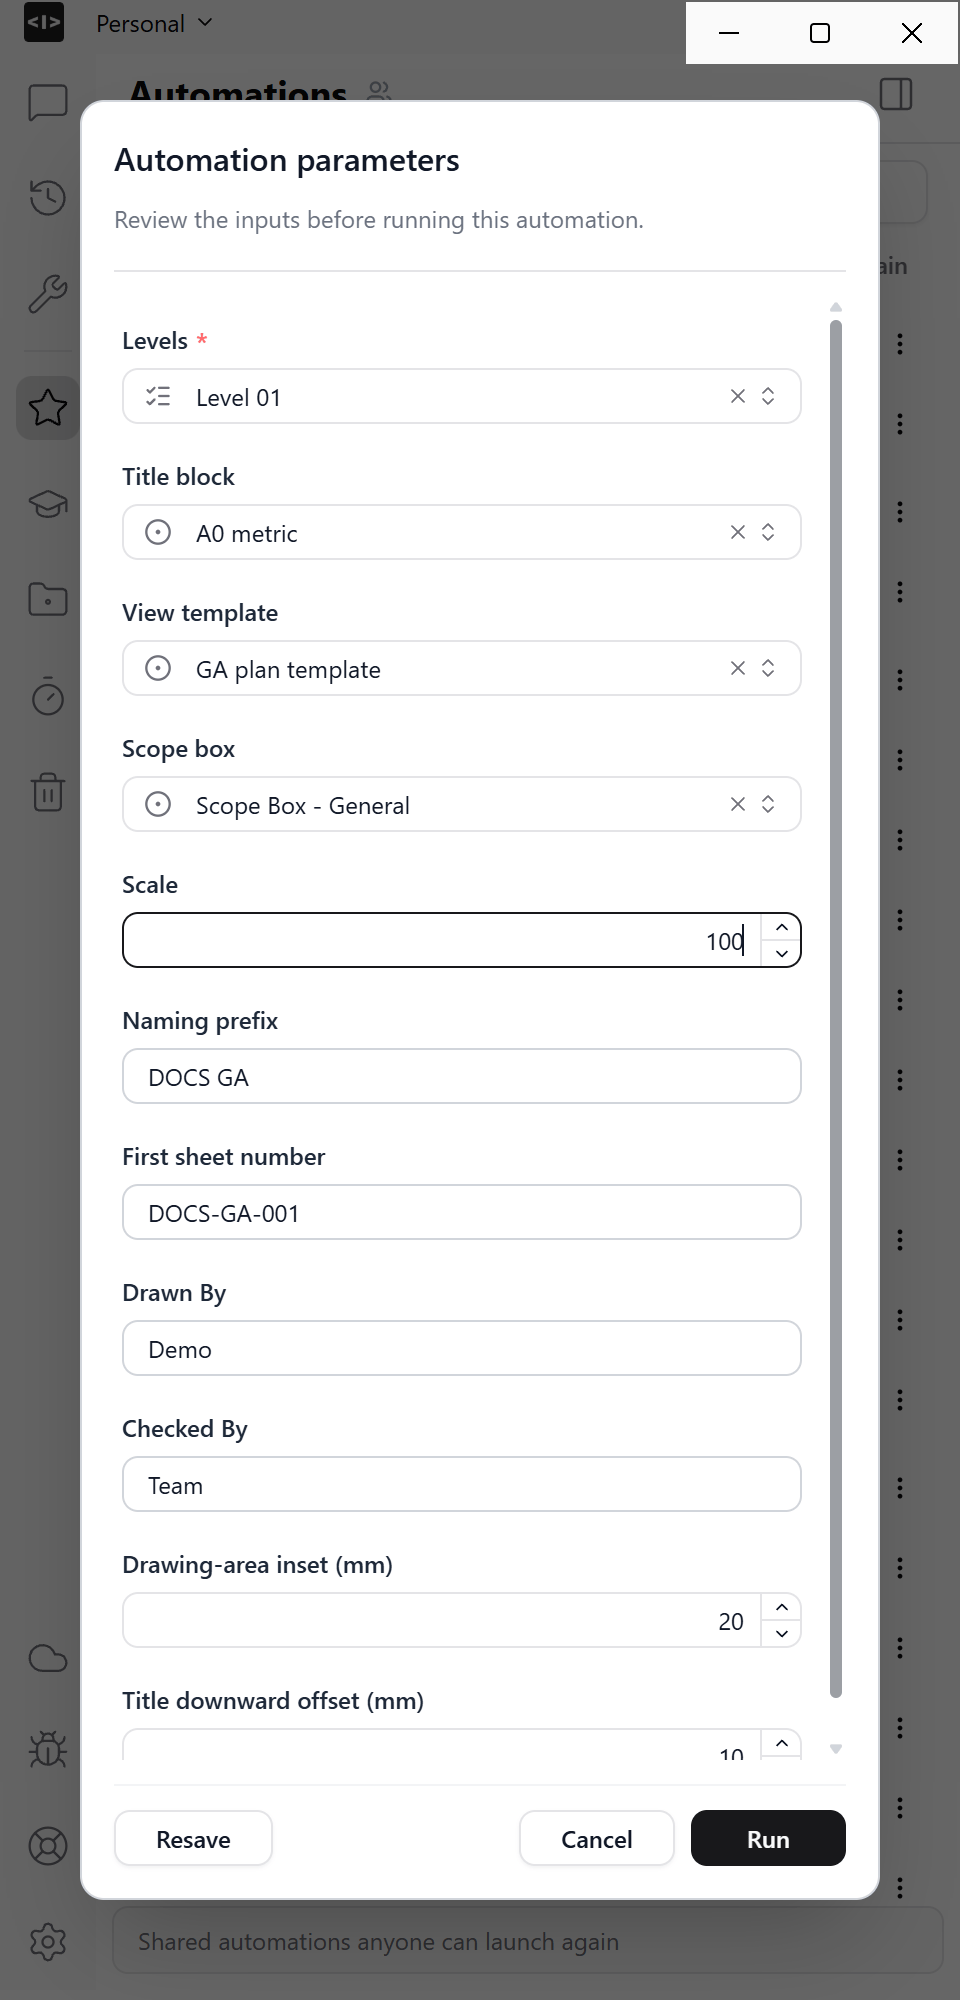
Find the saved automation under Automations. Choose Run with params, select the levels and view settings, and run it. Refresh model-based choices if you have changed the connected document.The available fields depend on the automation you saved.