1
Start with drawings without dimensions
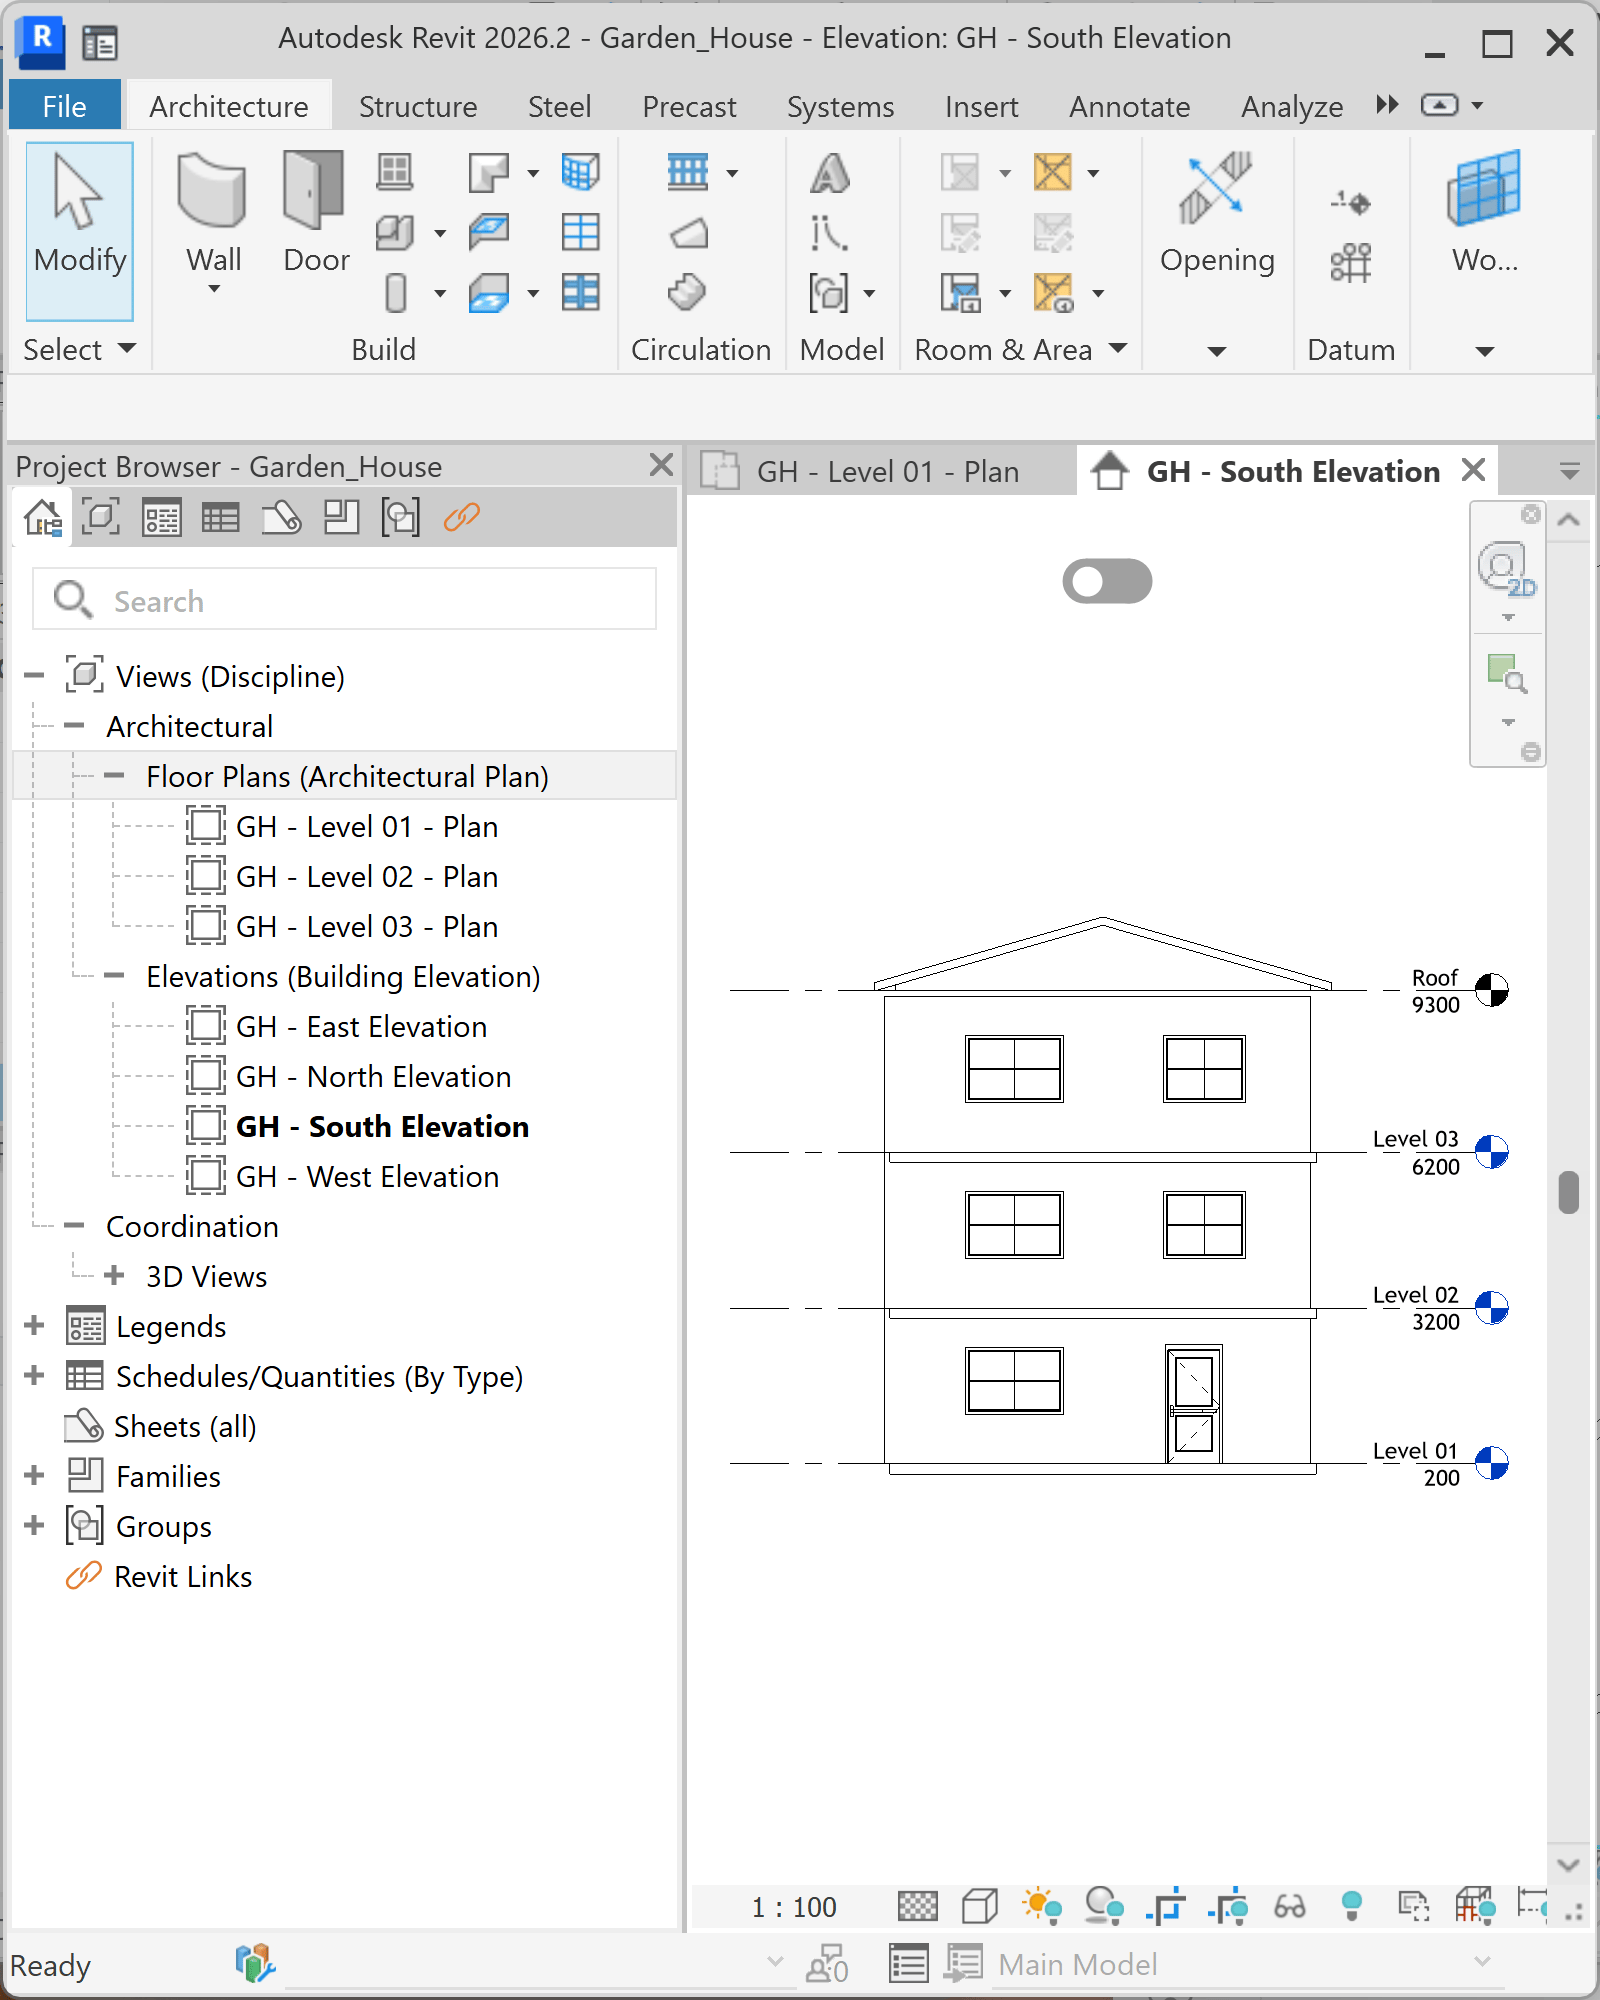
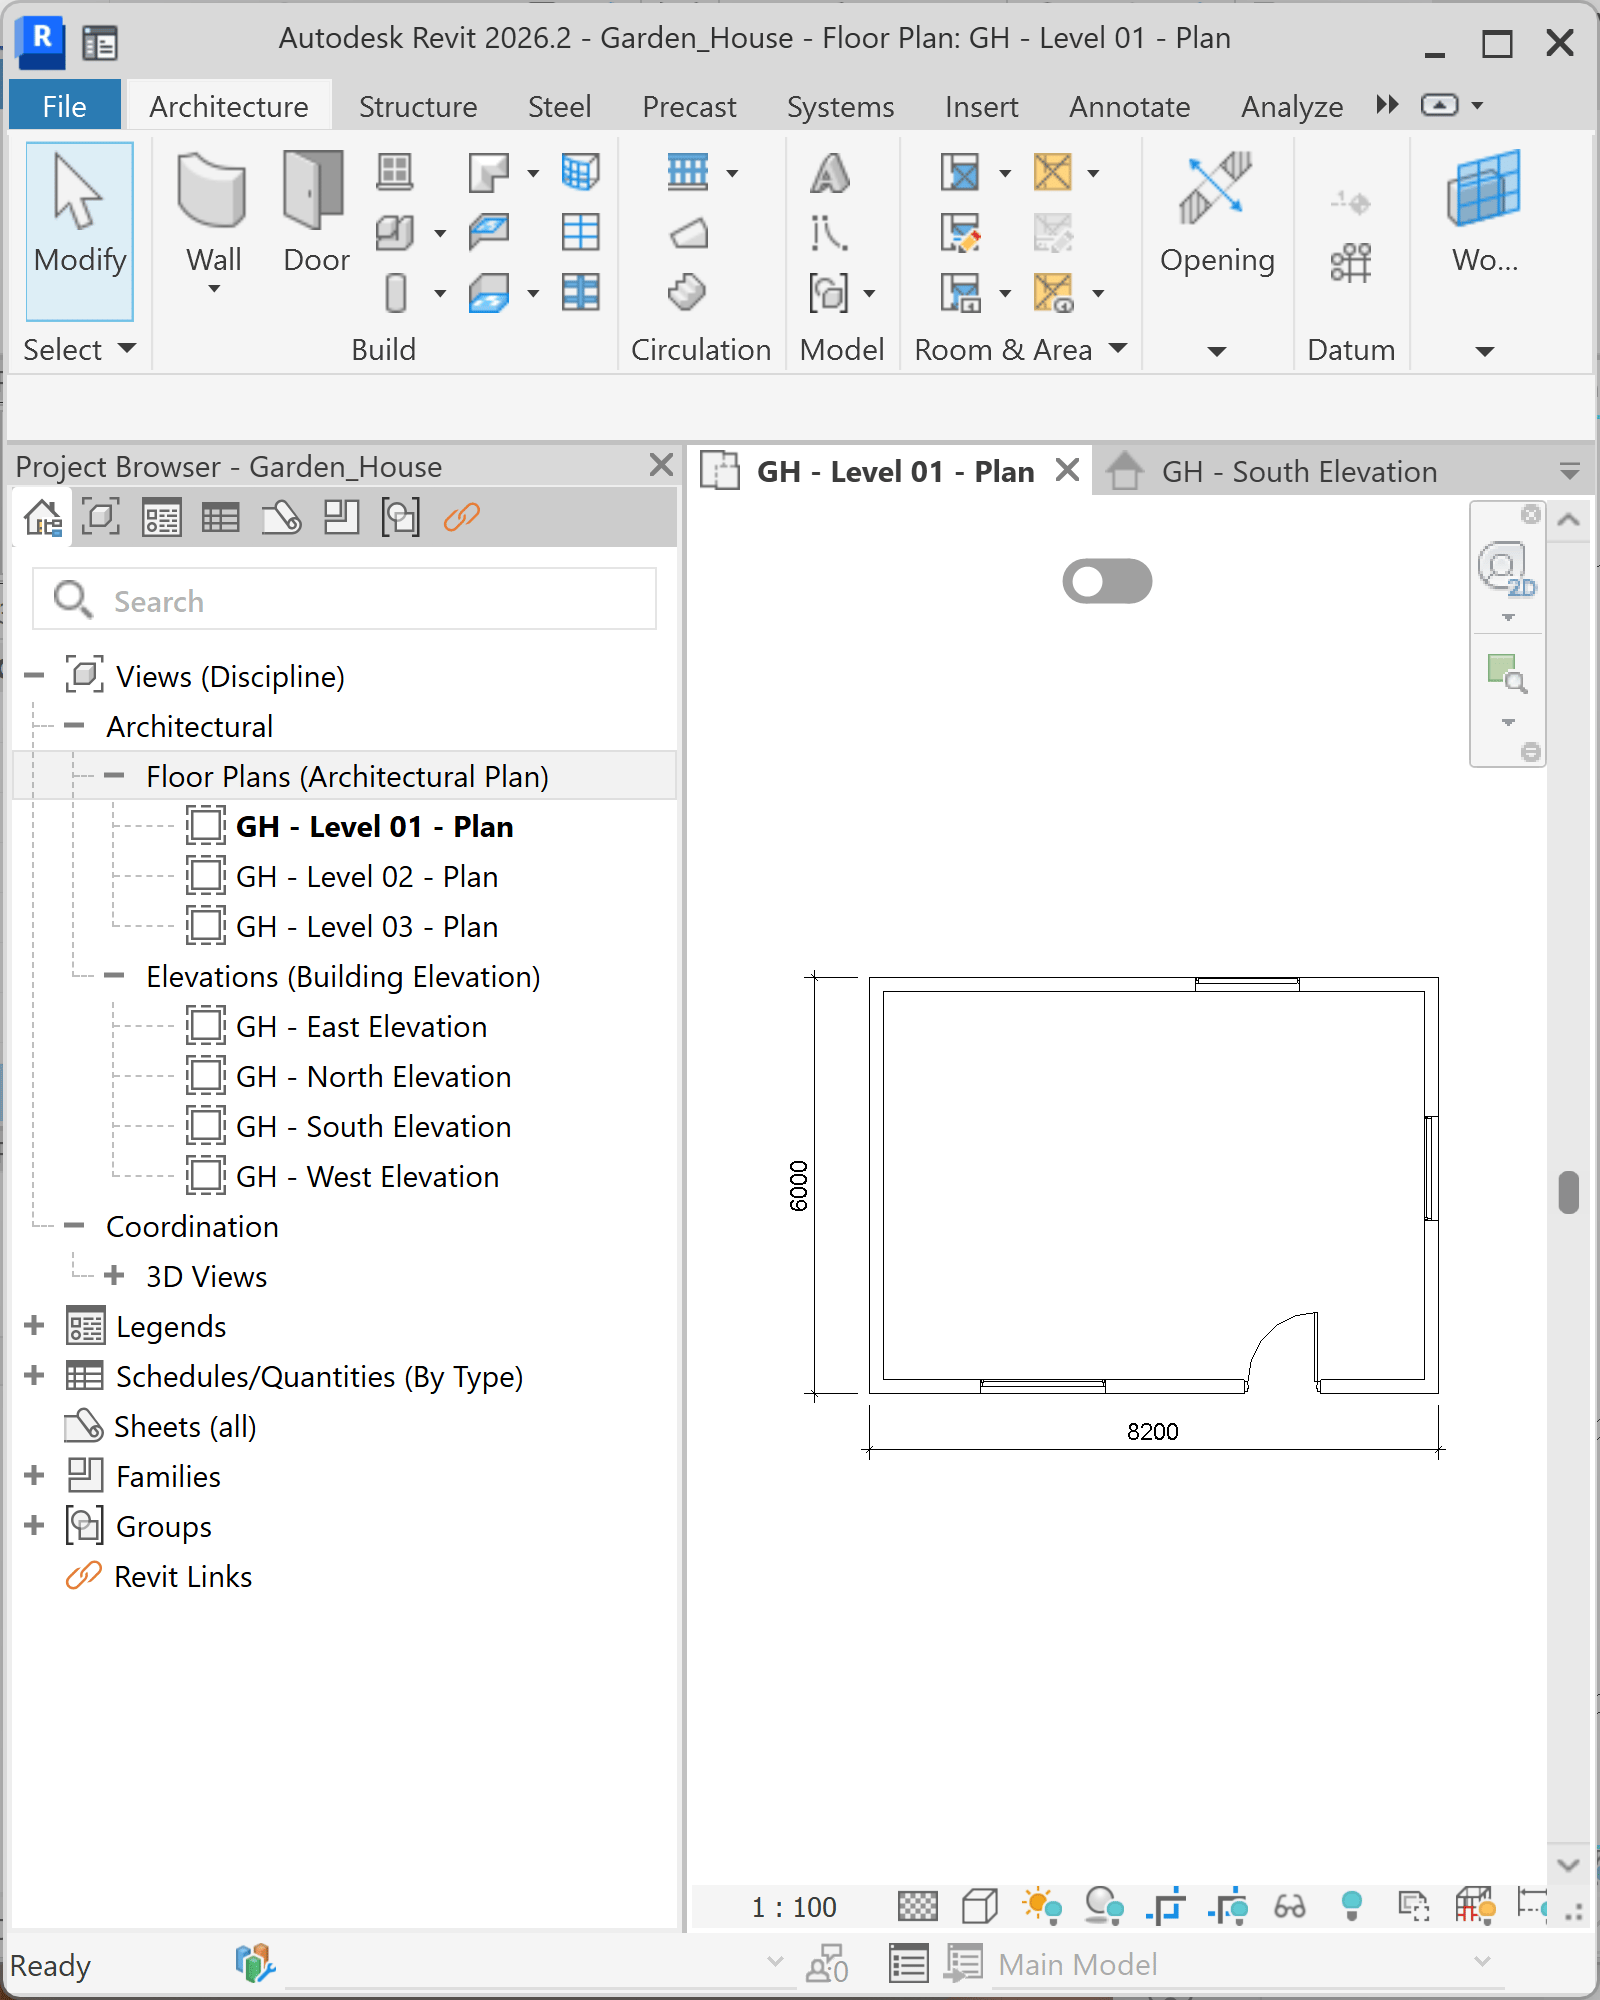
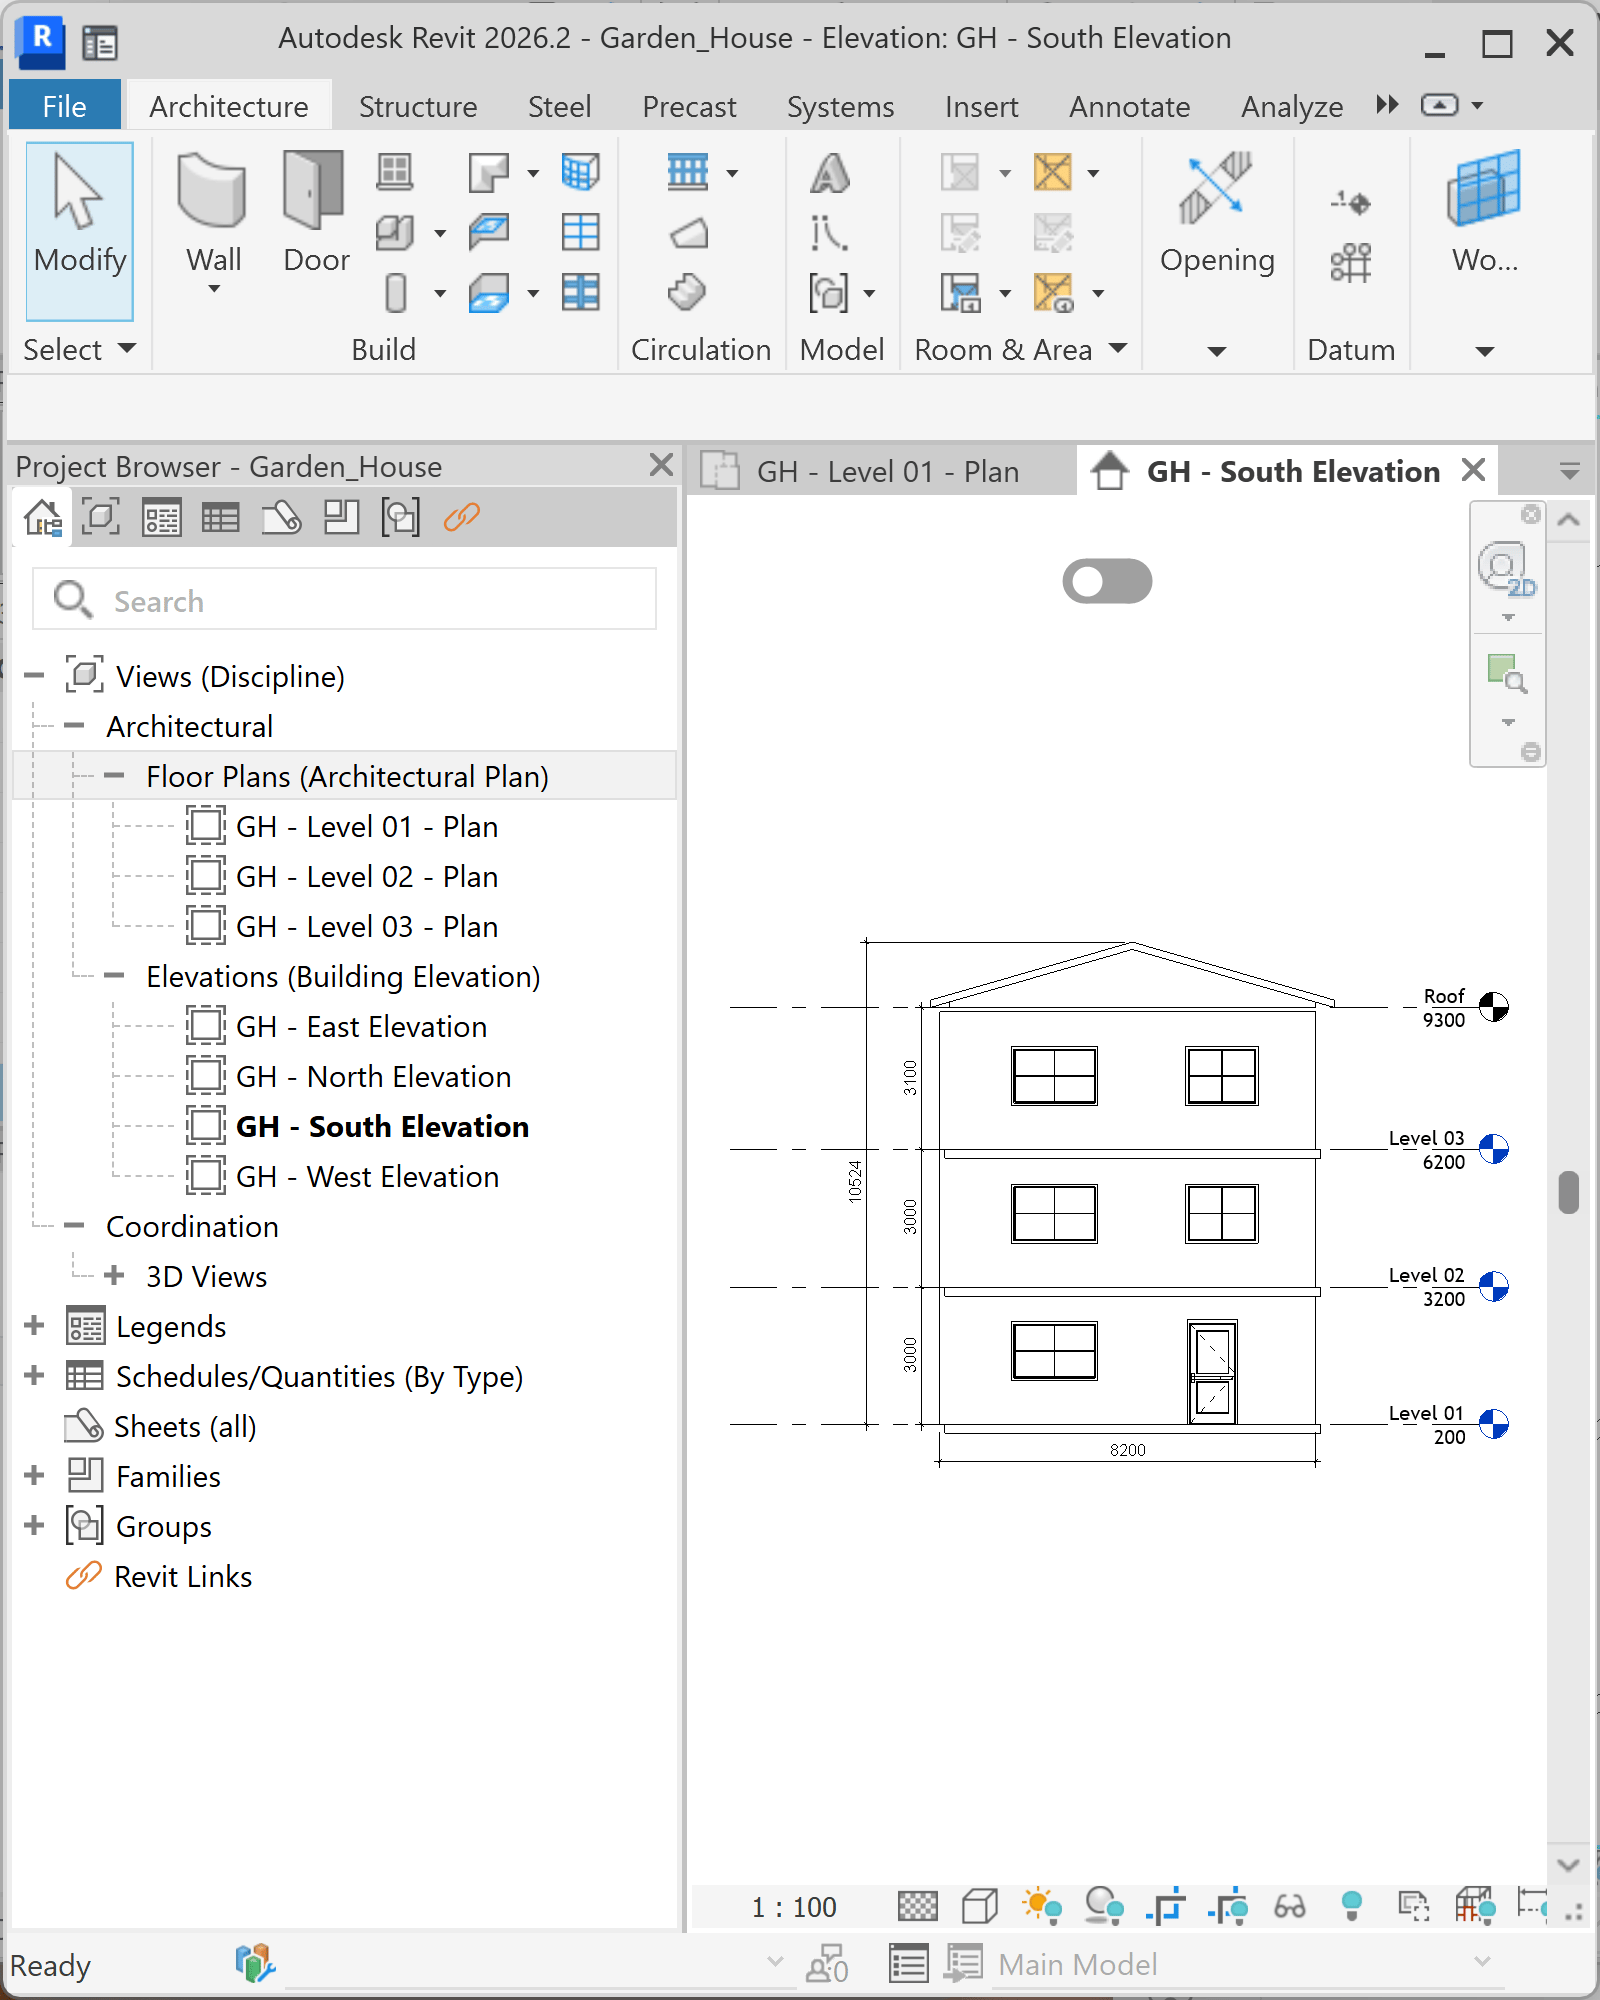
Open a floor plan and an elevation in Revit. The views should show the house without dimension strings. We will use the same three plans and four elevations from the previous walkthrough.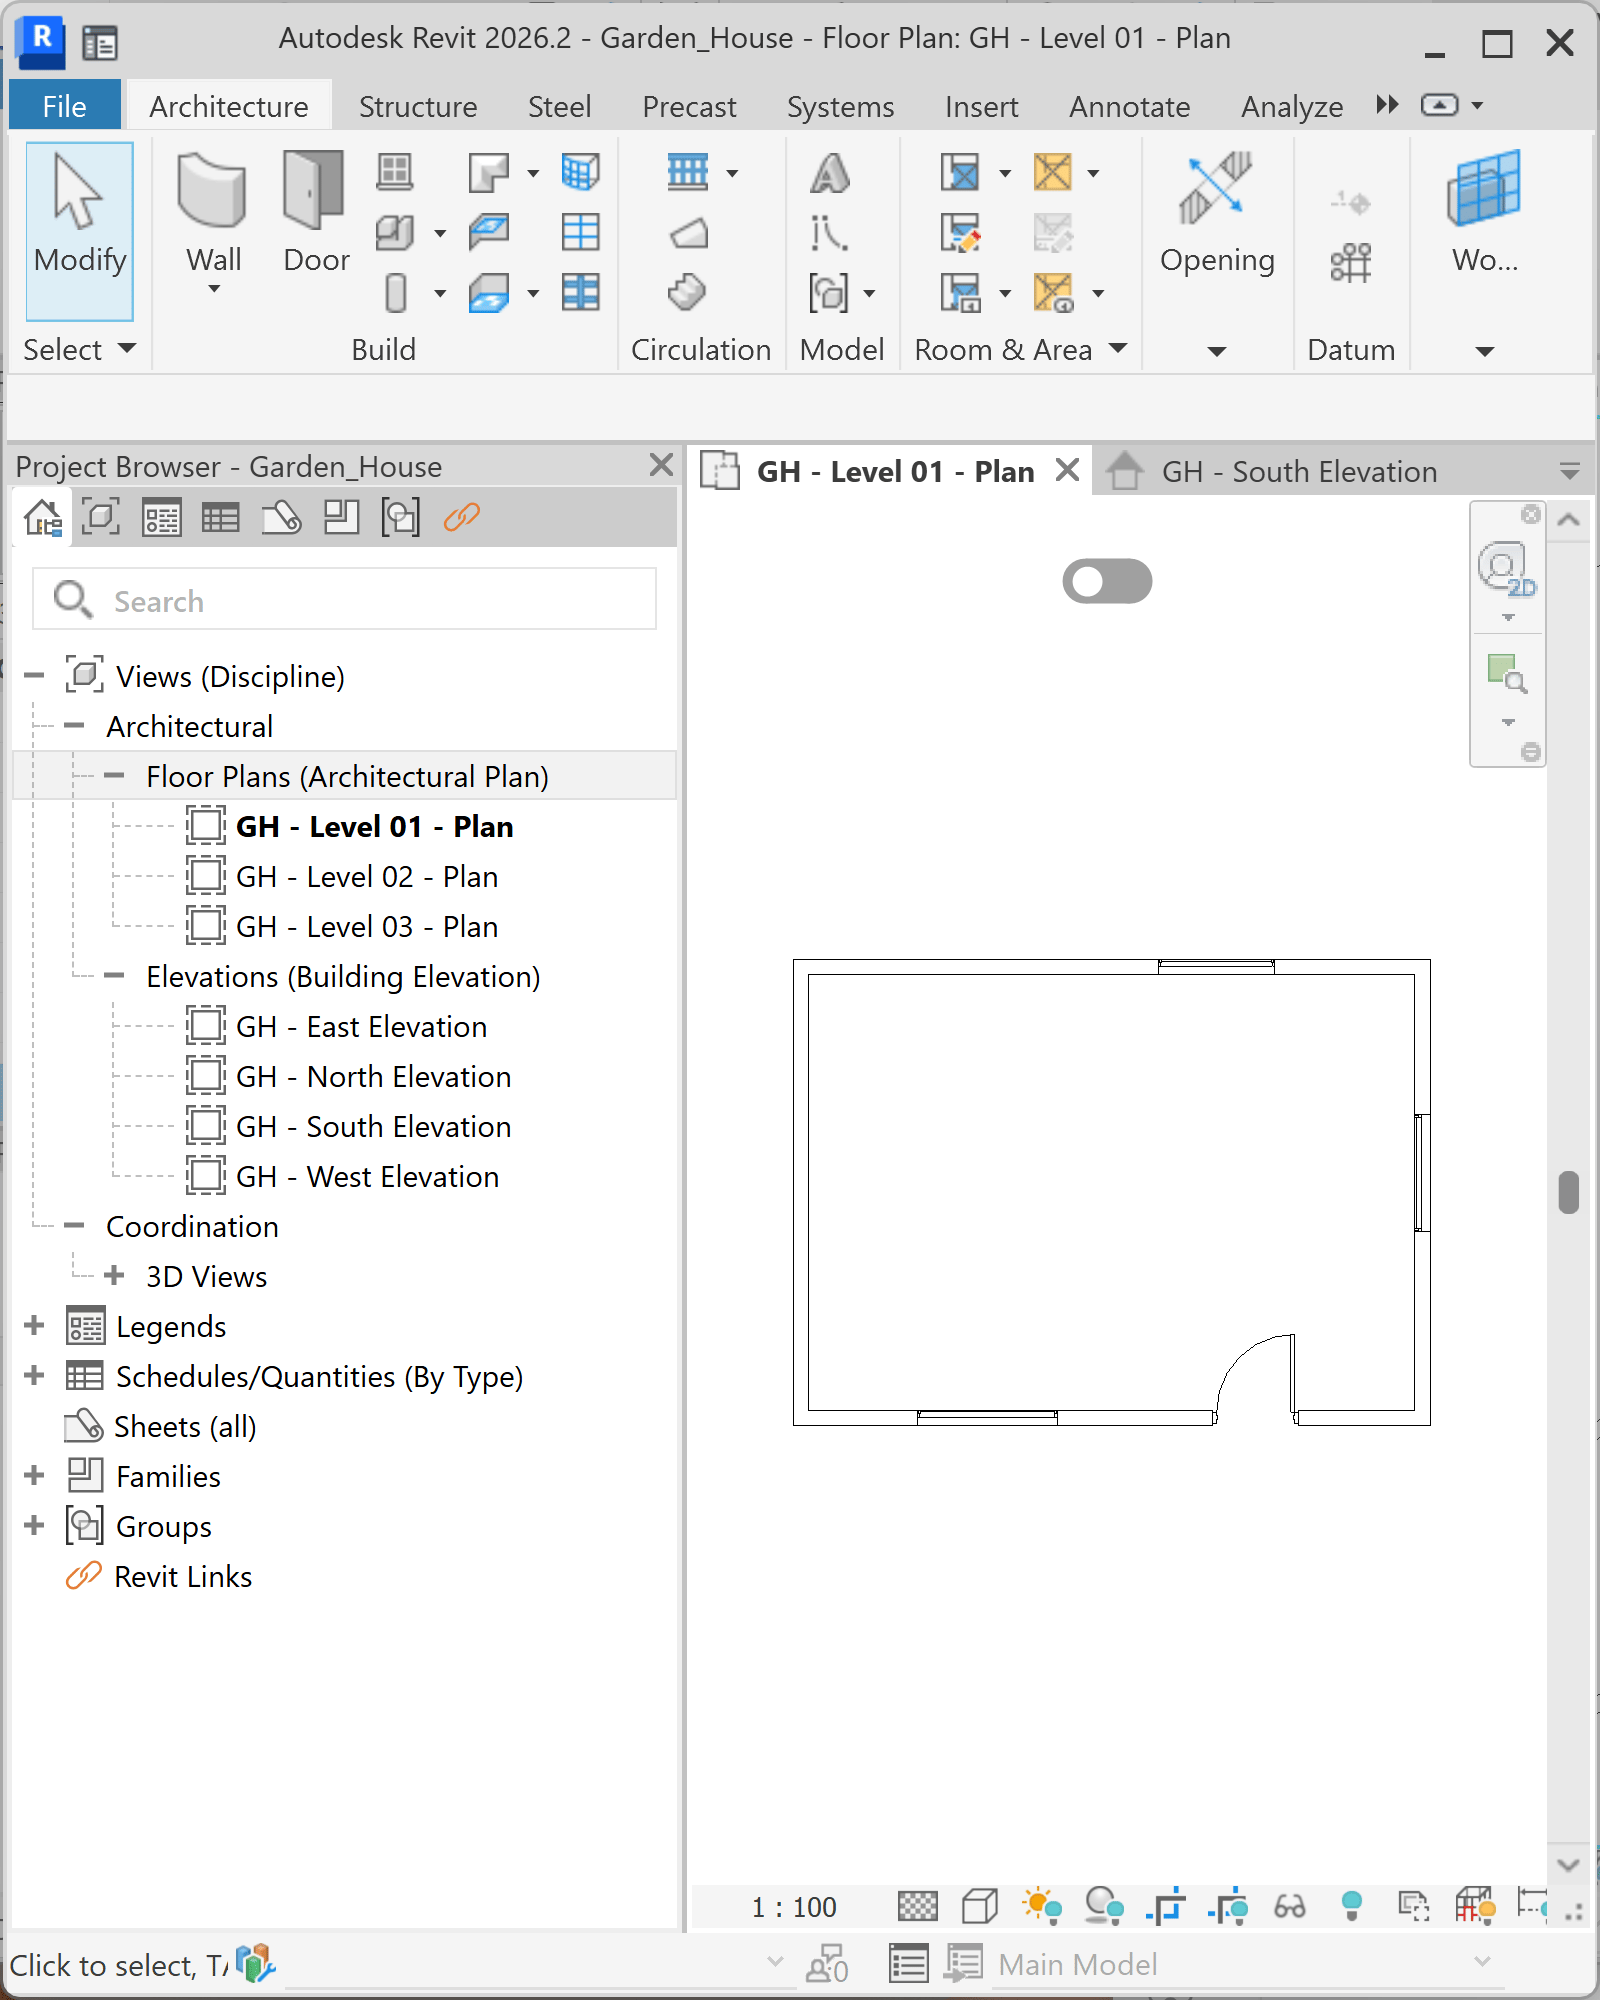
2
Connect Revit in a new chat
Start a new conversation in Studio. Open Connected Apps and select the Garden House Revit project. Keep Studio beside Revit so you can follow the changes.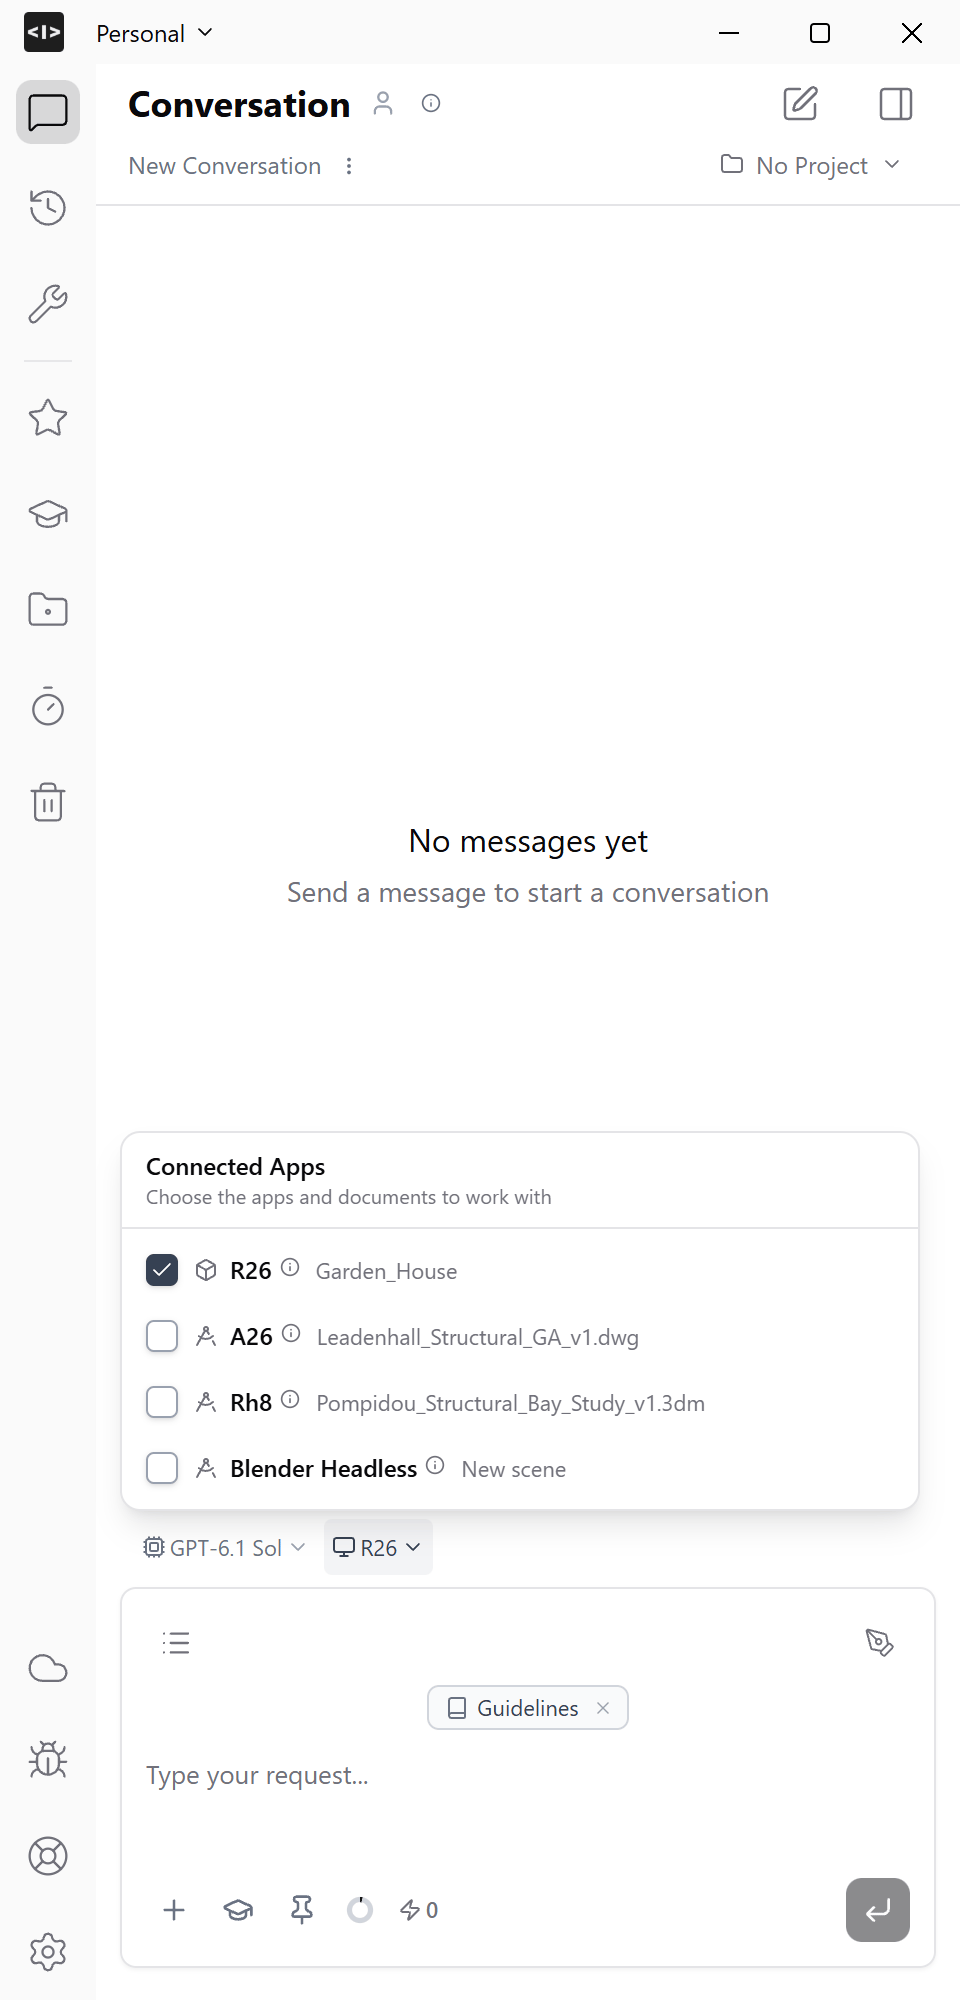
3
Create a floor-plan dimensioning automation
Ask Ideatura to create the automation: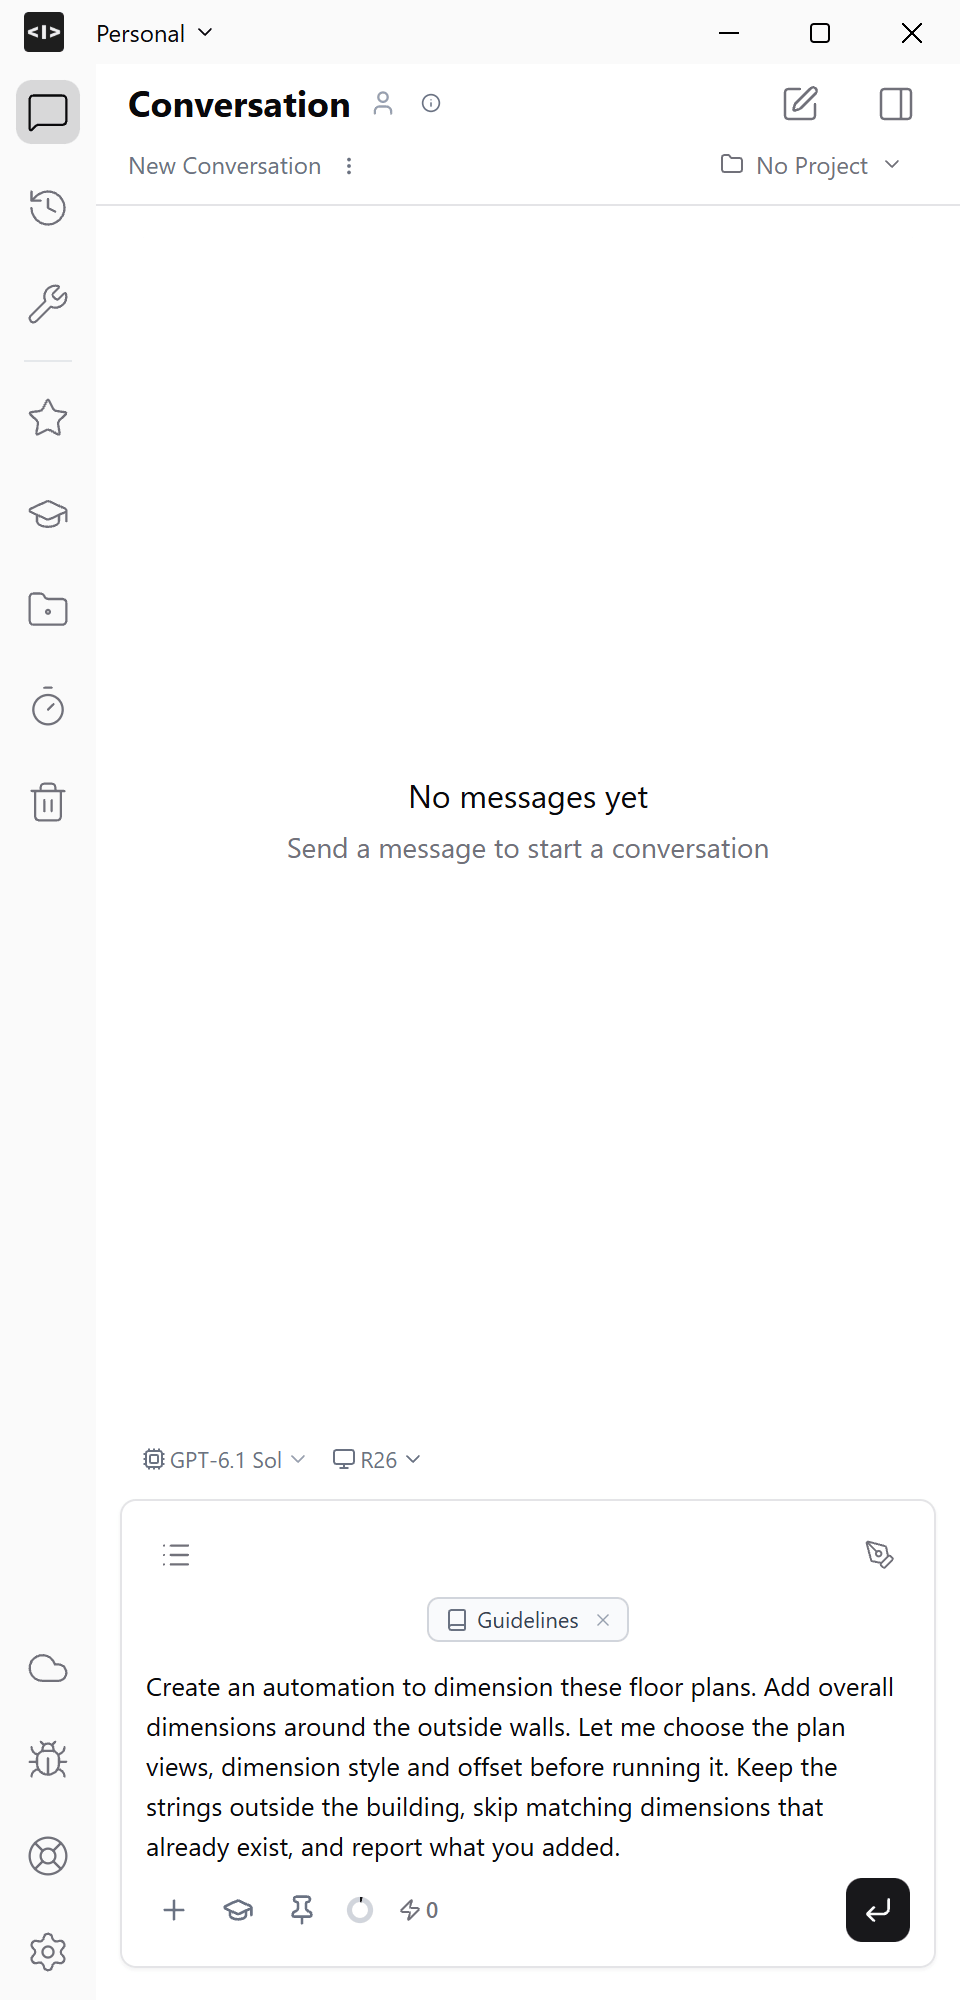
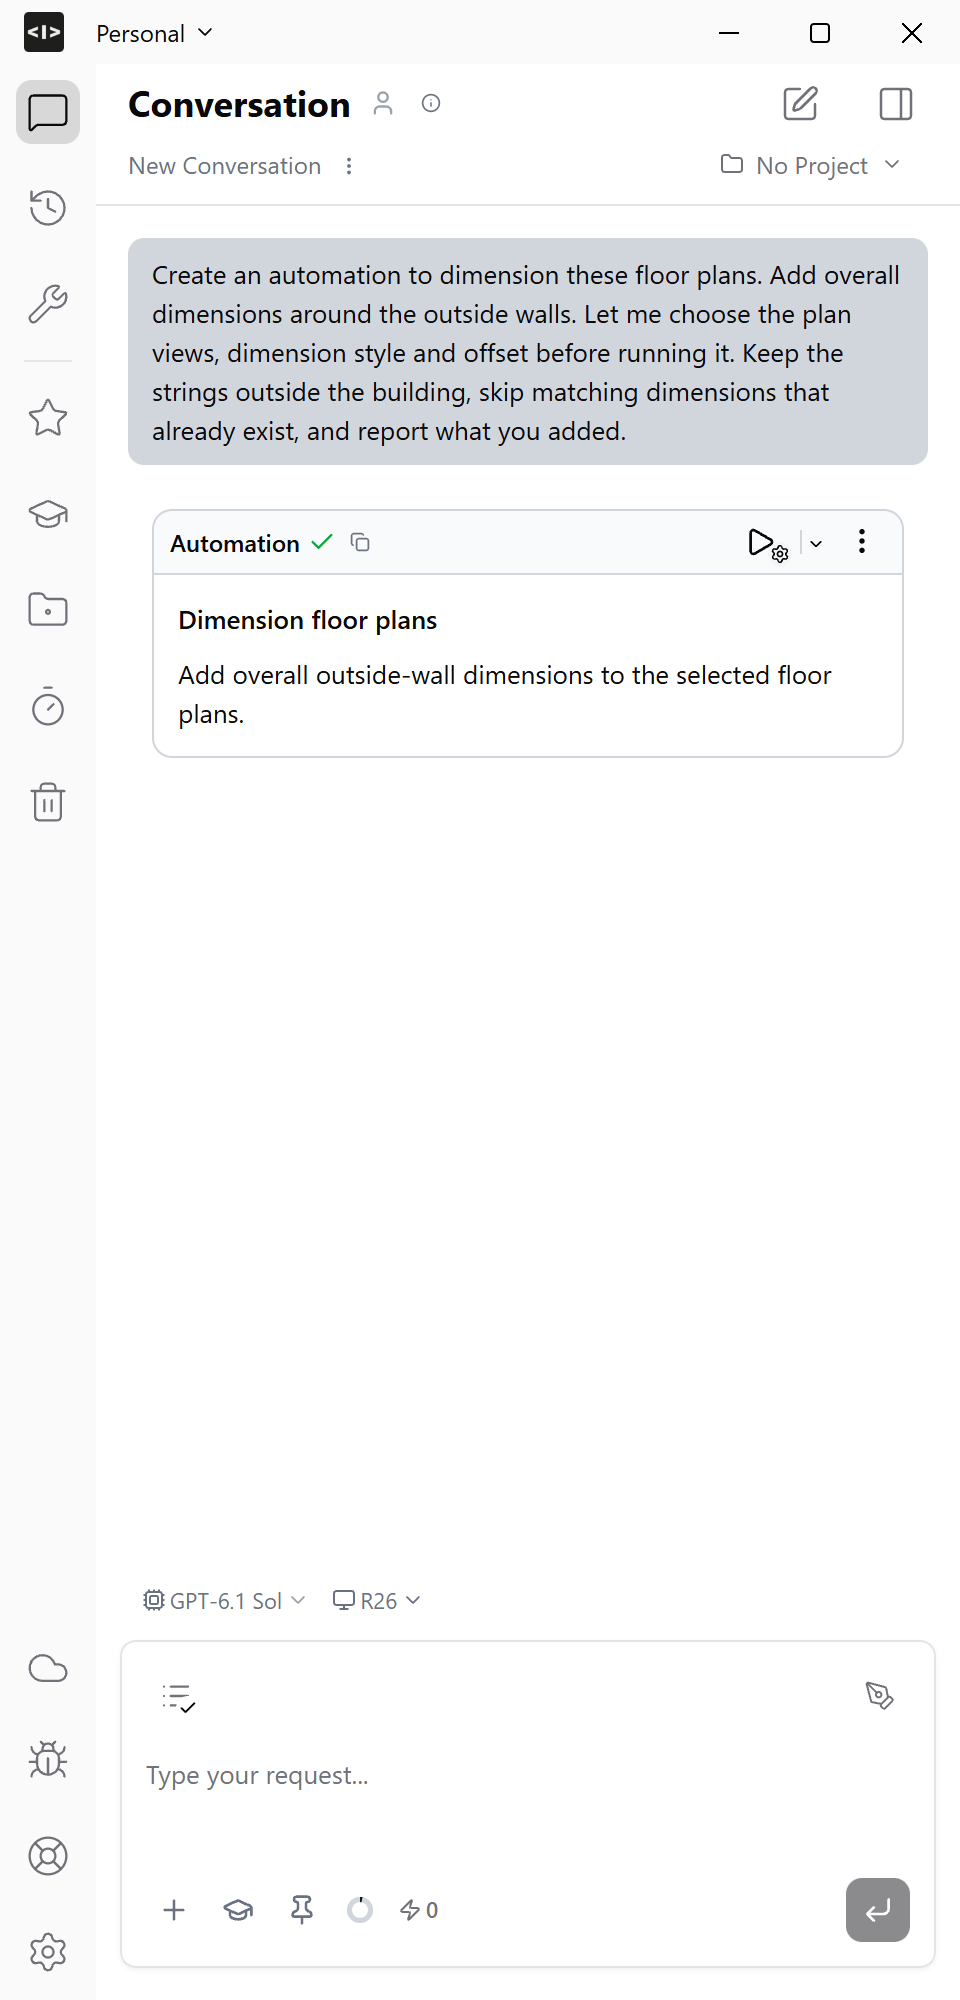
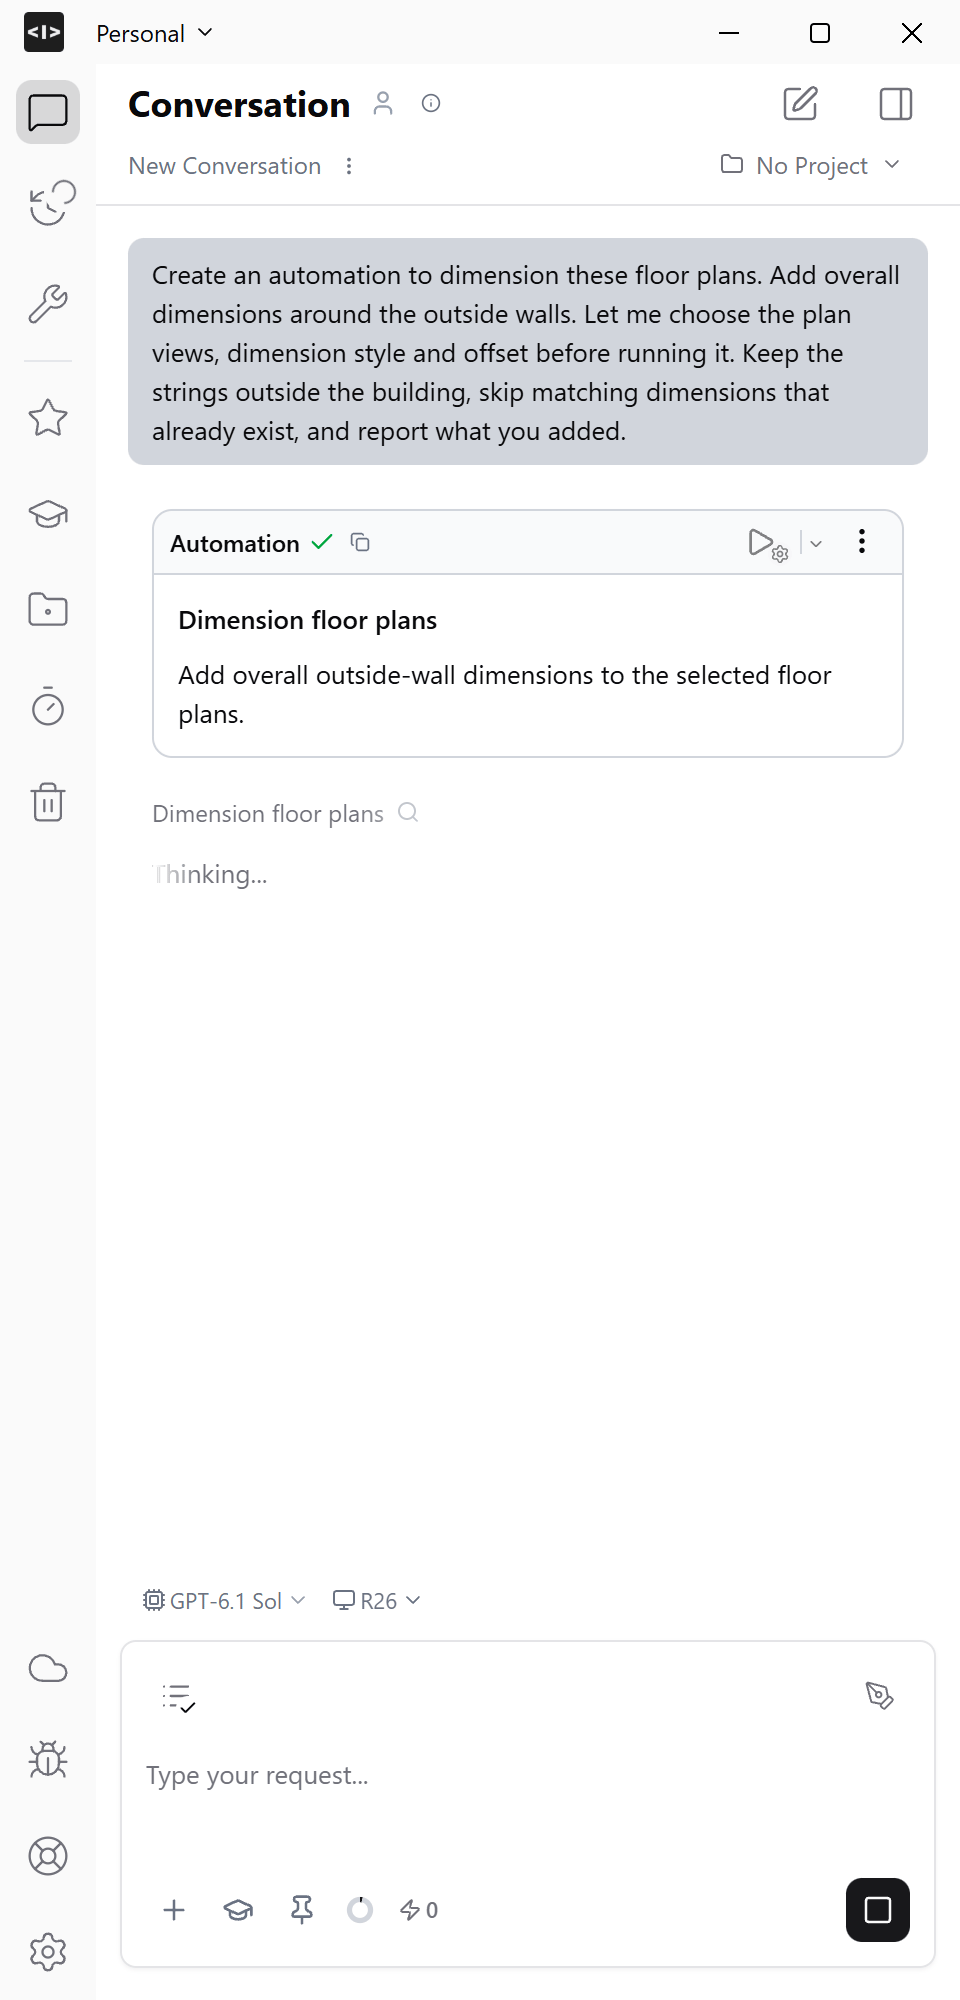
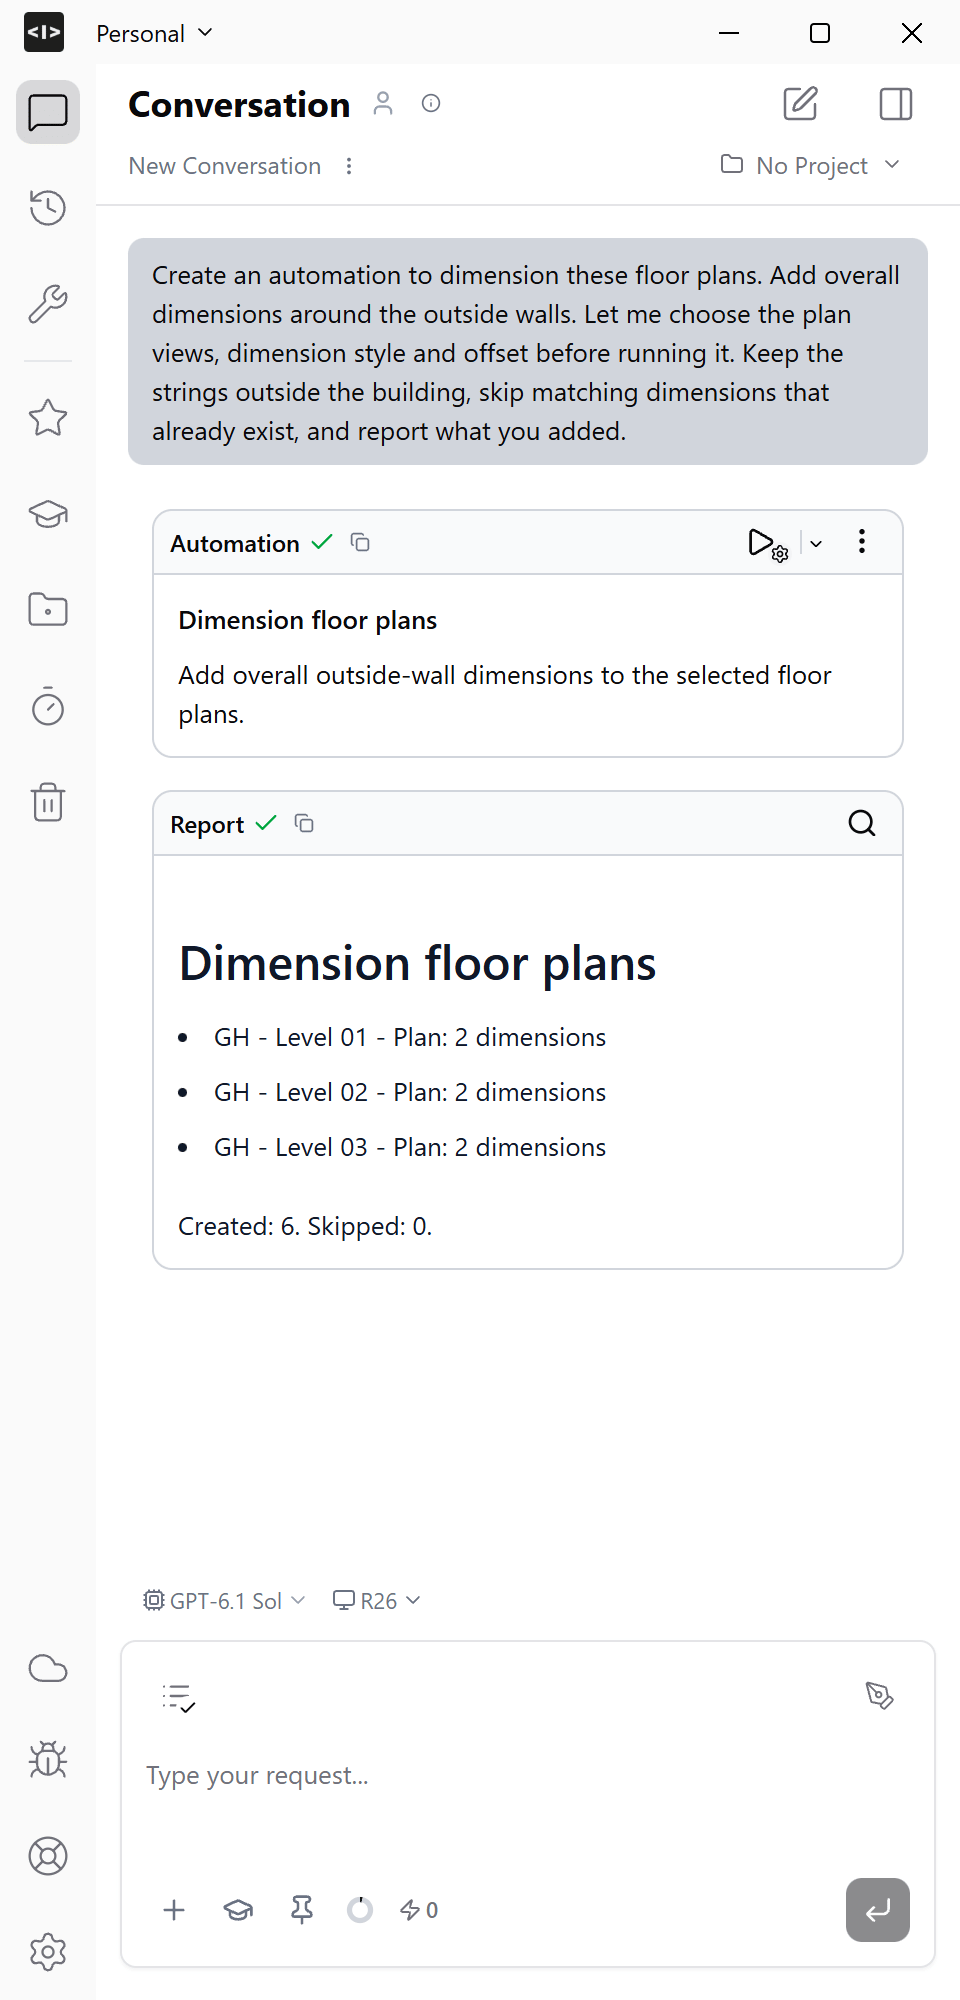
Create an automation to dimension these floor plans. Add overall dimensions around the outside walls. Let me choose the plan views, dimension style and offset before running it. Keep the strings outside the building, skip matching dimensions that already exist, and report what you added.
4
Choose parameters and dimension the plans
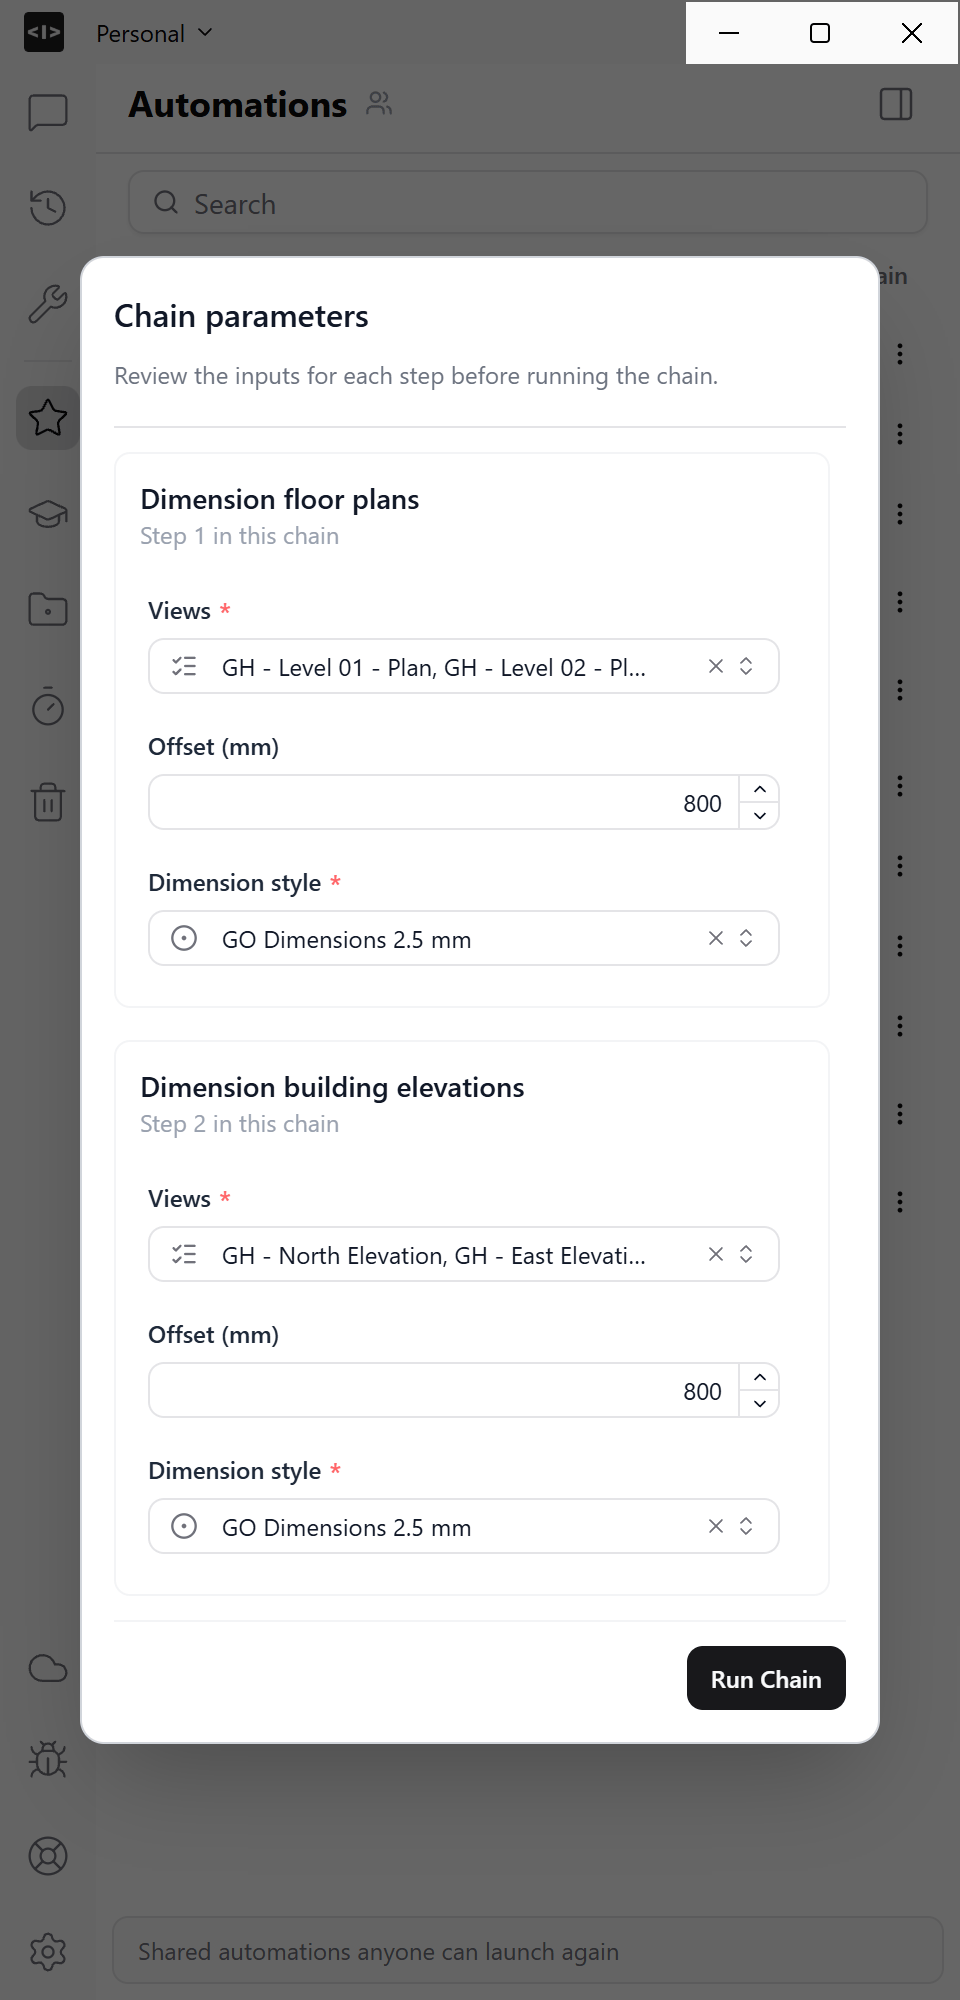
Open Run with params on the new automation. Choose the three floor plans, select GO Dimensions 2.5 mm and set the offset to 800 mm, then click Run.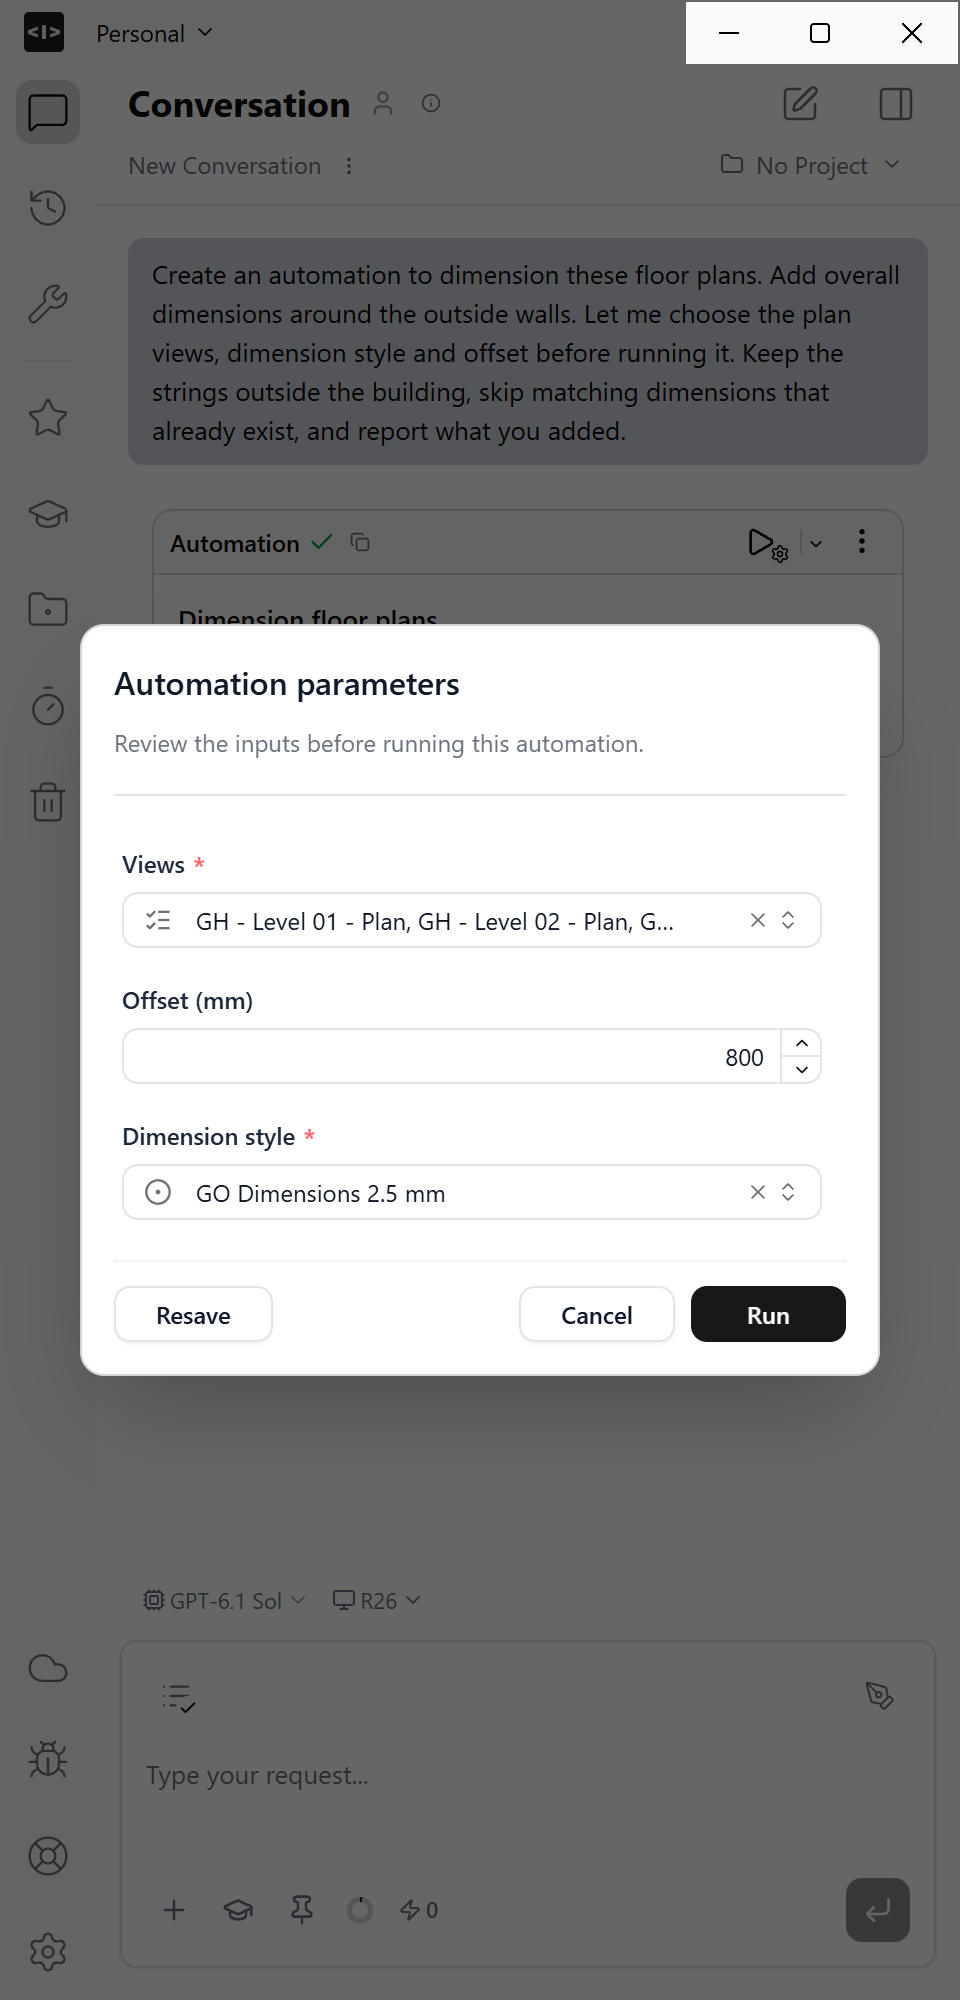
5
Create an elevation dimensioning automation
Continue in the same chat: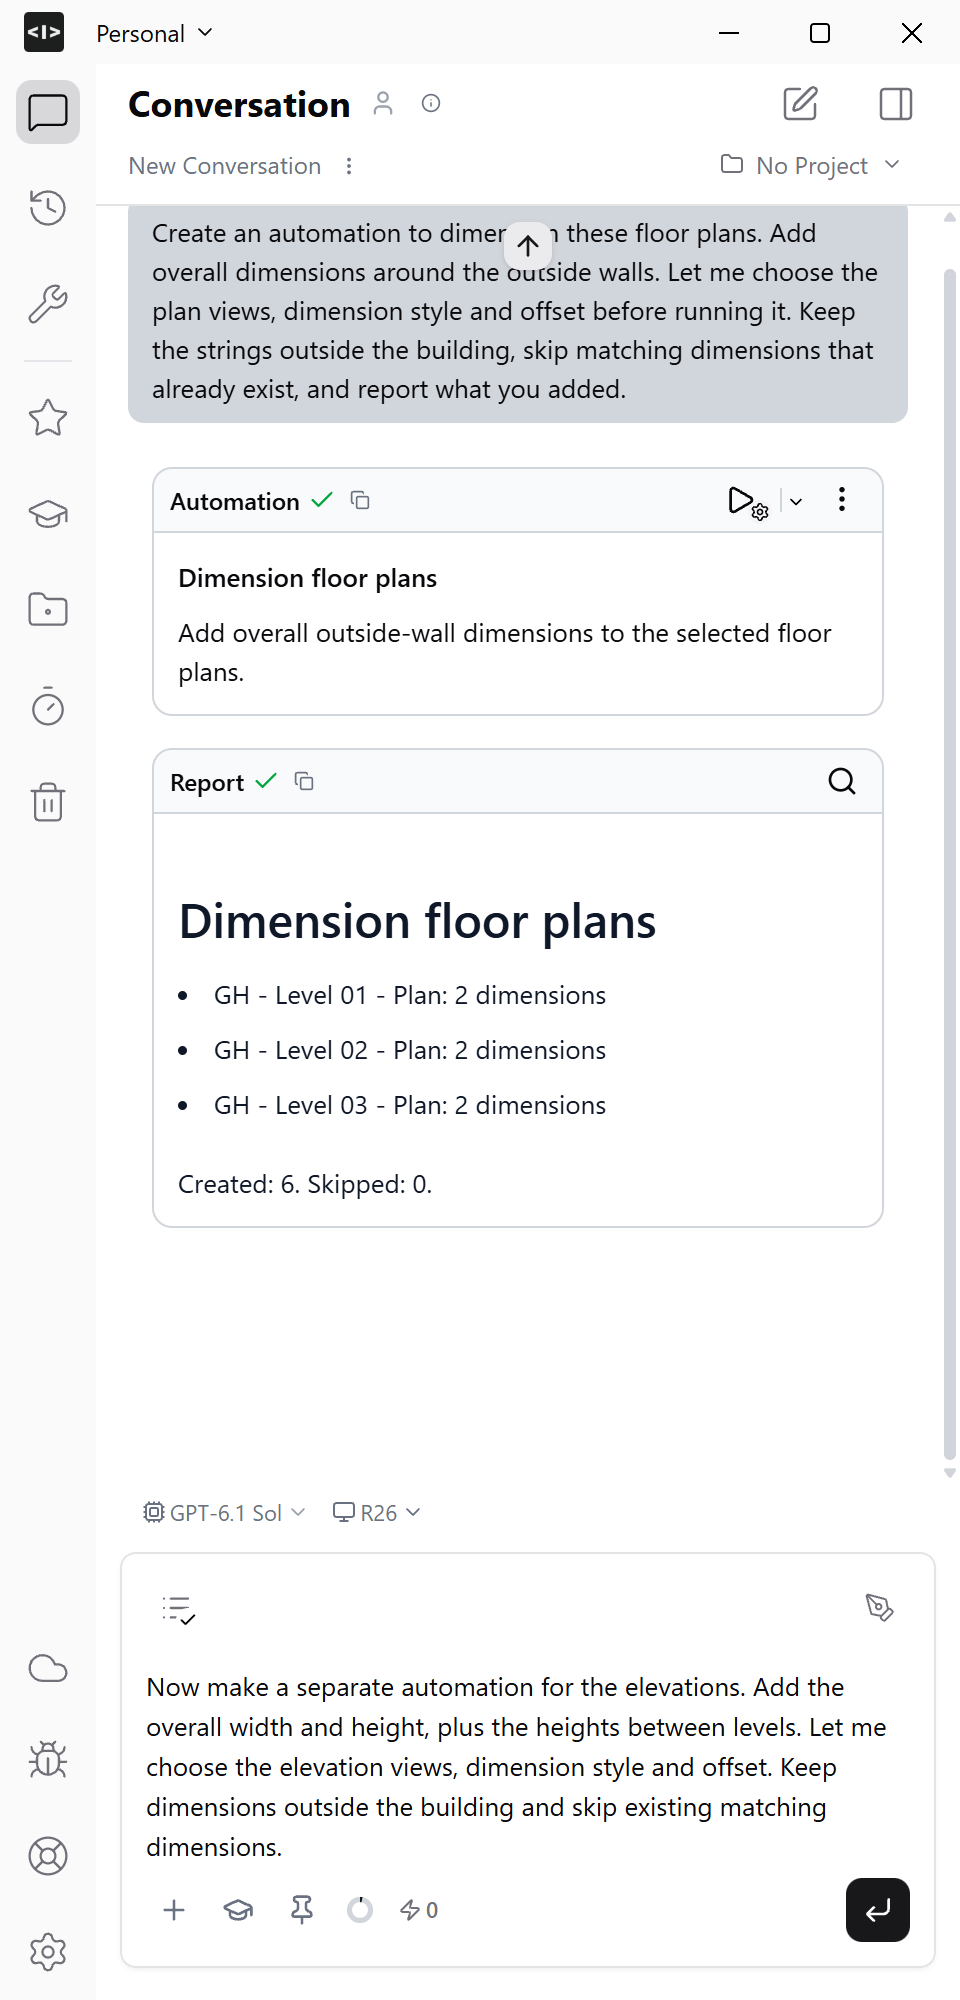
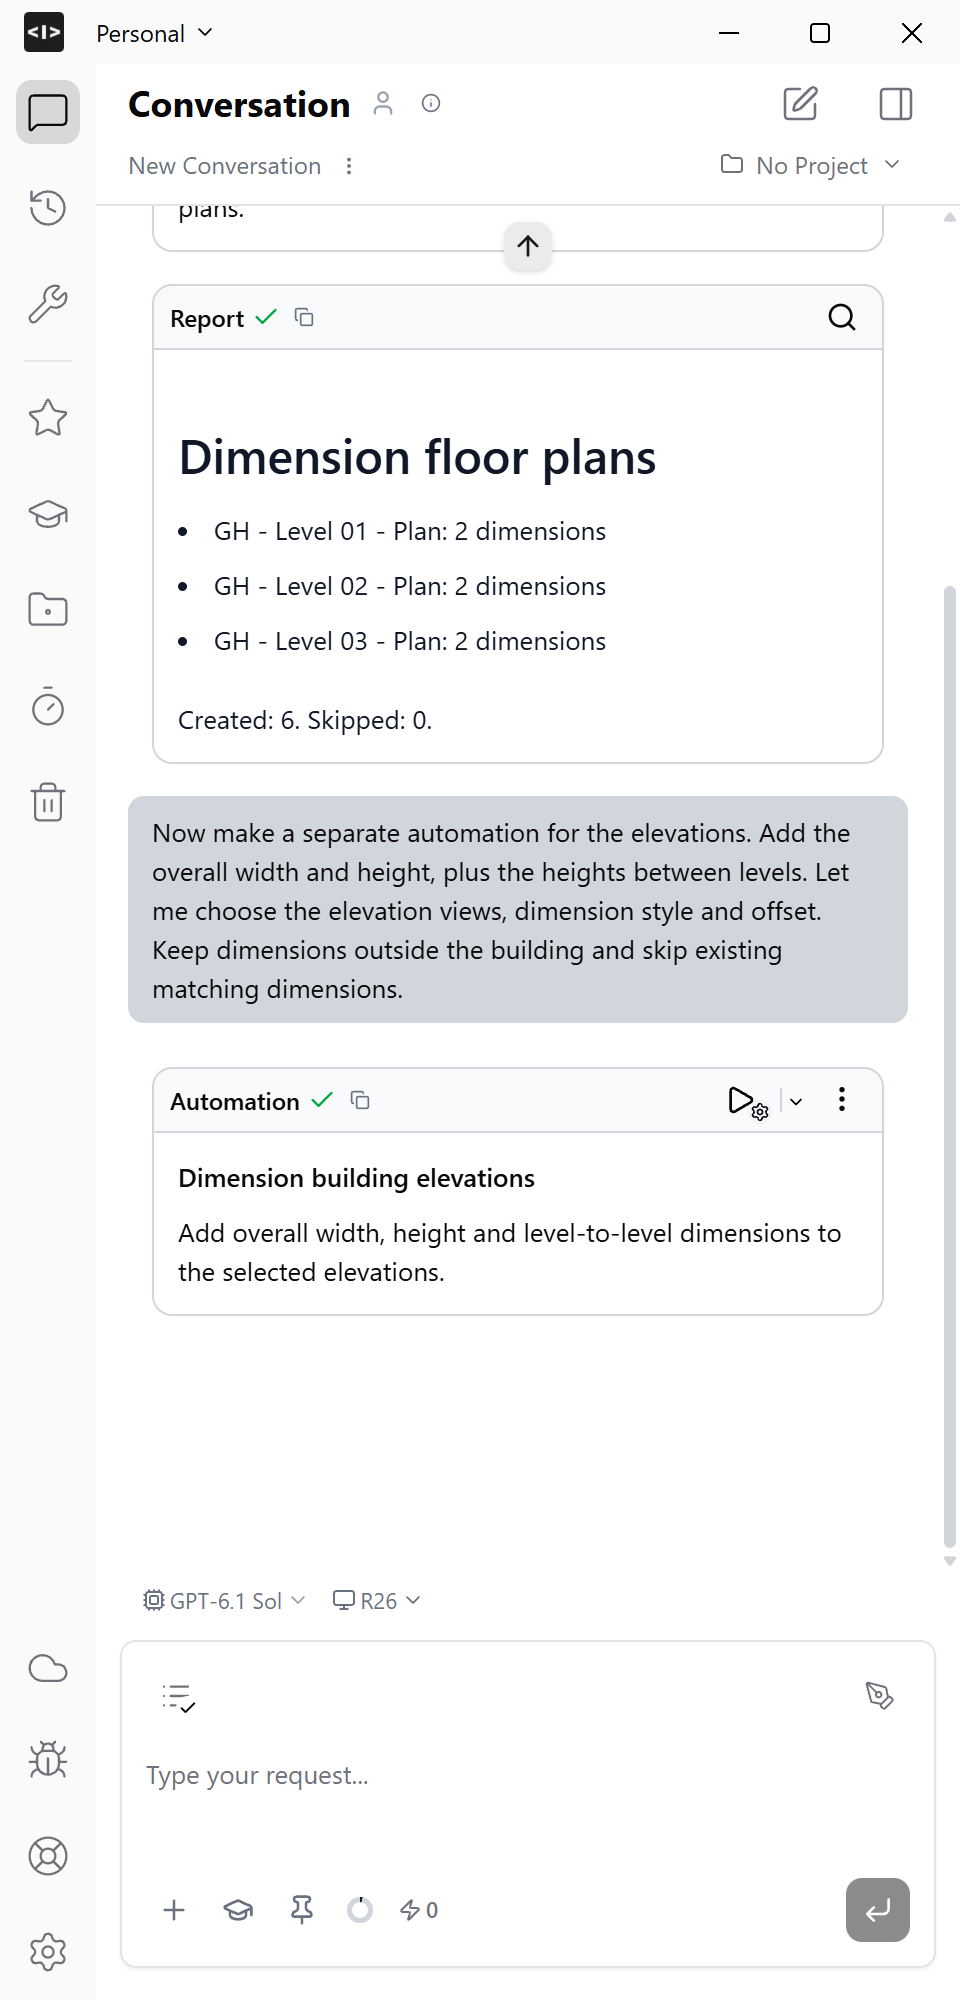
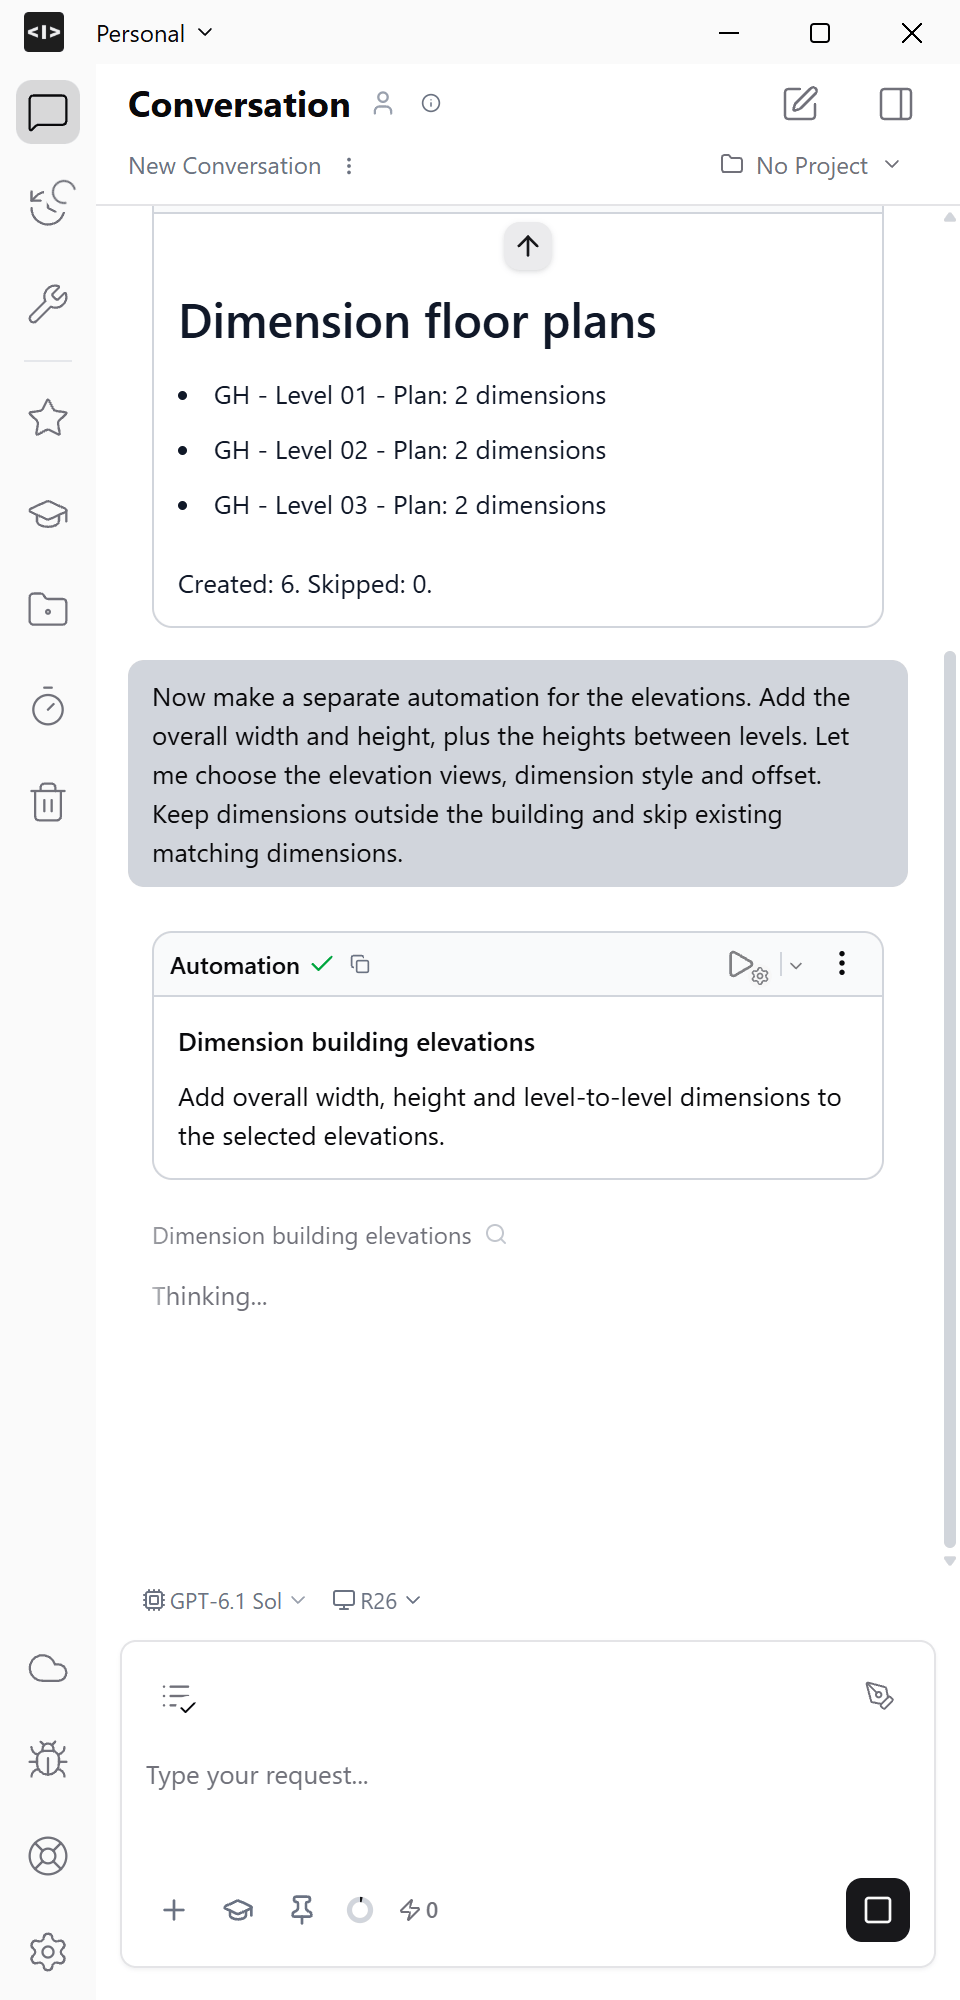
Now make a separate automation for the elevations. Add the overall width and height, plus the heights between levels. Let me choose the elevation views, dimension style and offset. Keep dimensions outside the building and skip existing matching dimensions.
6
Choose parameters and dimension the elevations
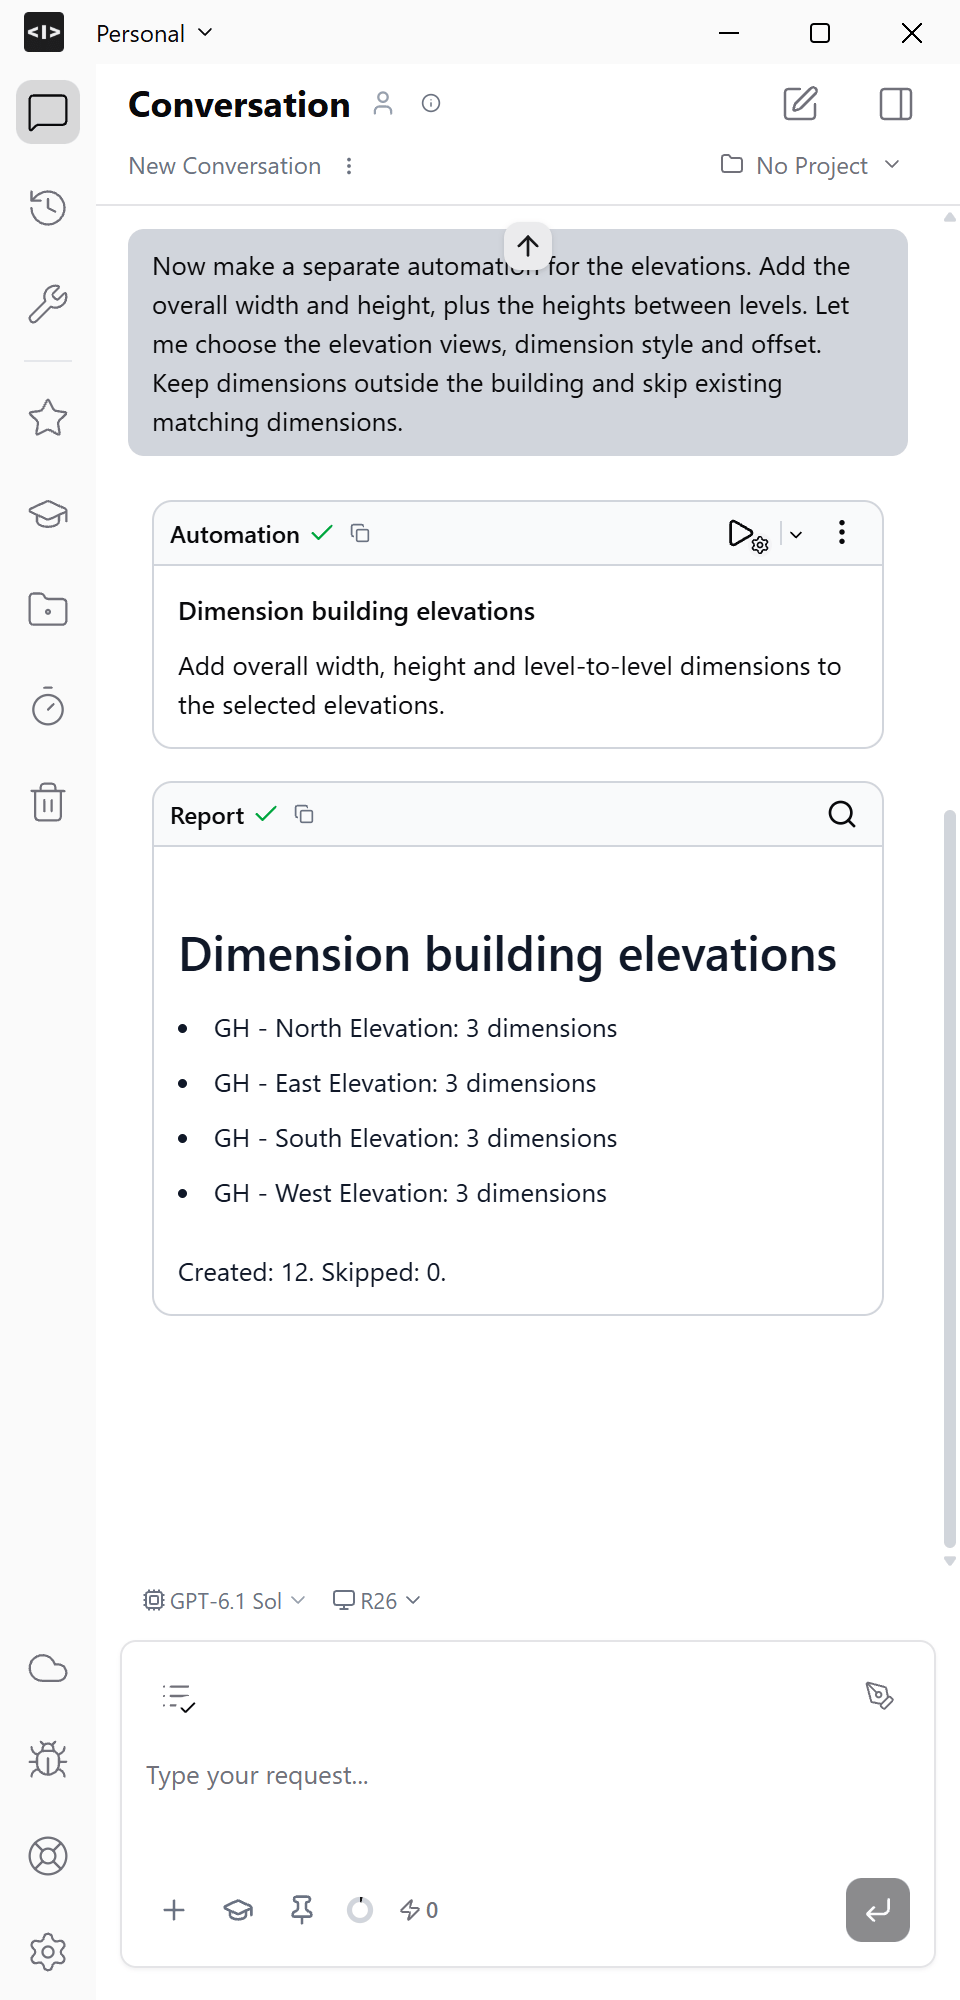
Open Run with params. Choose North, East, South and West, select GO Dimensions 2.5 mm and set the offset to 800 mm, then click Run.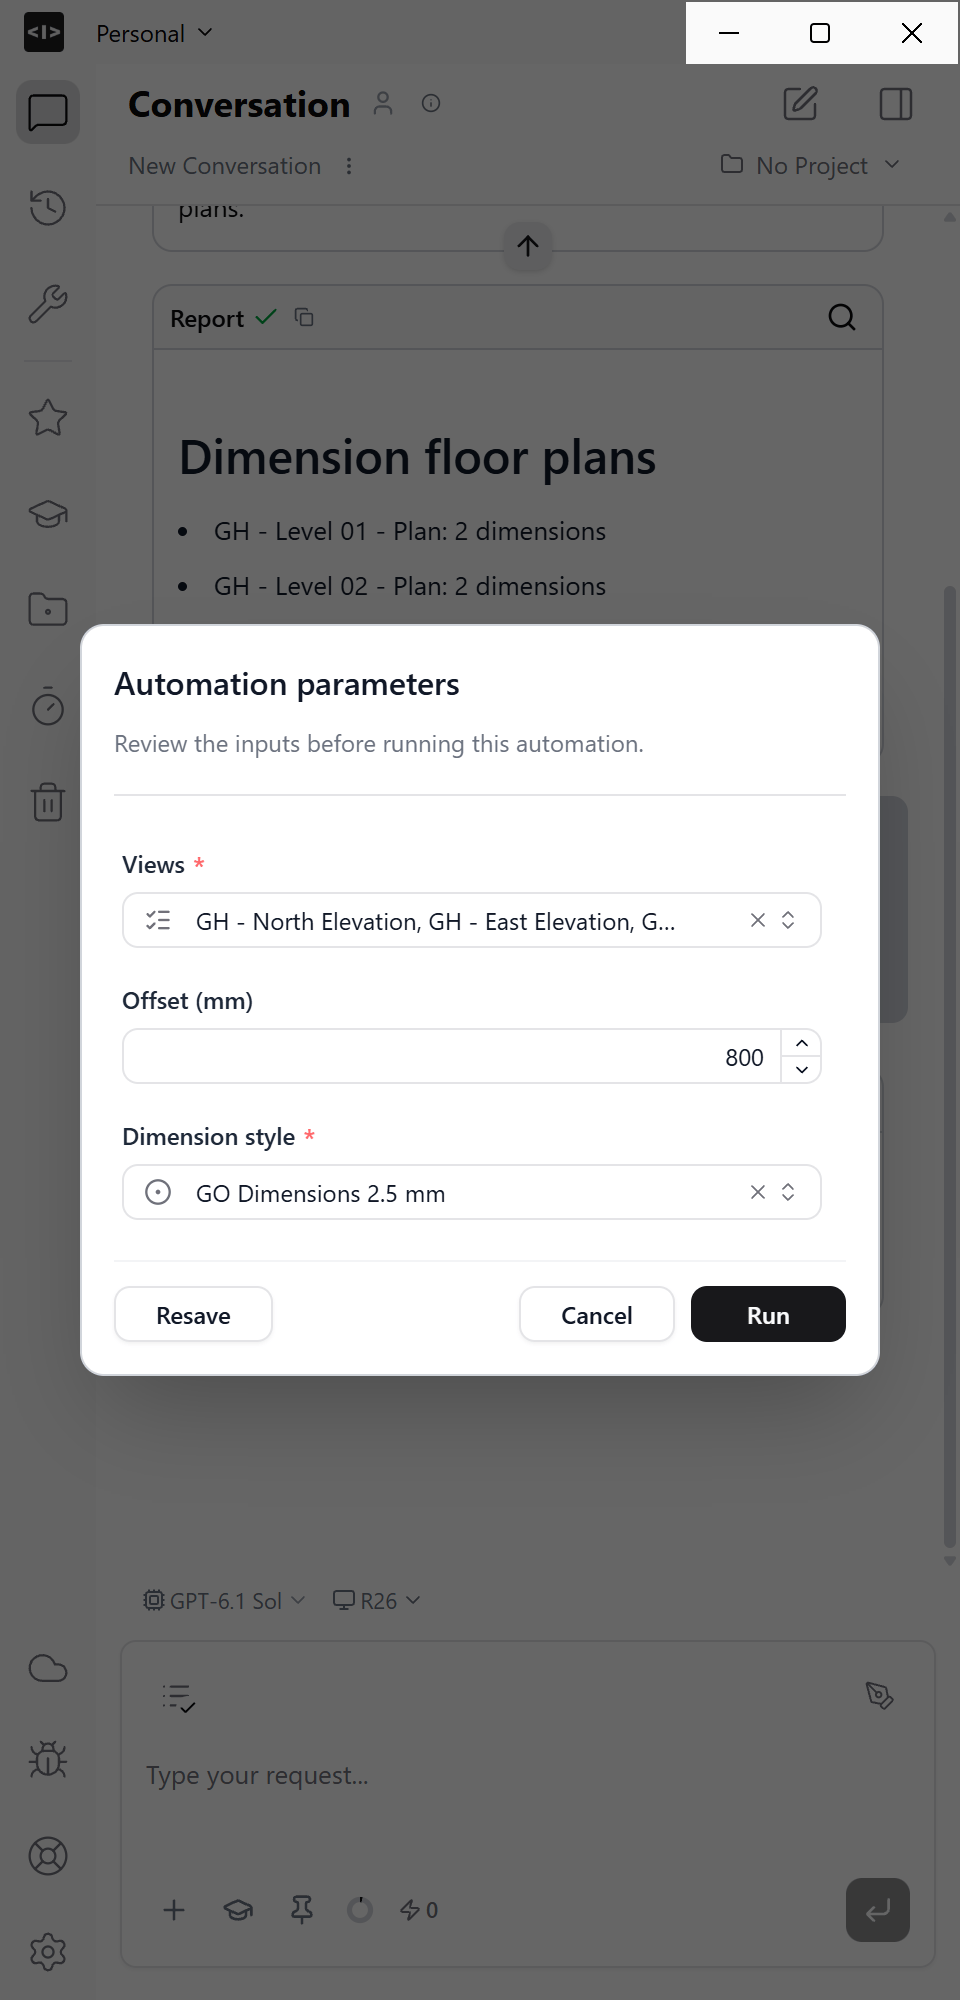
7
Save both automations in a folder
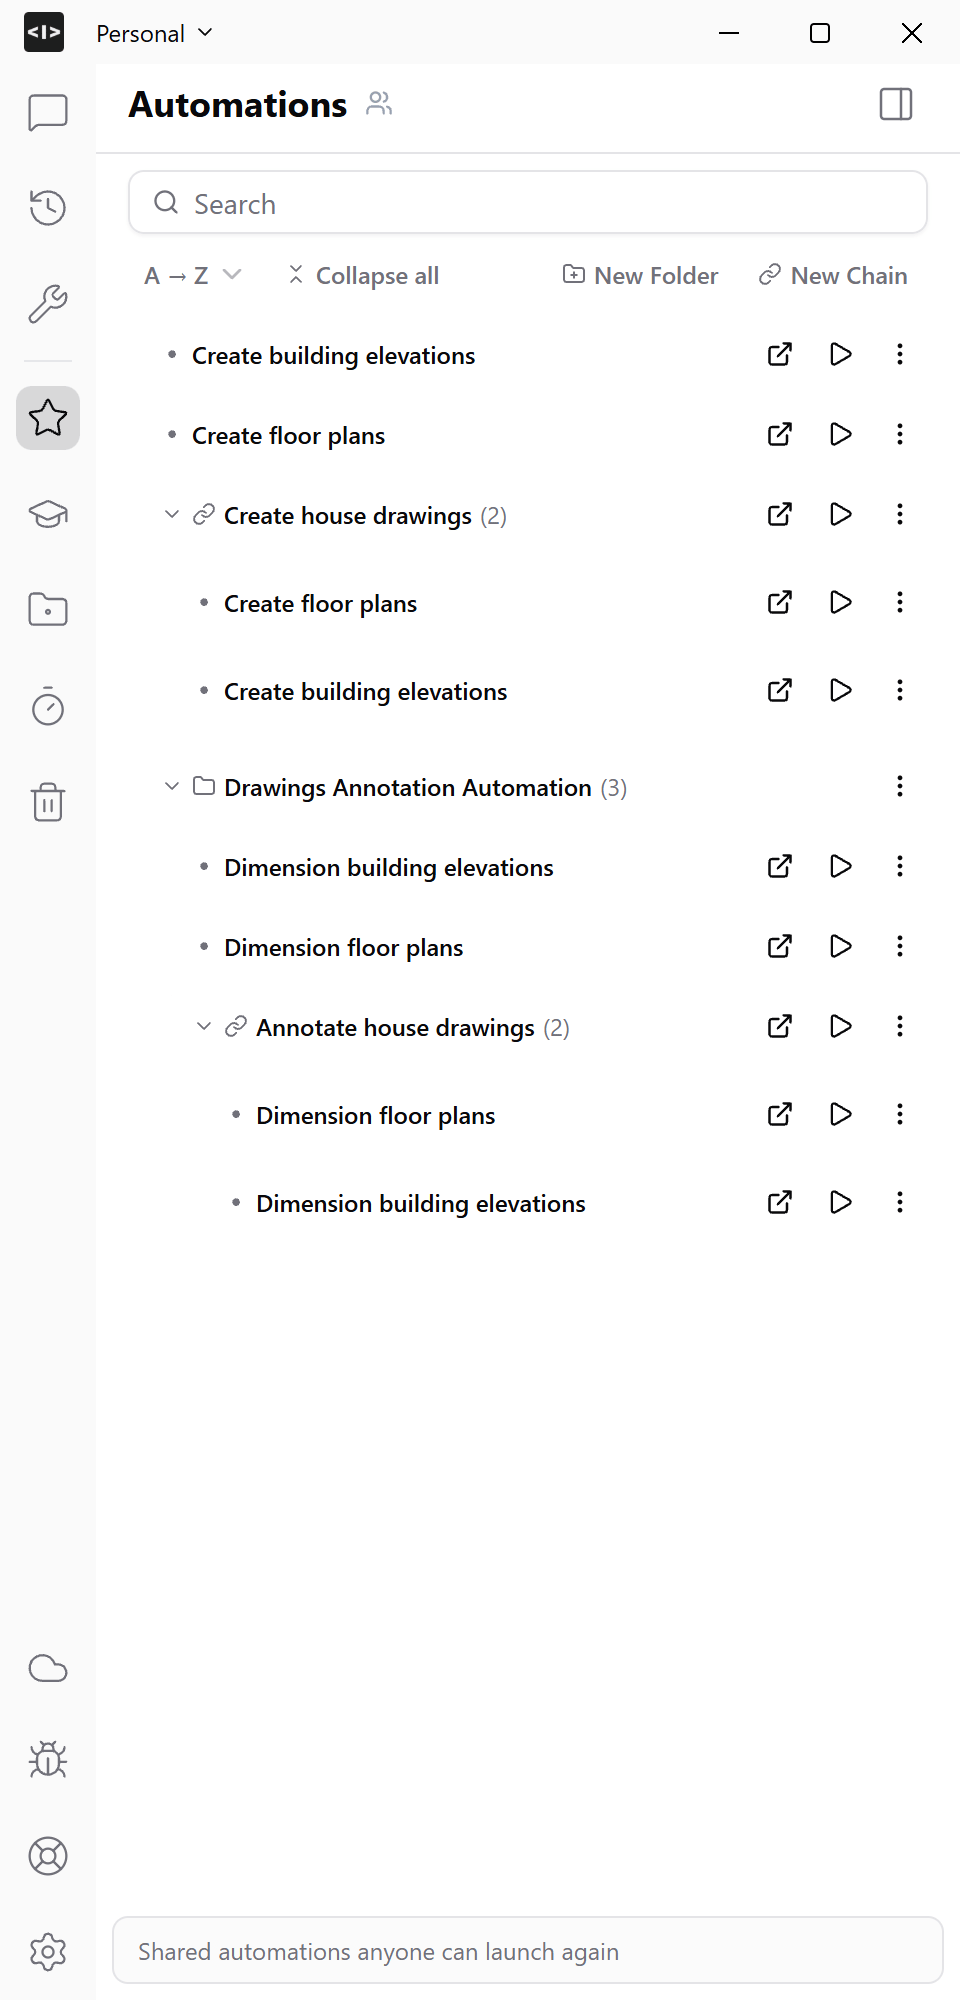
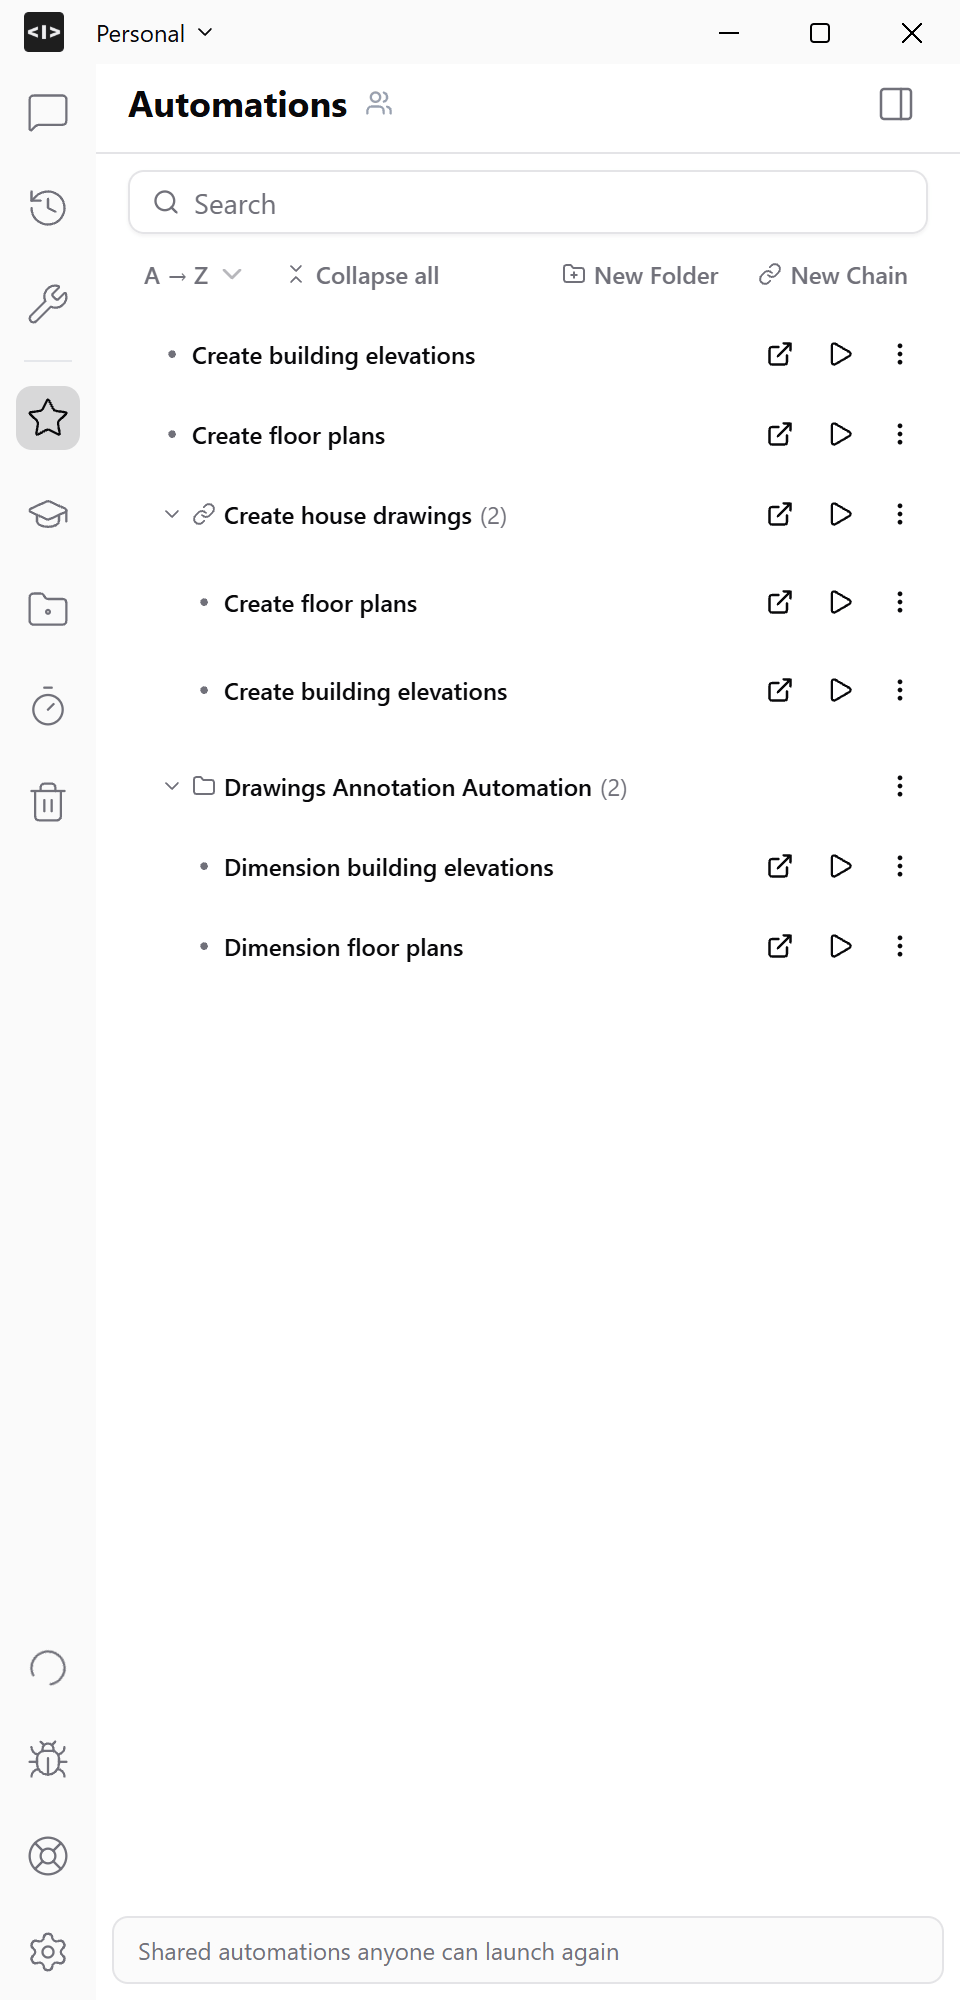
Open Dimension floor plans’ three-dot menu and choose Star. In the destination picker, use New Folder to create Drawings Annotation Automation, then save the automation there. Save Dimension building elevations to the same folder.Open Automations in the sidebar and check that the folder contains both automations.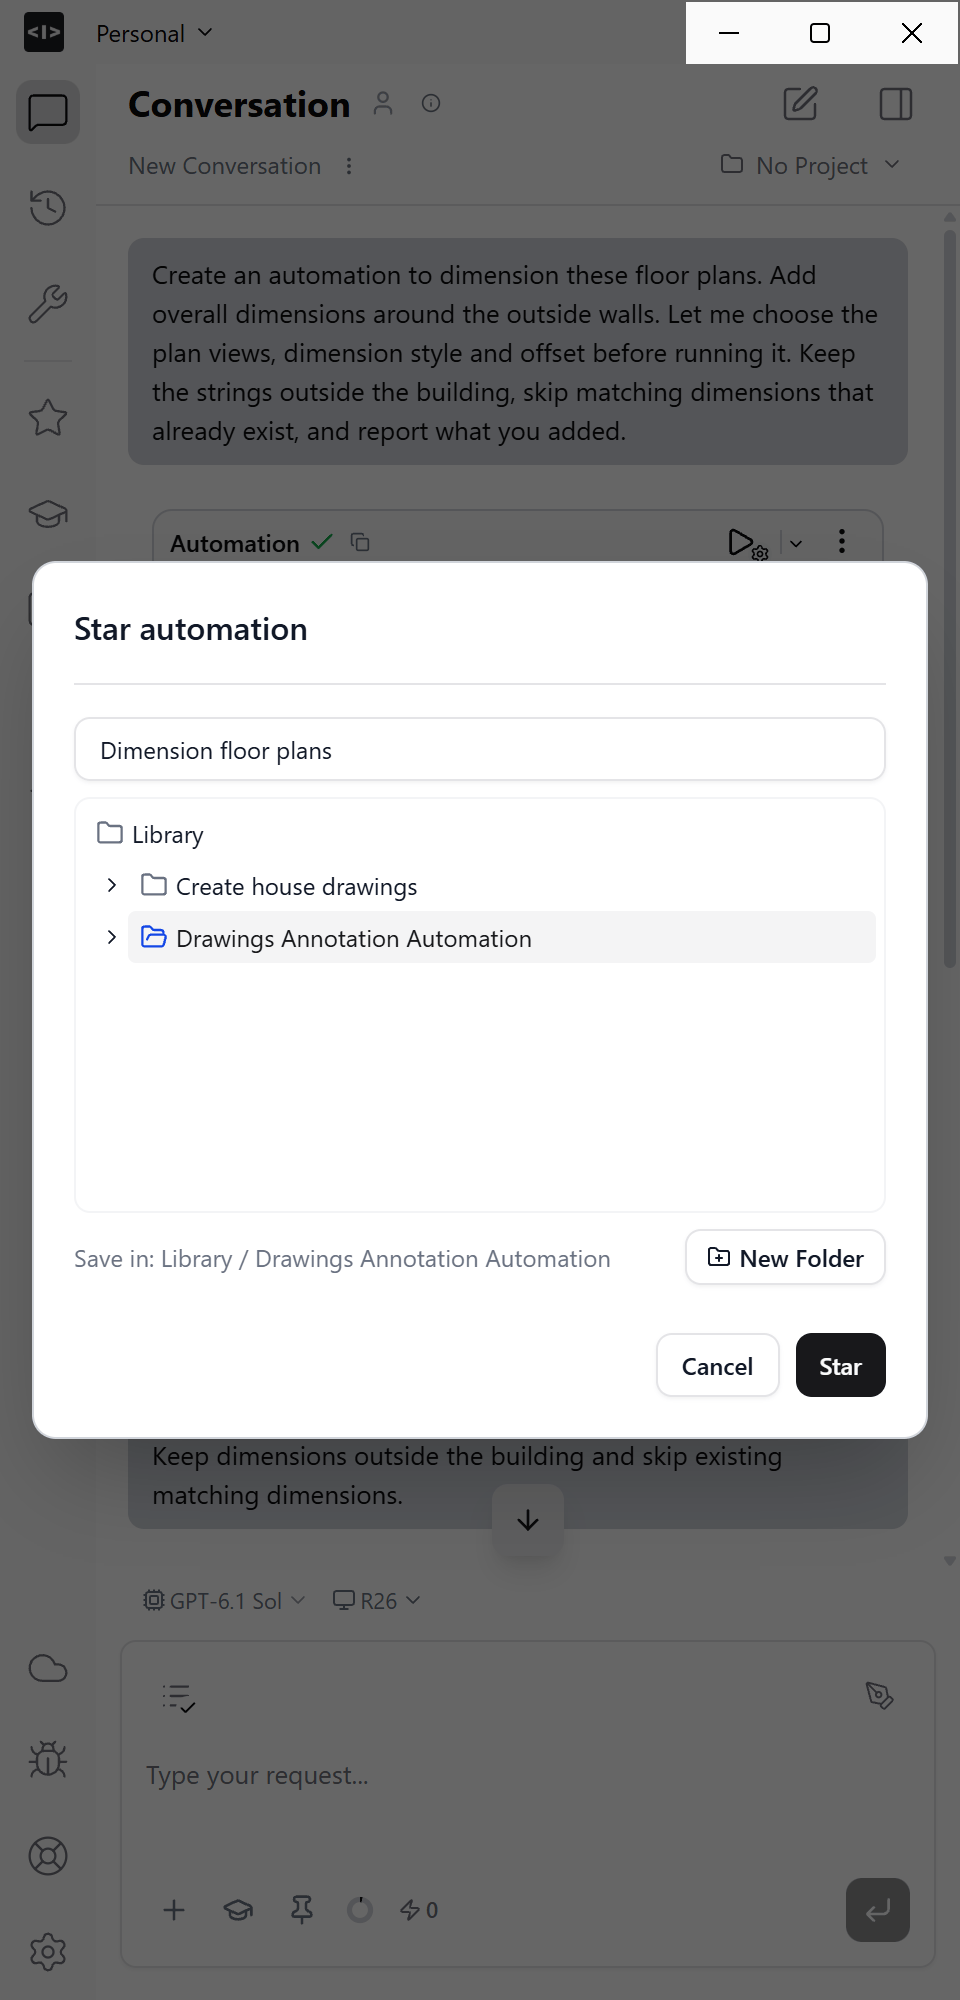
8
Create and run an annotation chain
Create a chain named Annotate house drawings in the same folder. Add Dimension floor plans first, followed by Dimension building elevations.