1
Start with the Revit model
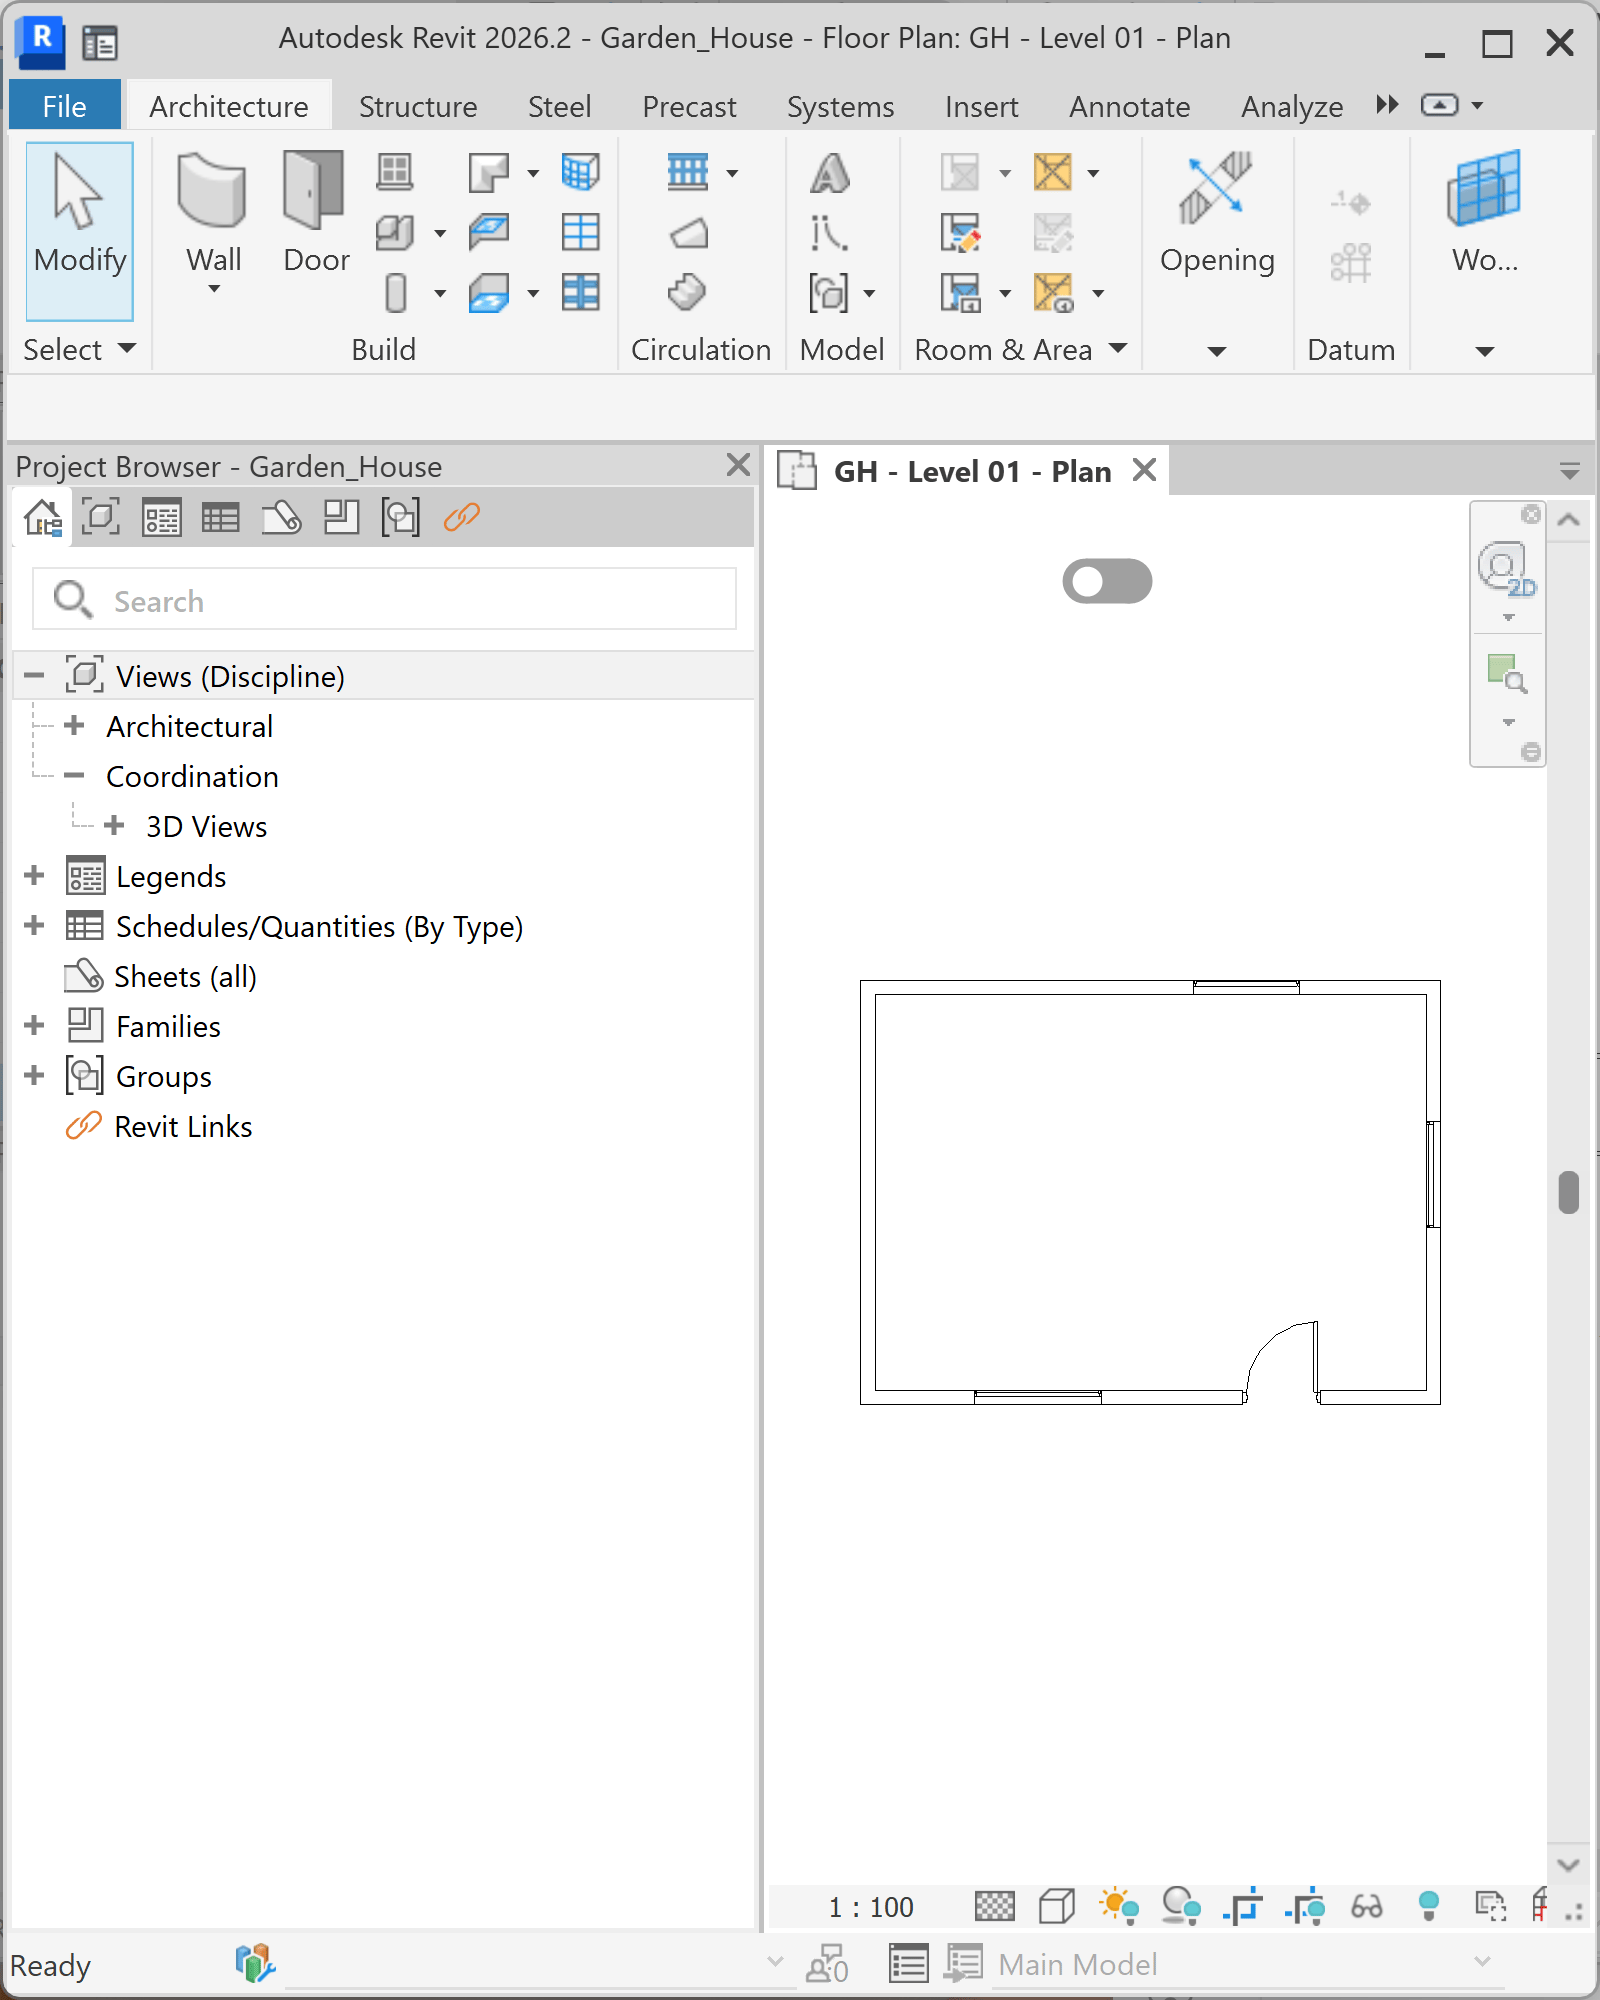
Open the house in Revit. The model has three levels, but the floor plans and exterior elevations have not been created yet.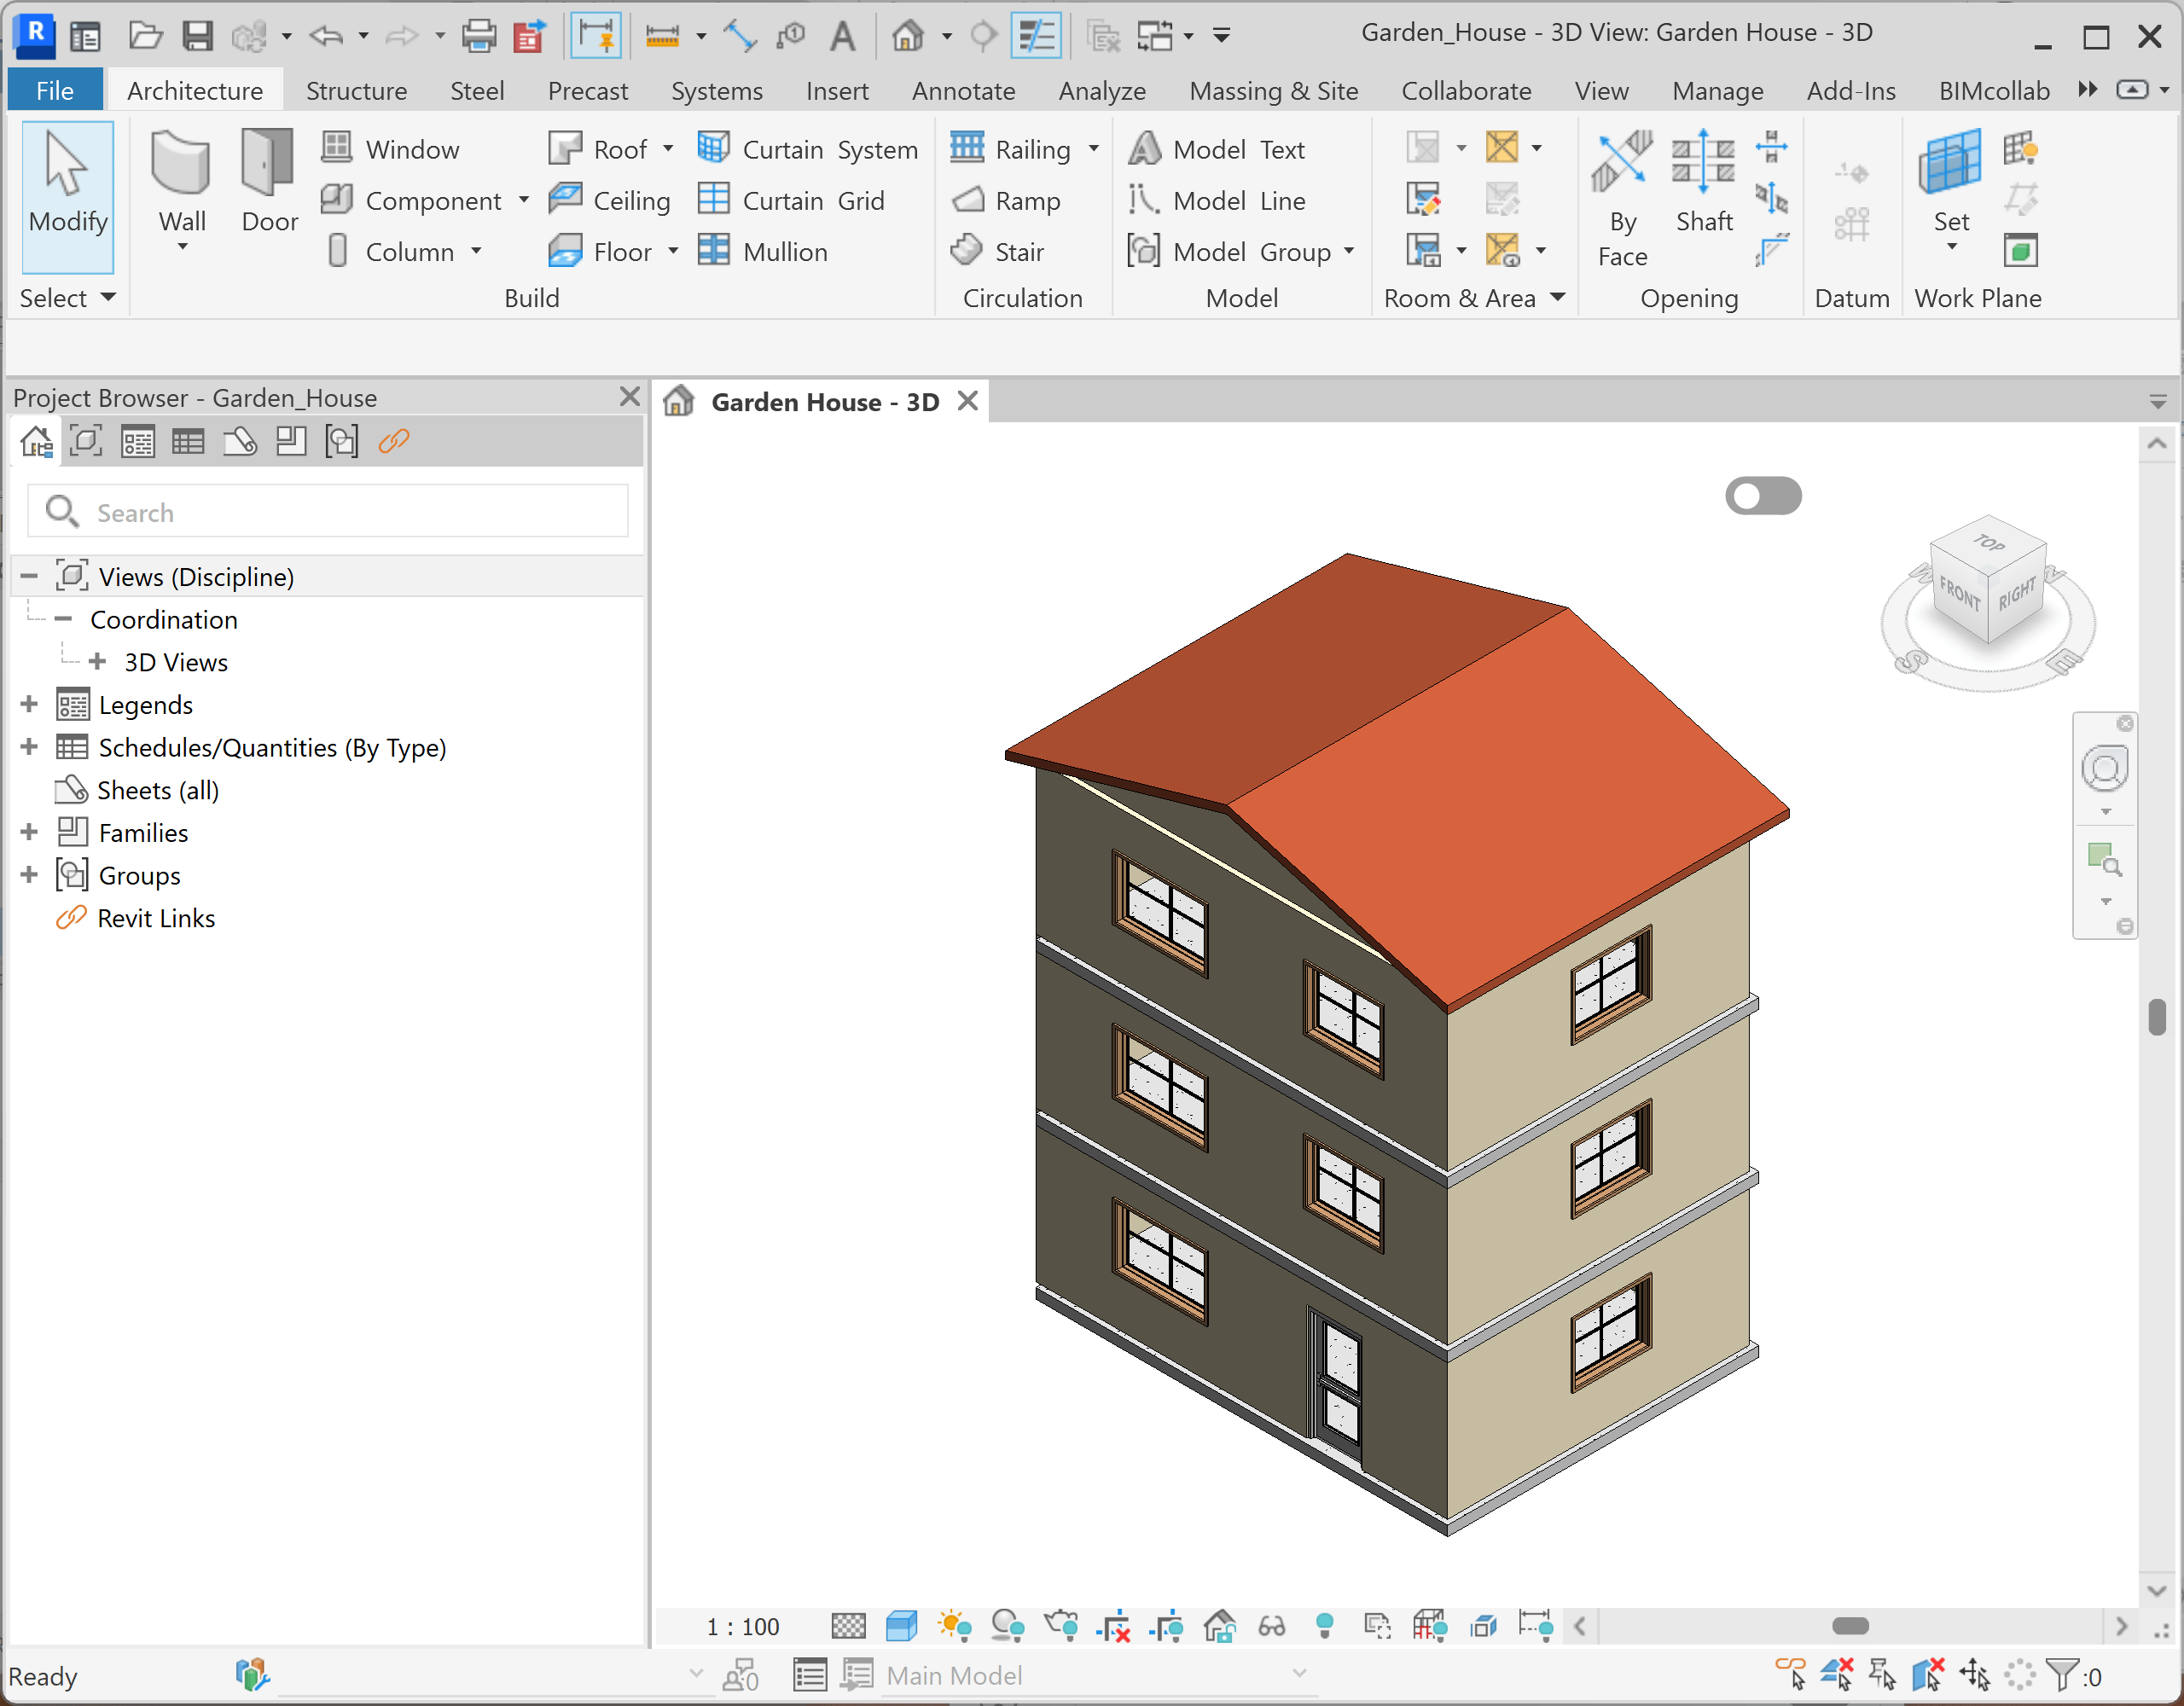
2
Connect Revit in a new chat
Start a new conversation in Studio. Open Connected Apps and select the Revit project containing the house.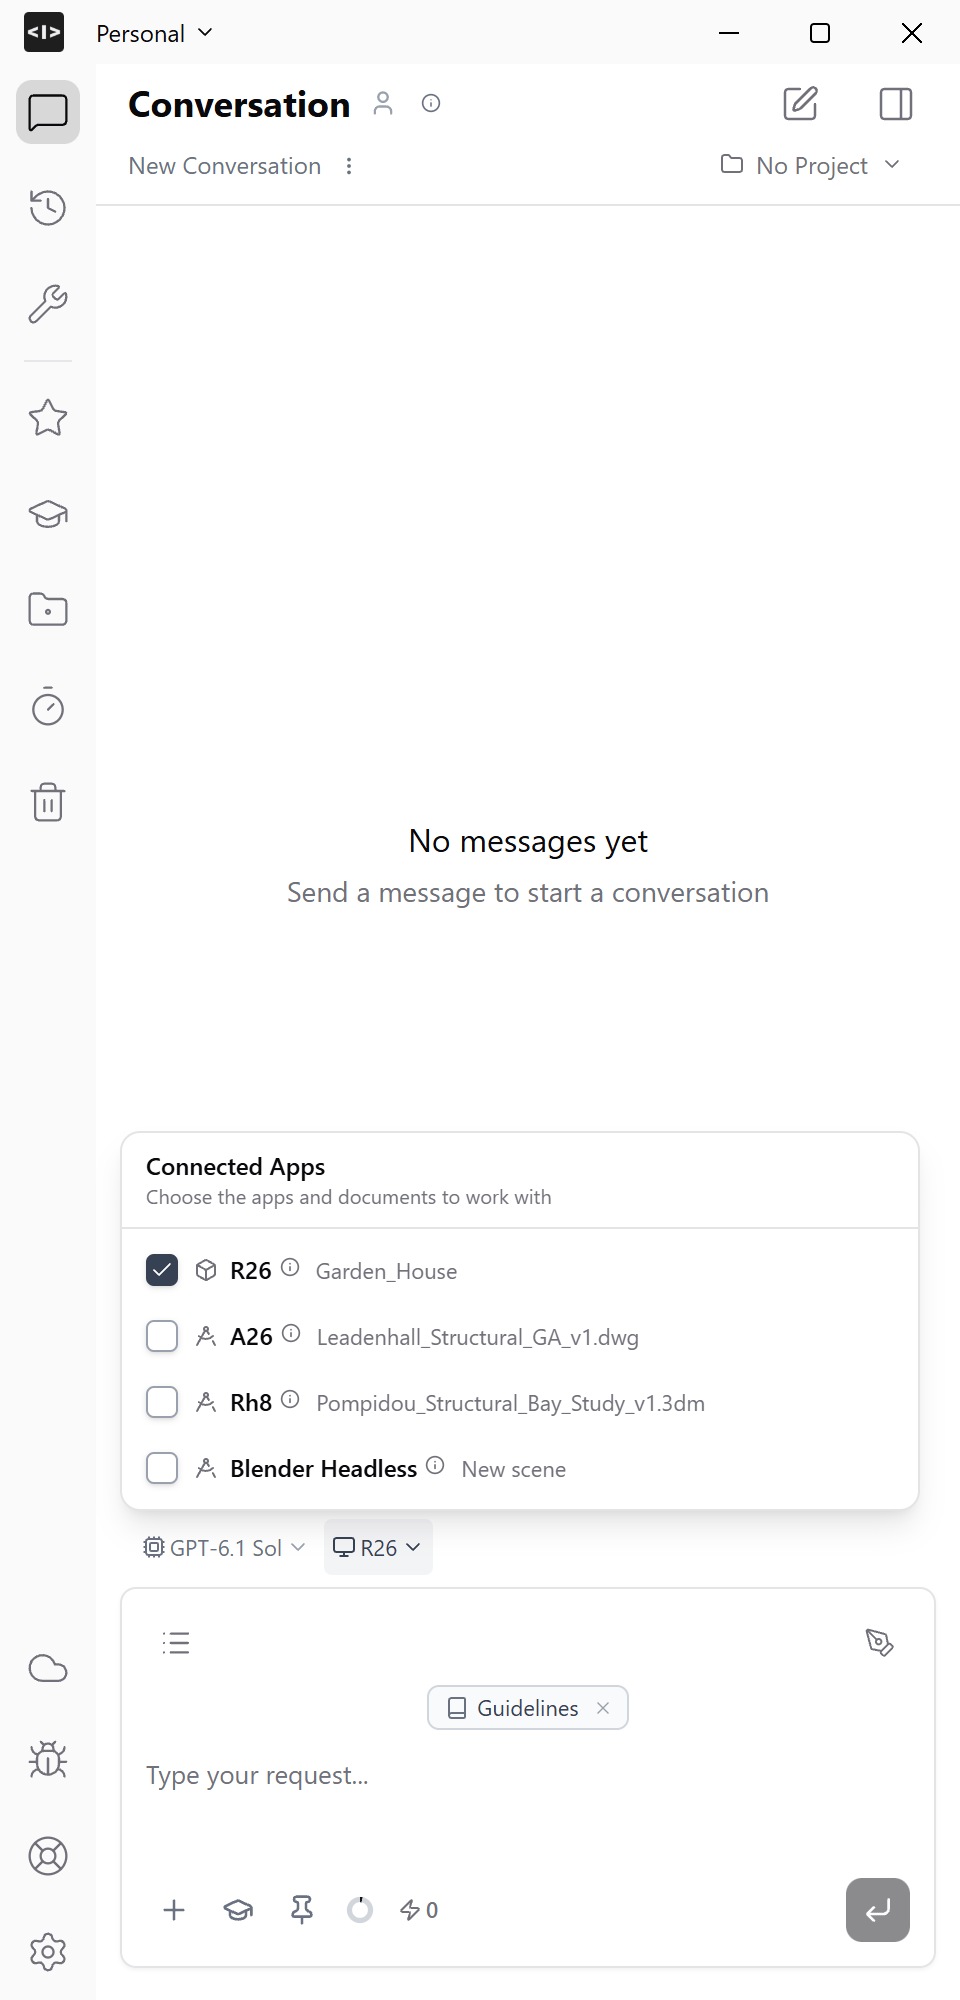
3
Create a floor-plan automation
Ask Ideatura to make an automation: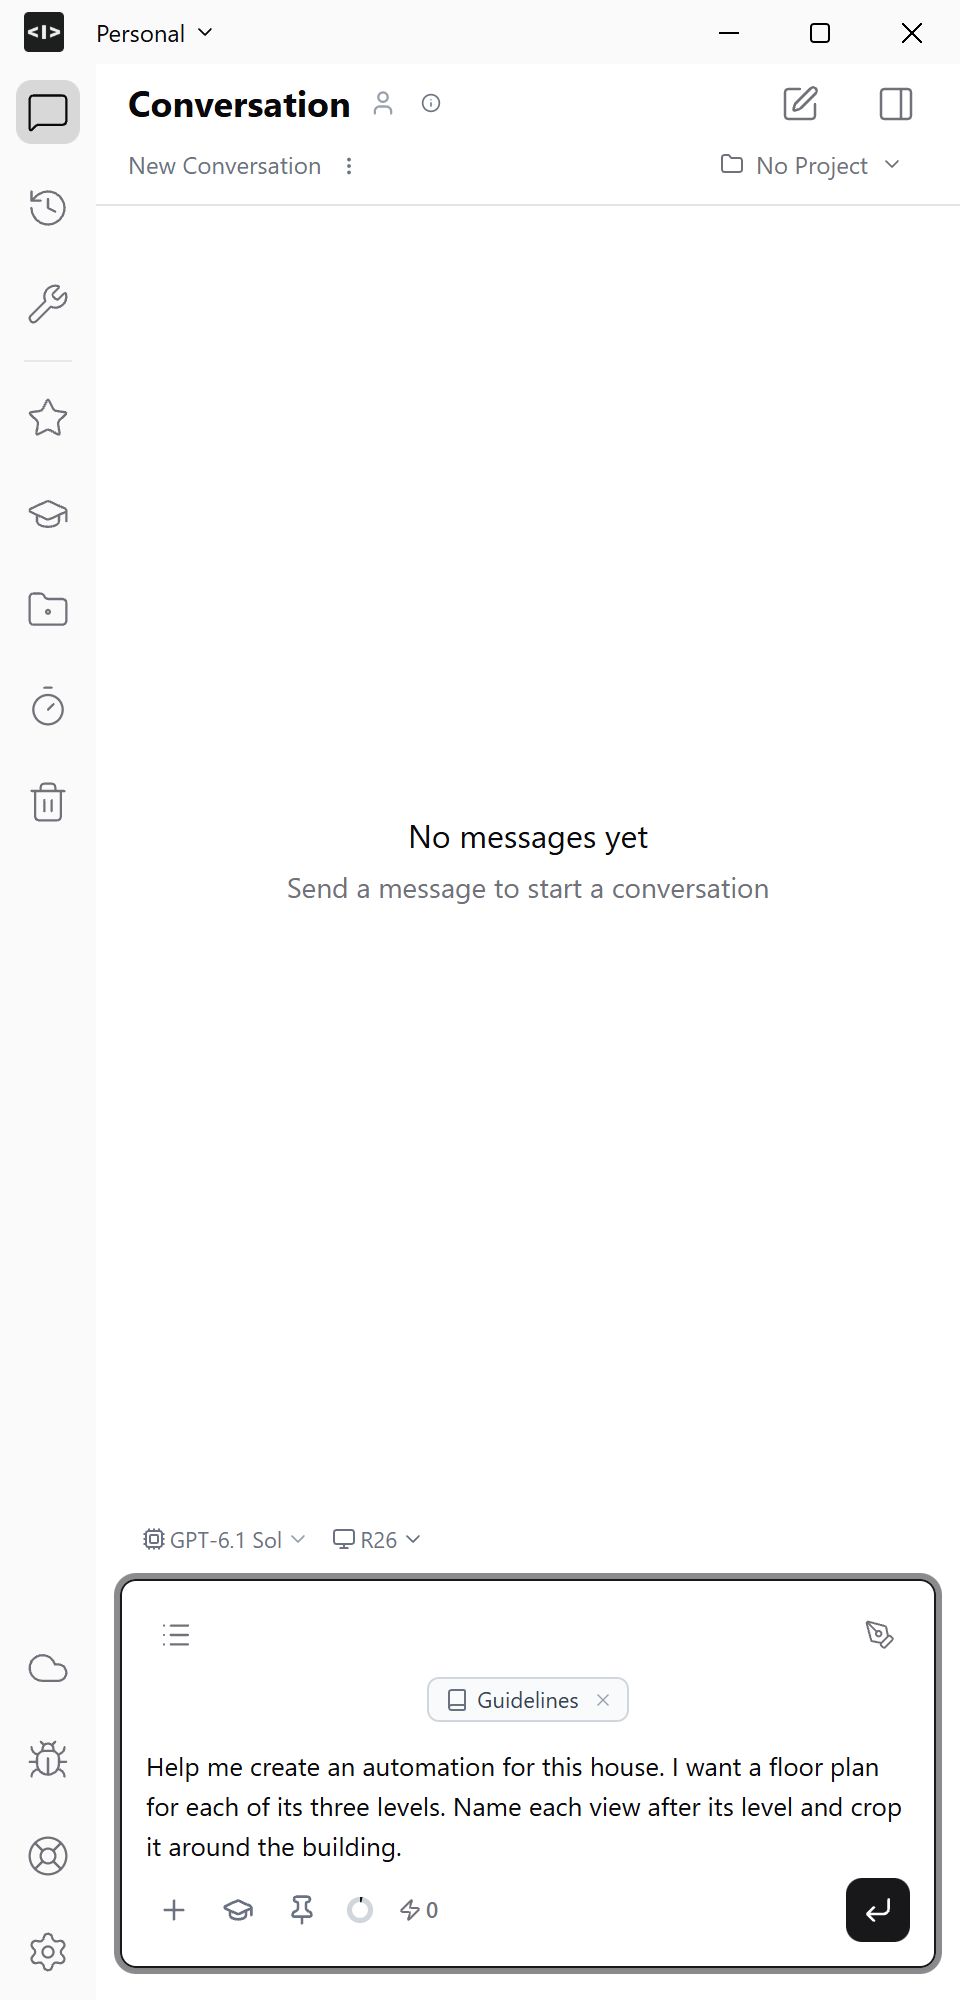
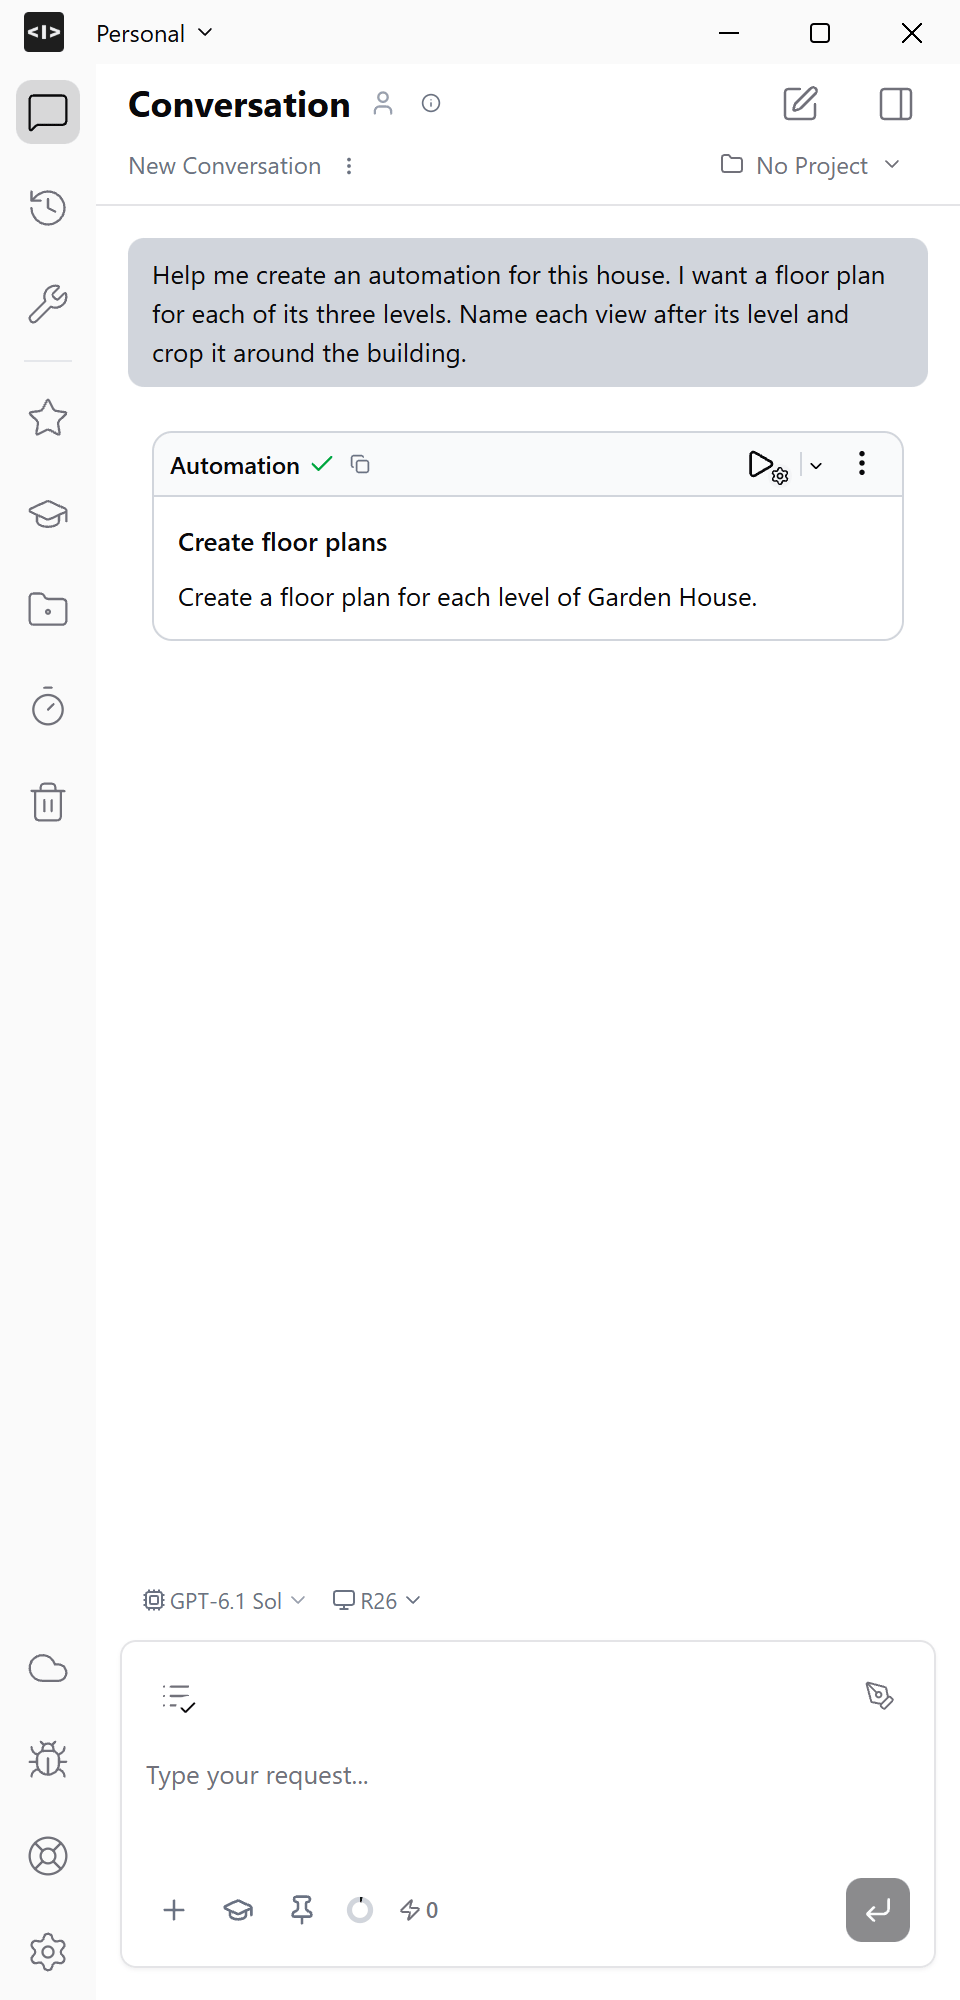
Help me create an automation for this house. I want a floor plan for each of its three levels. Name each view after its level and crop it around the building.
4
Add level and scale parameters
Continue in the same chat: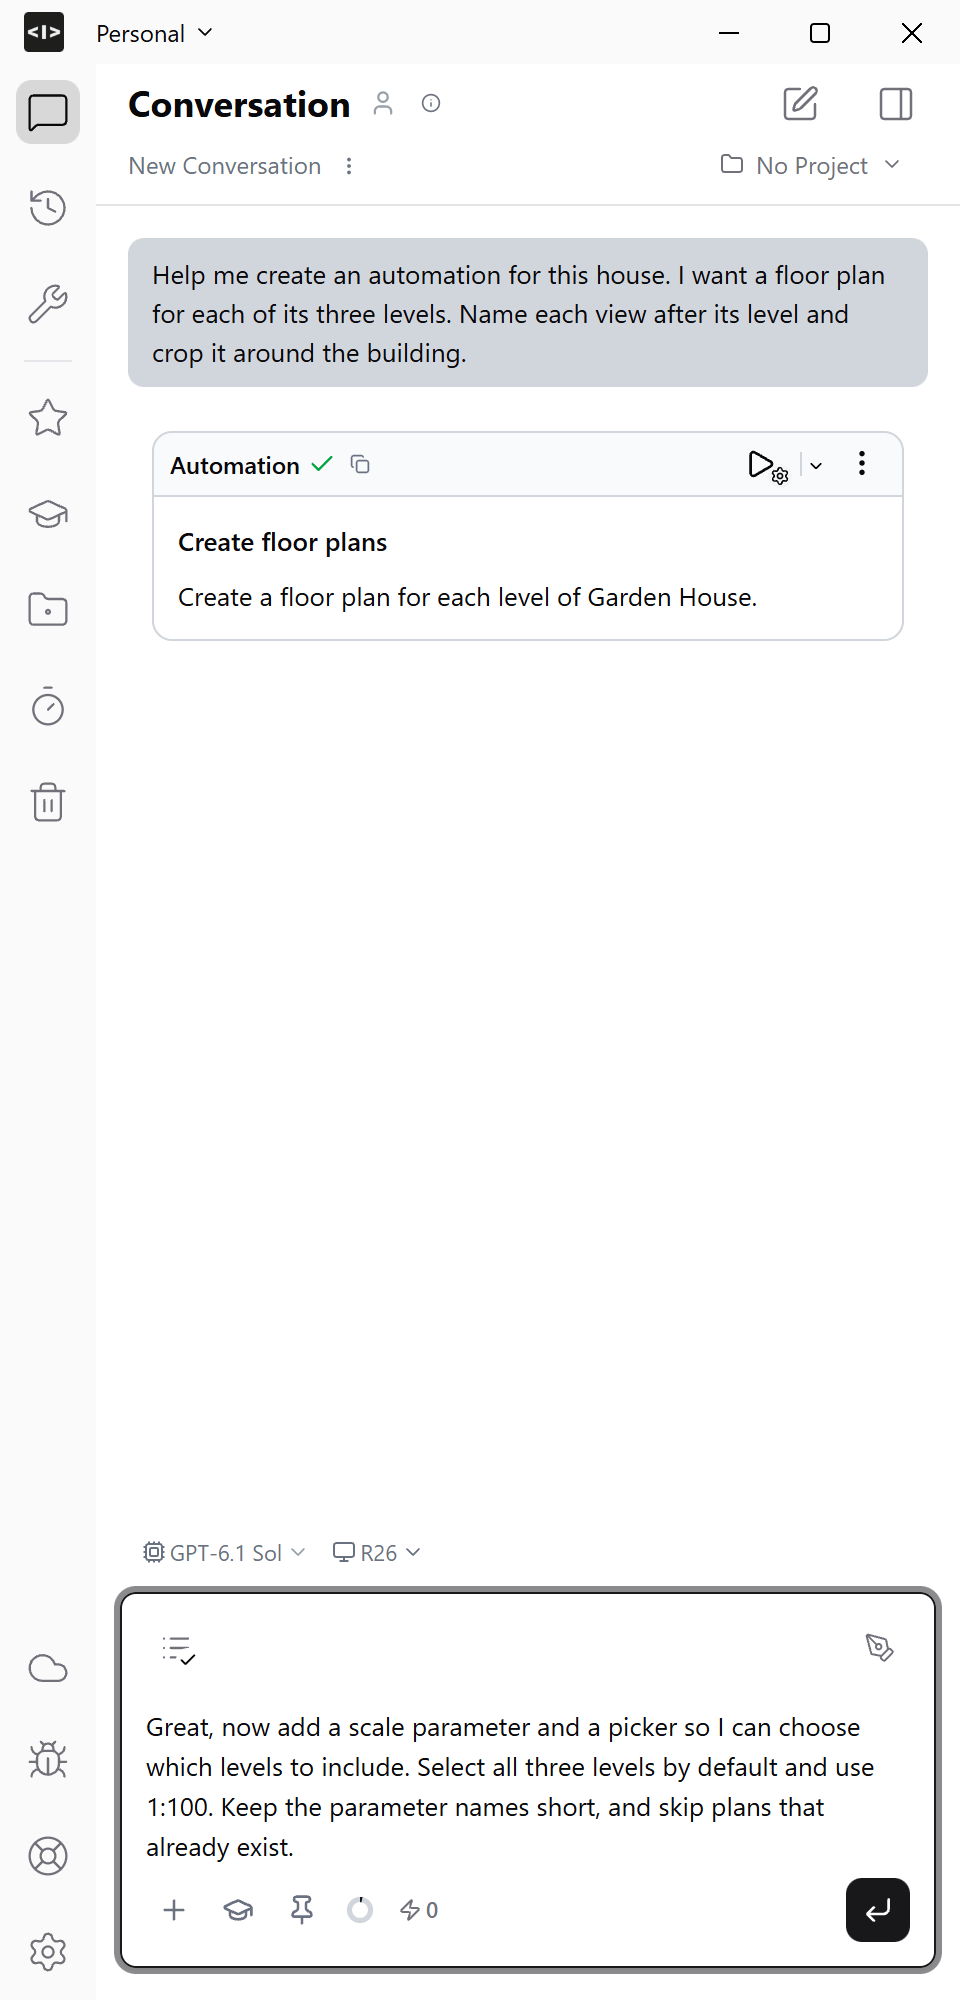
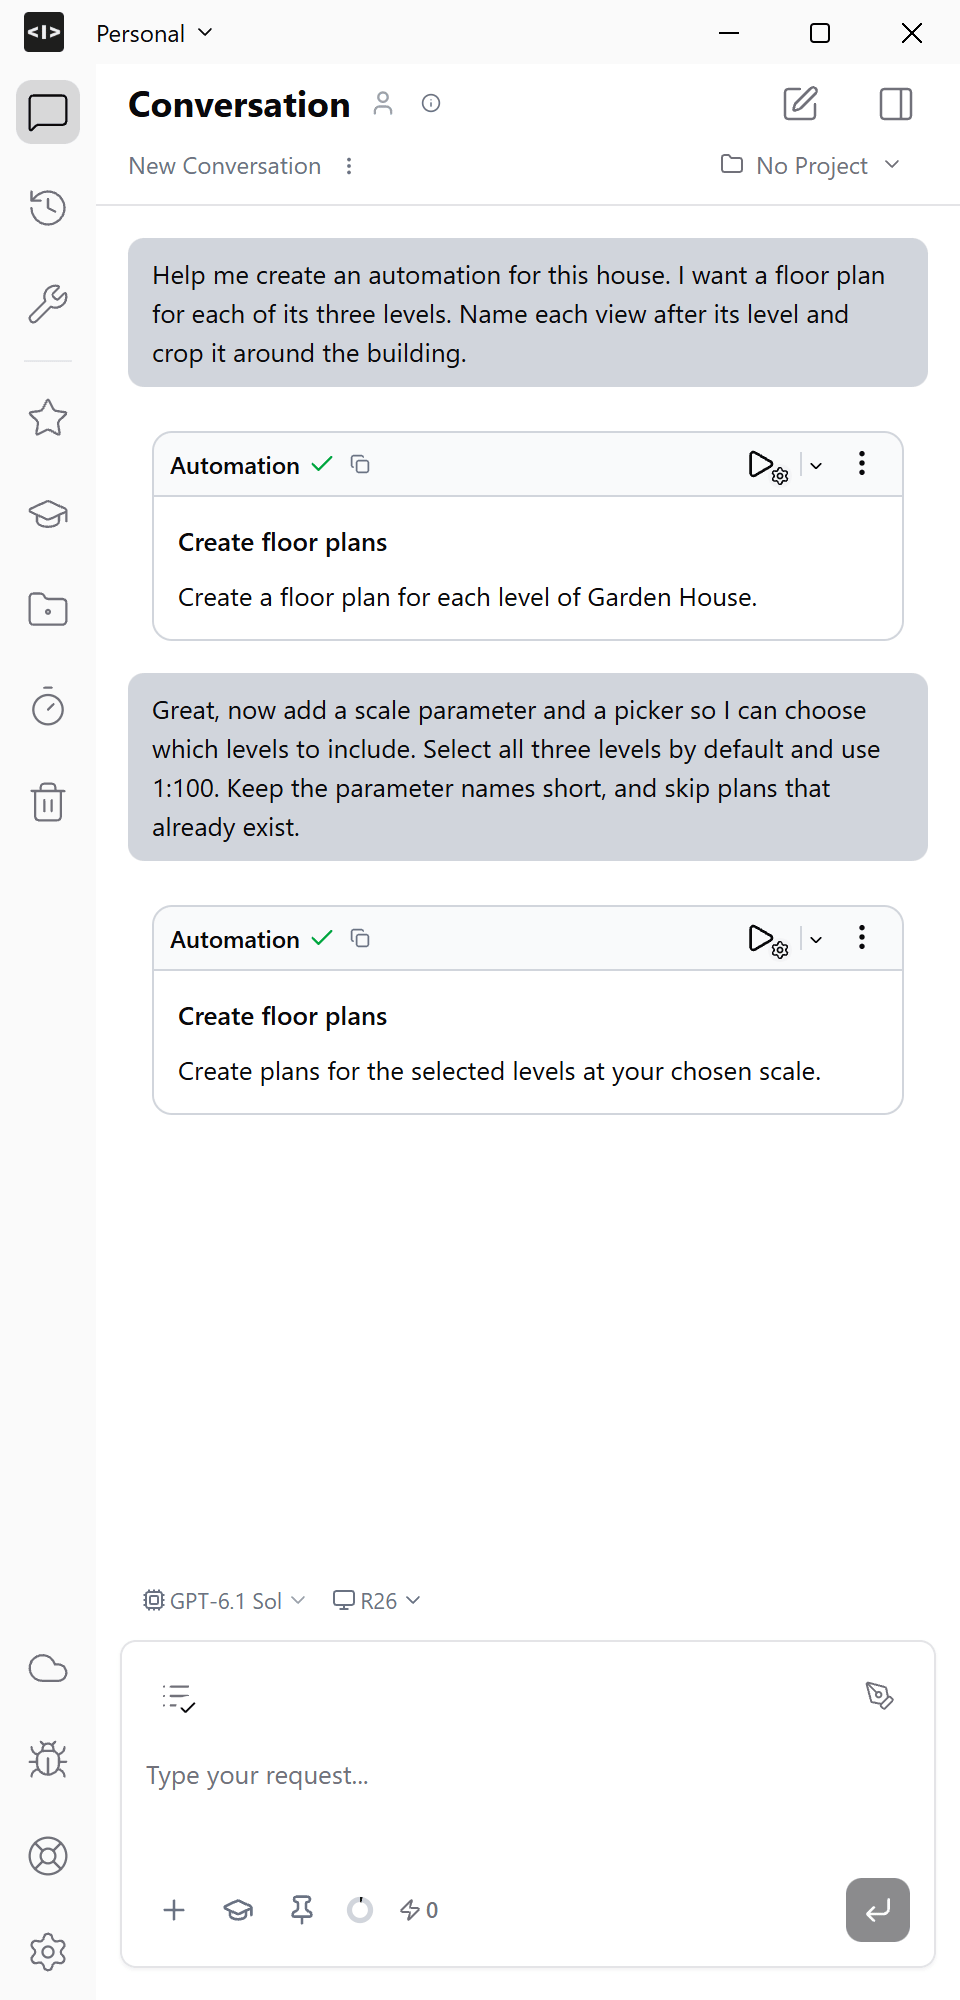
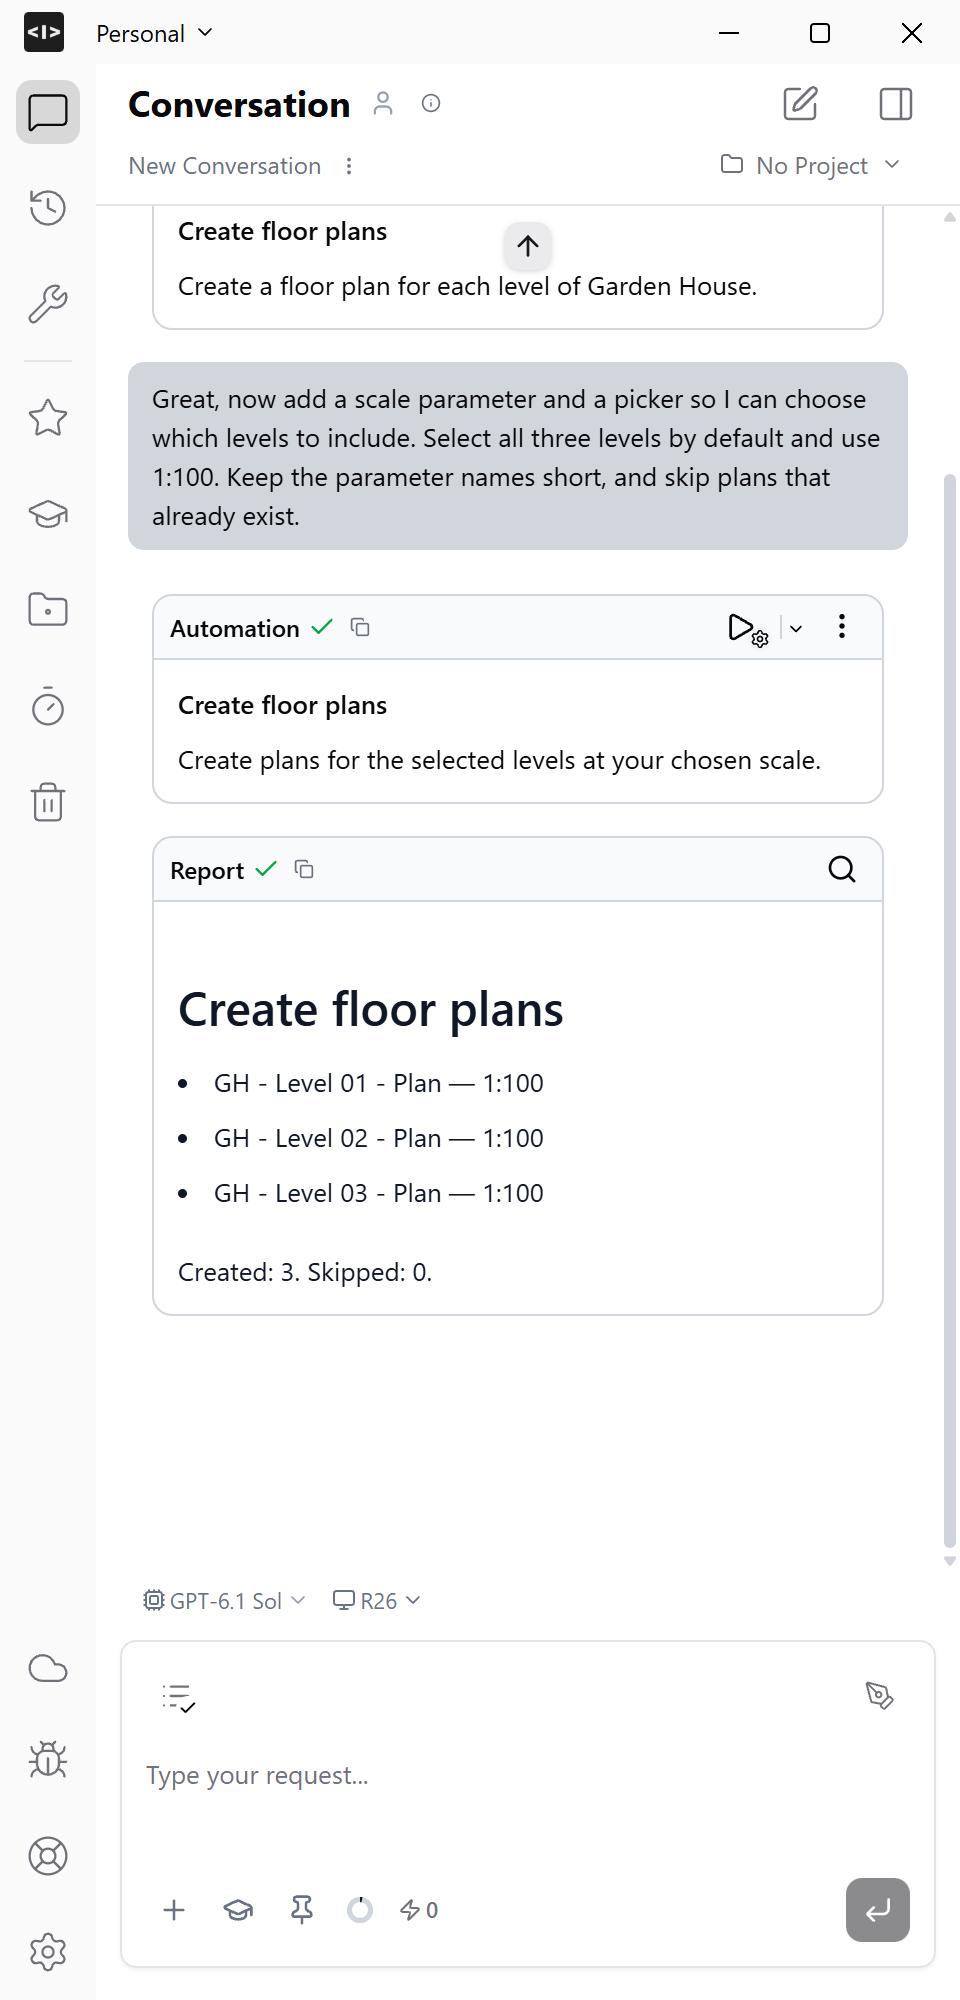
Great, now add a scale parameter and a picker so I can choose which levels to include. Select all three levels by default and use 1:100. Keep the parameter names short, and skip plans that already exist.
5
Run the floor-plan automation
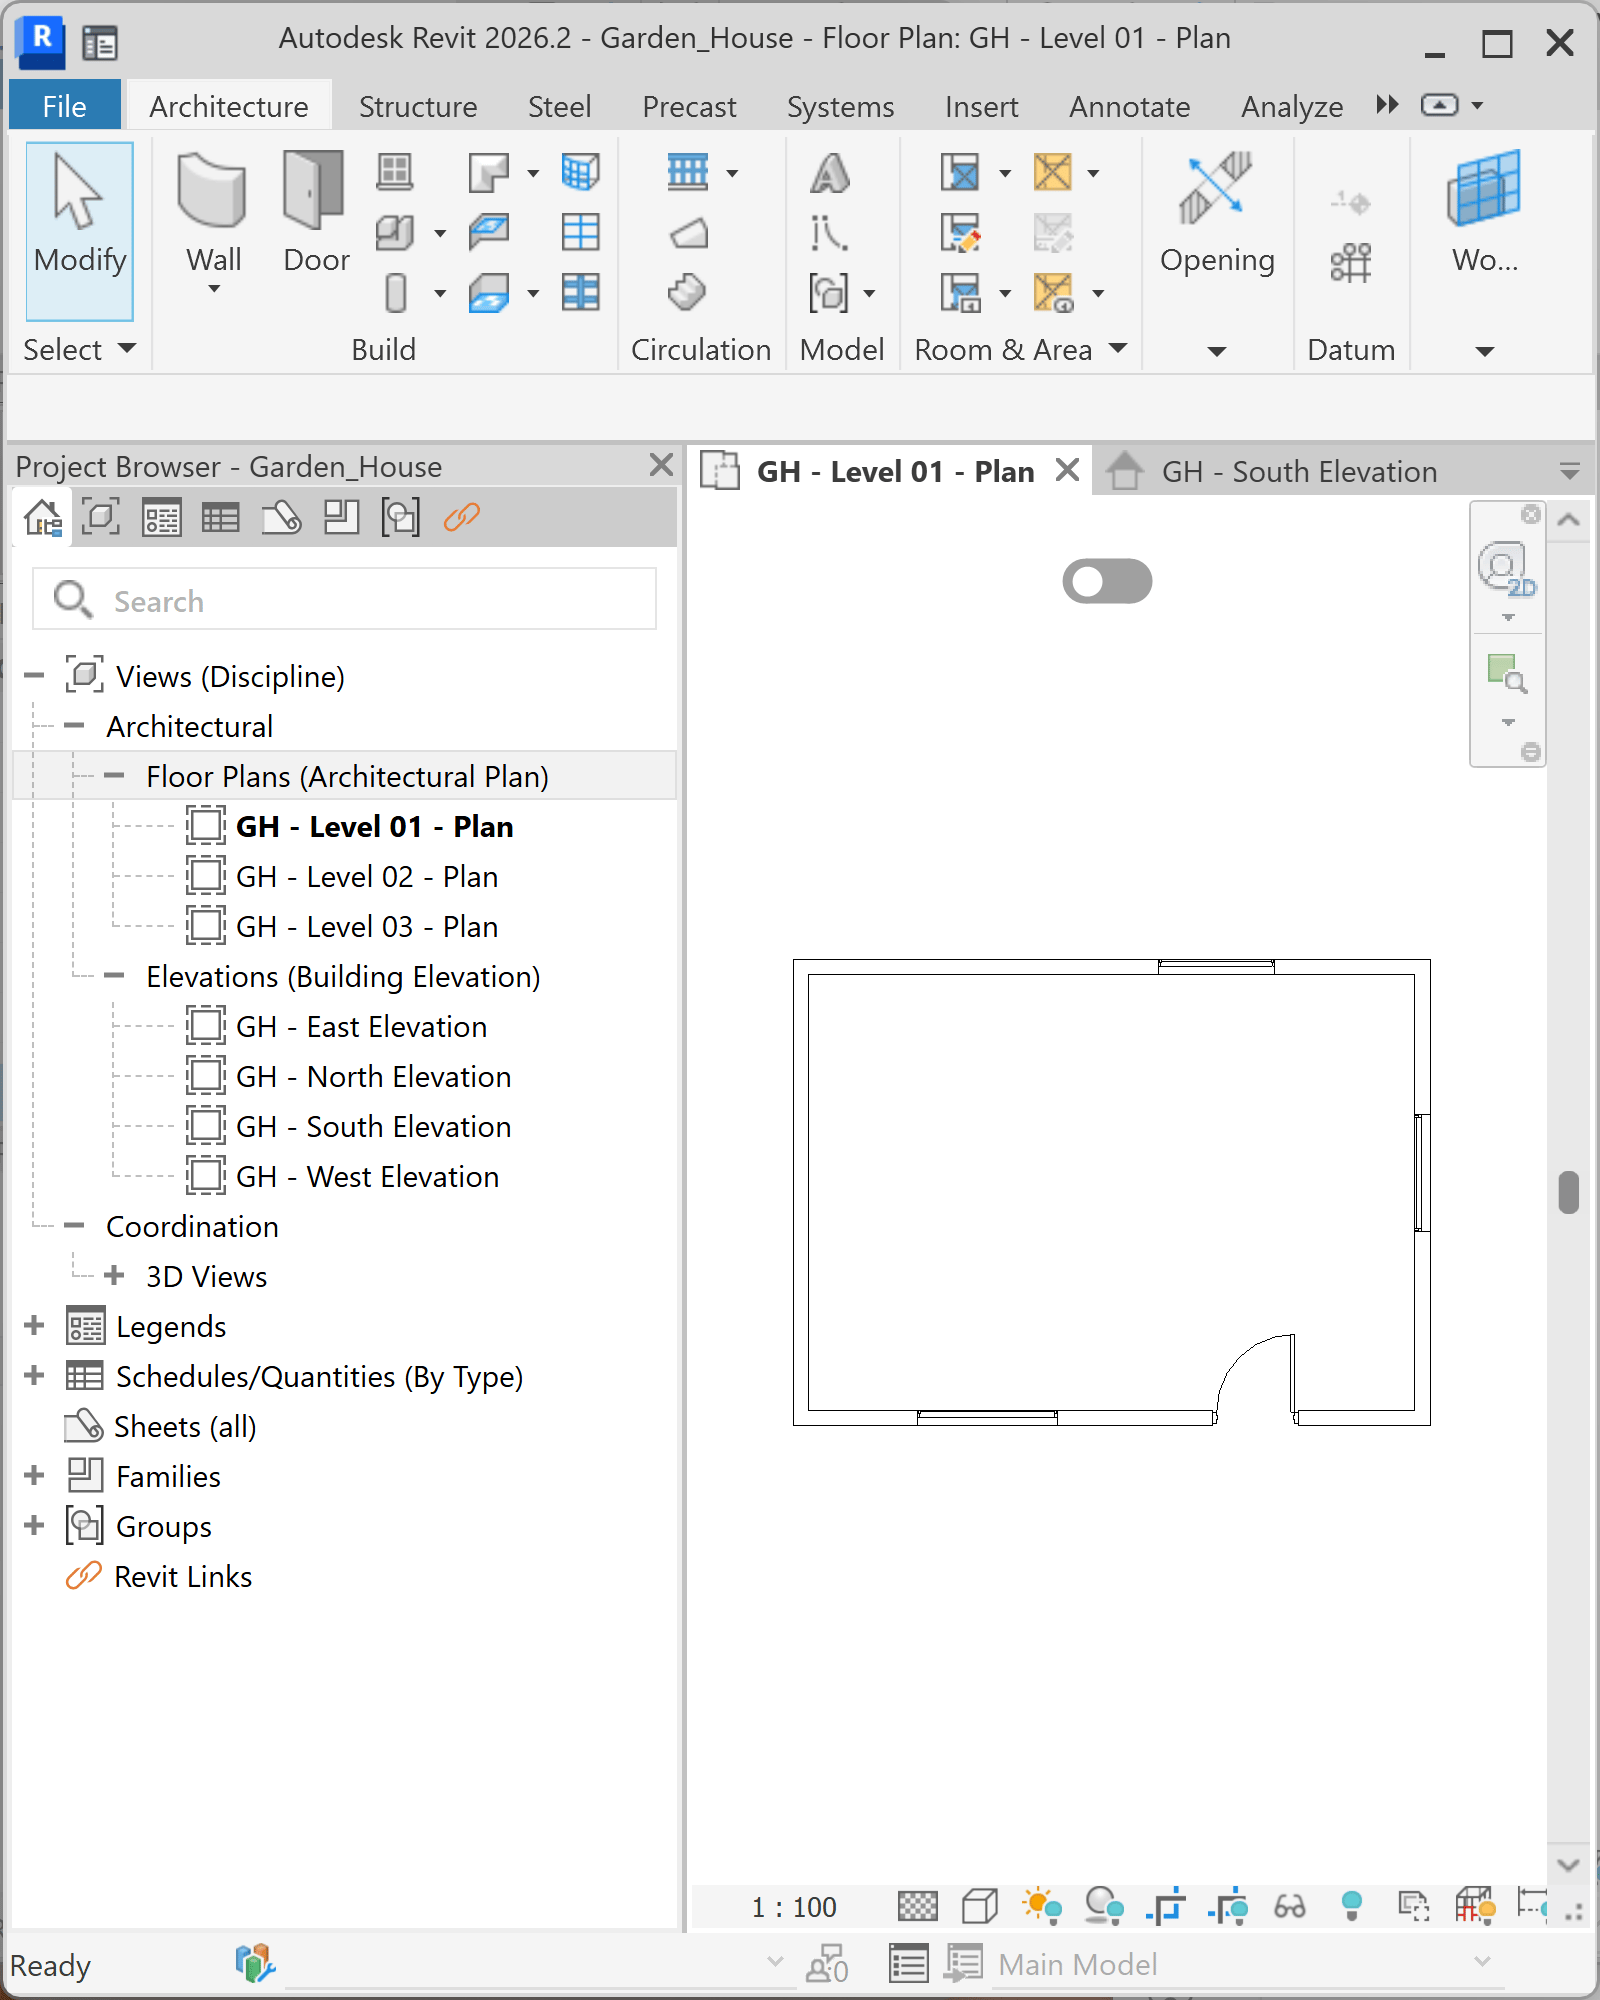
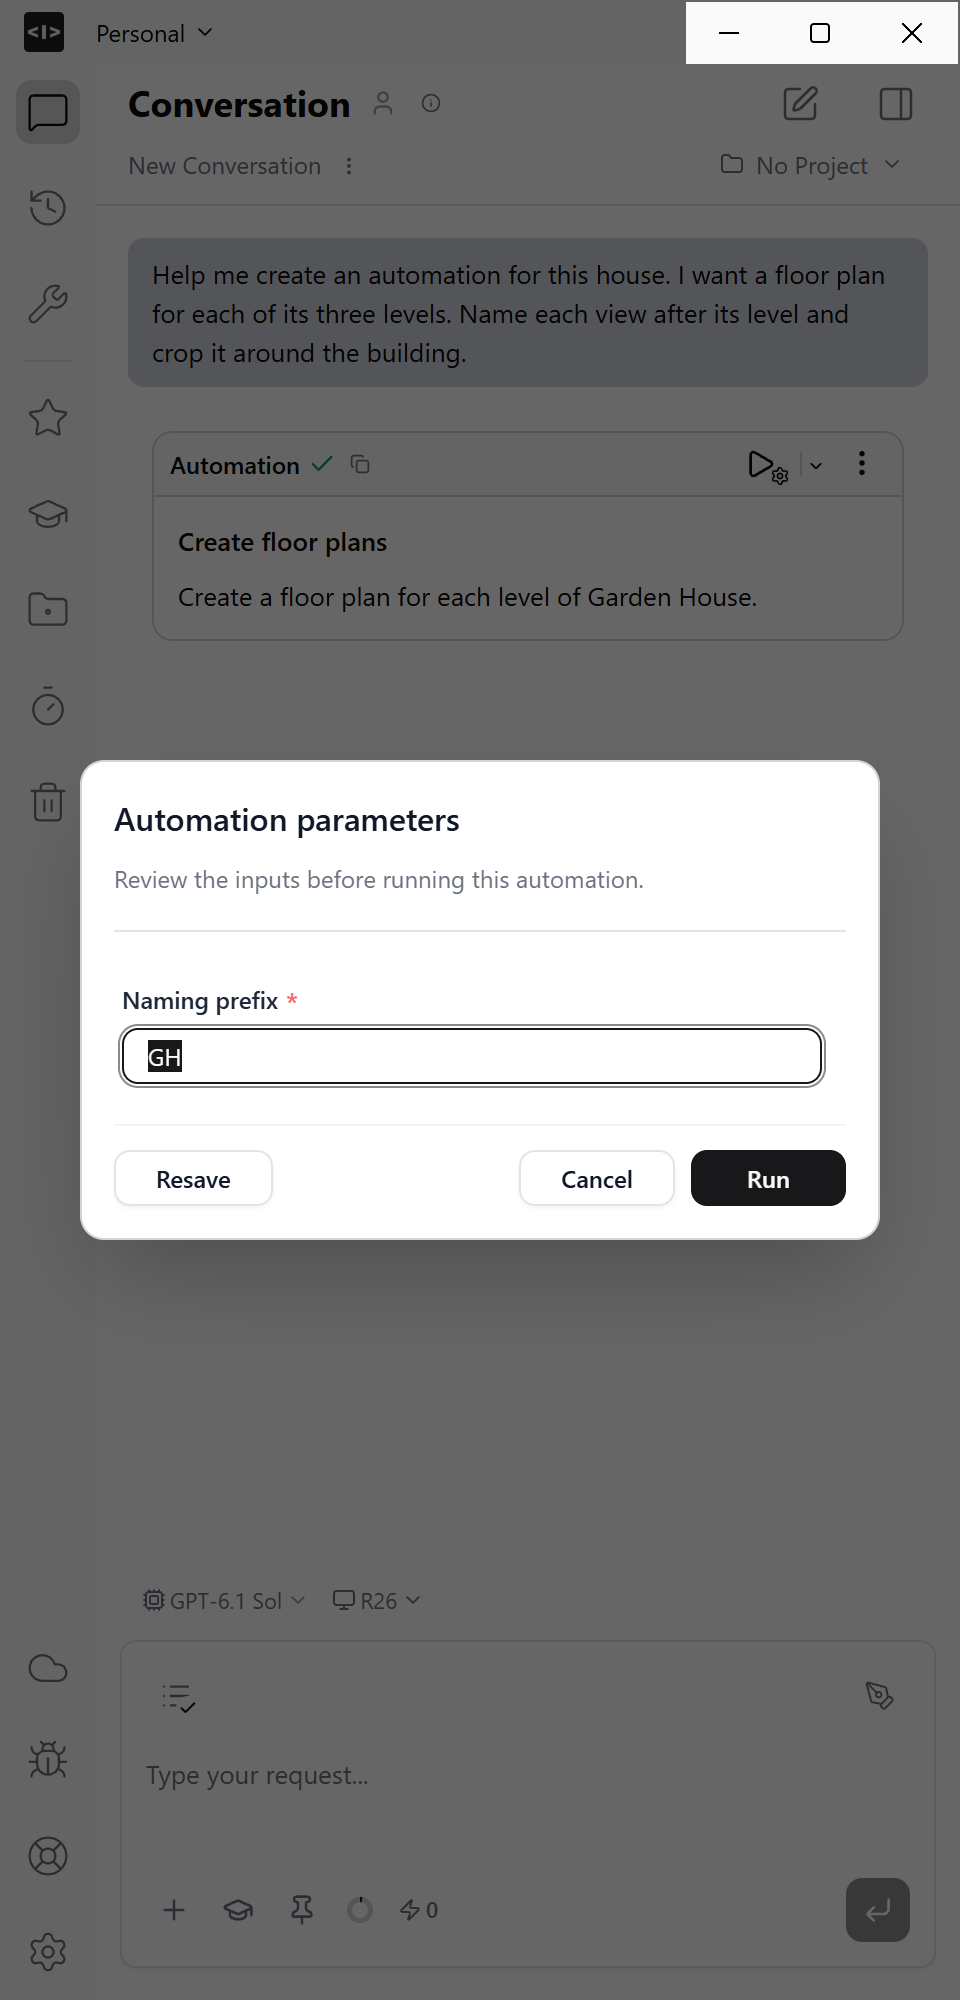
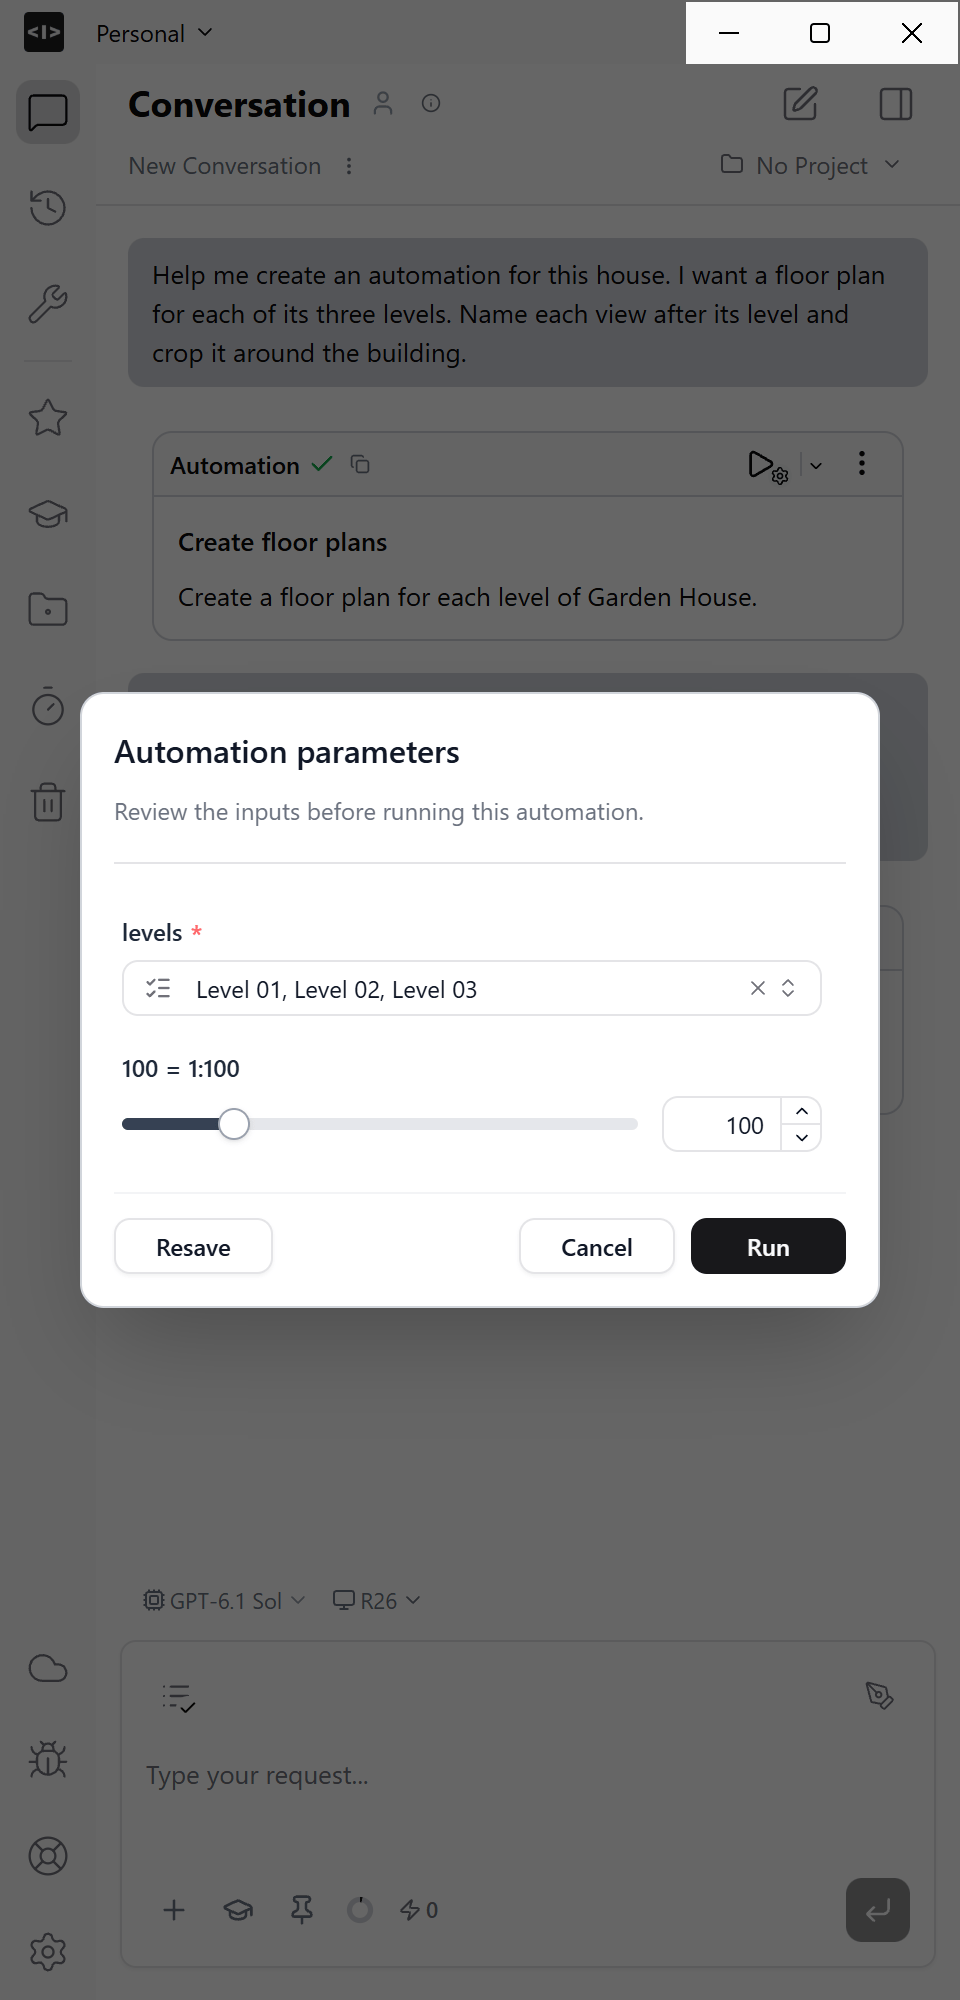
Open the updated automation’s run dialog. Select Level 01, Level 02 and Level 03, set the scale value to 100 (1:100), and run it.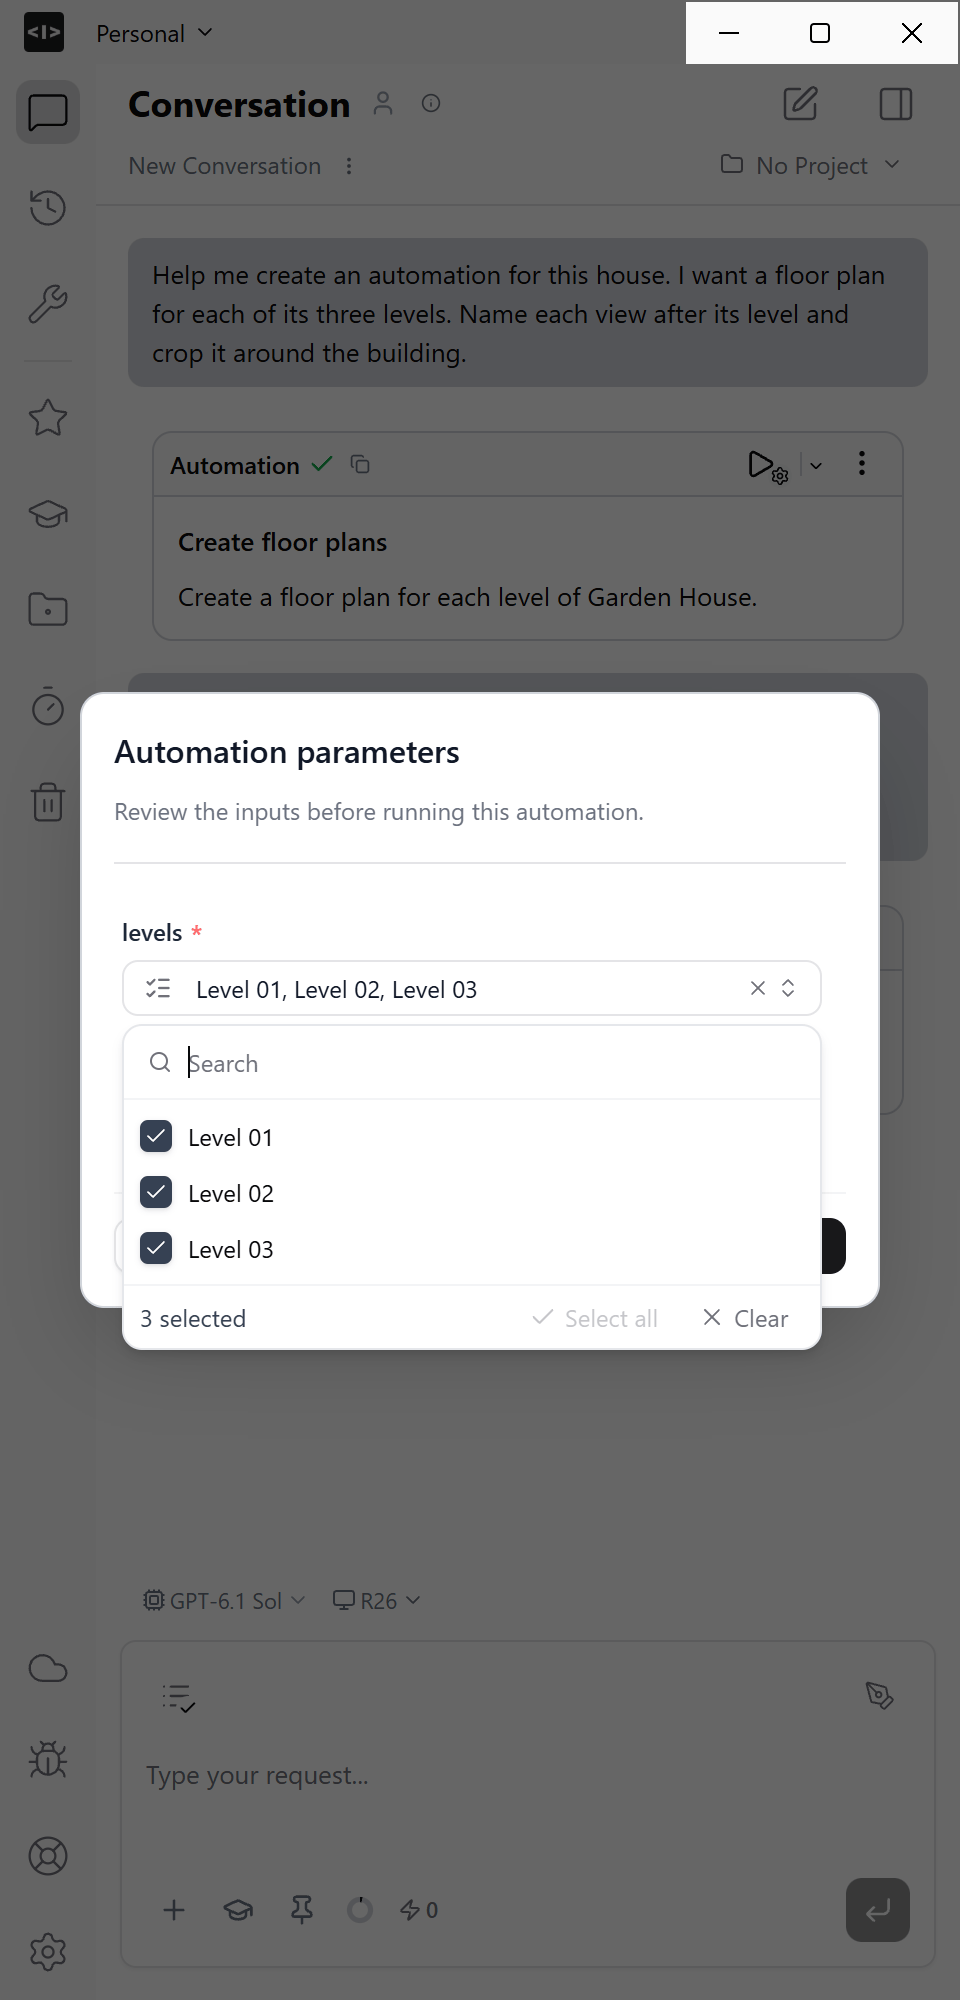
6
Create an elevation automation
Ask for a separate automation: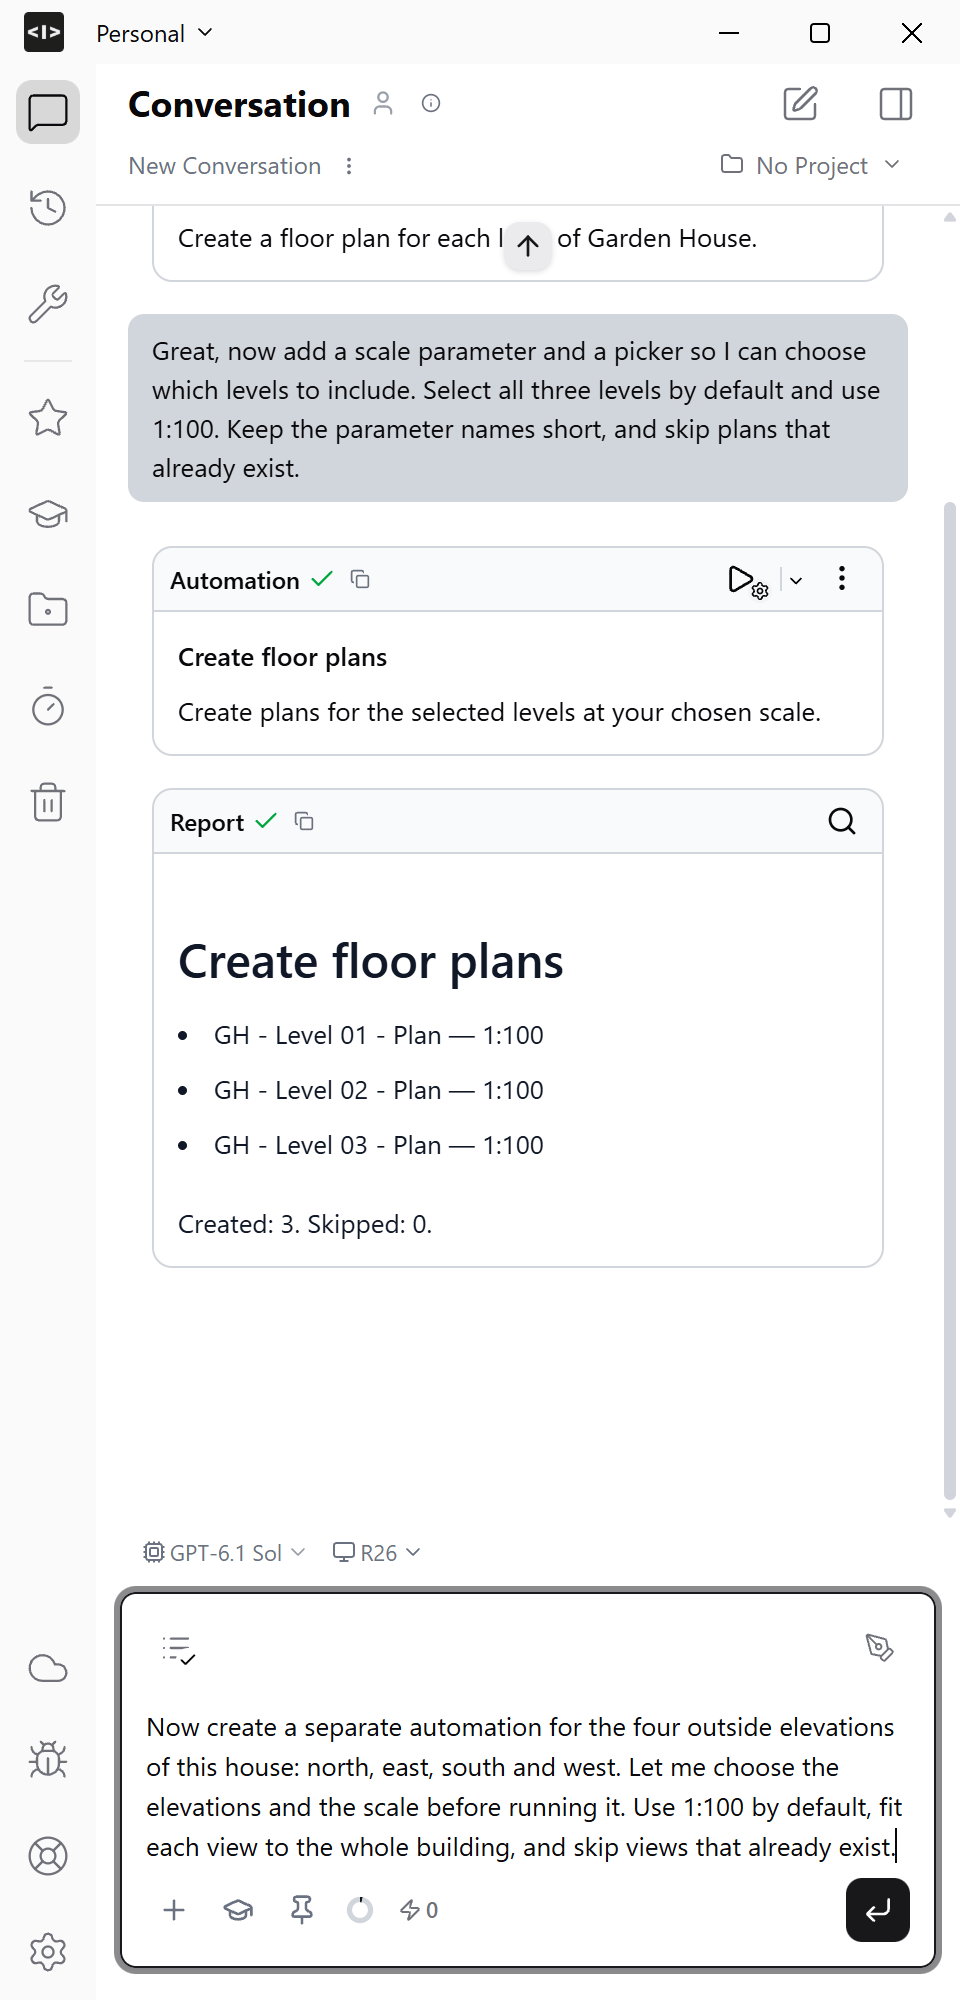
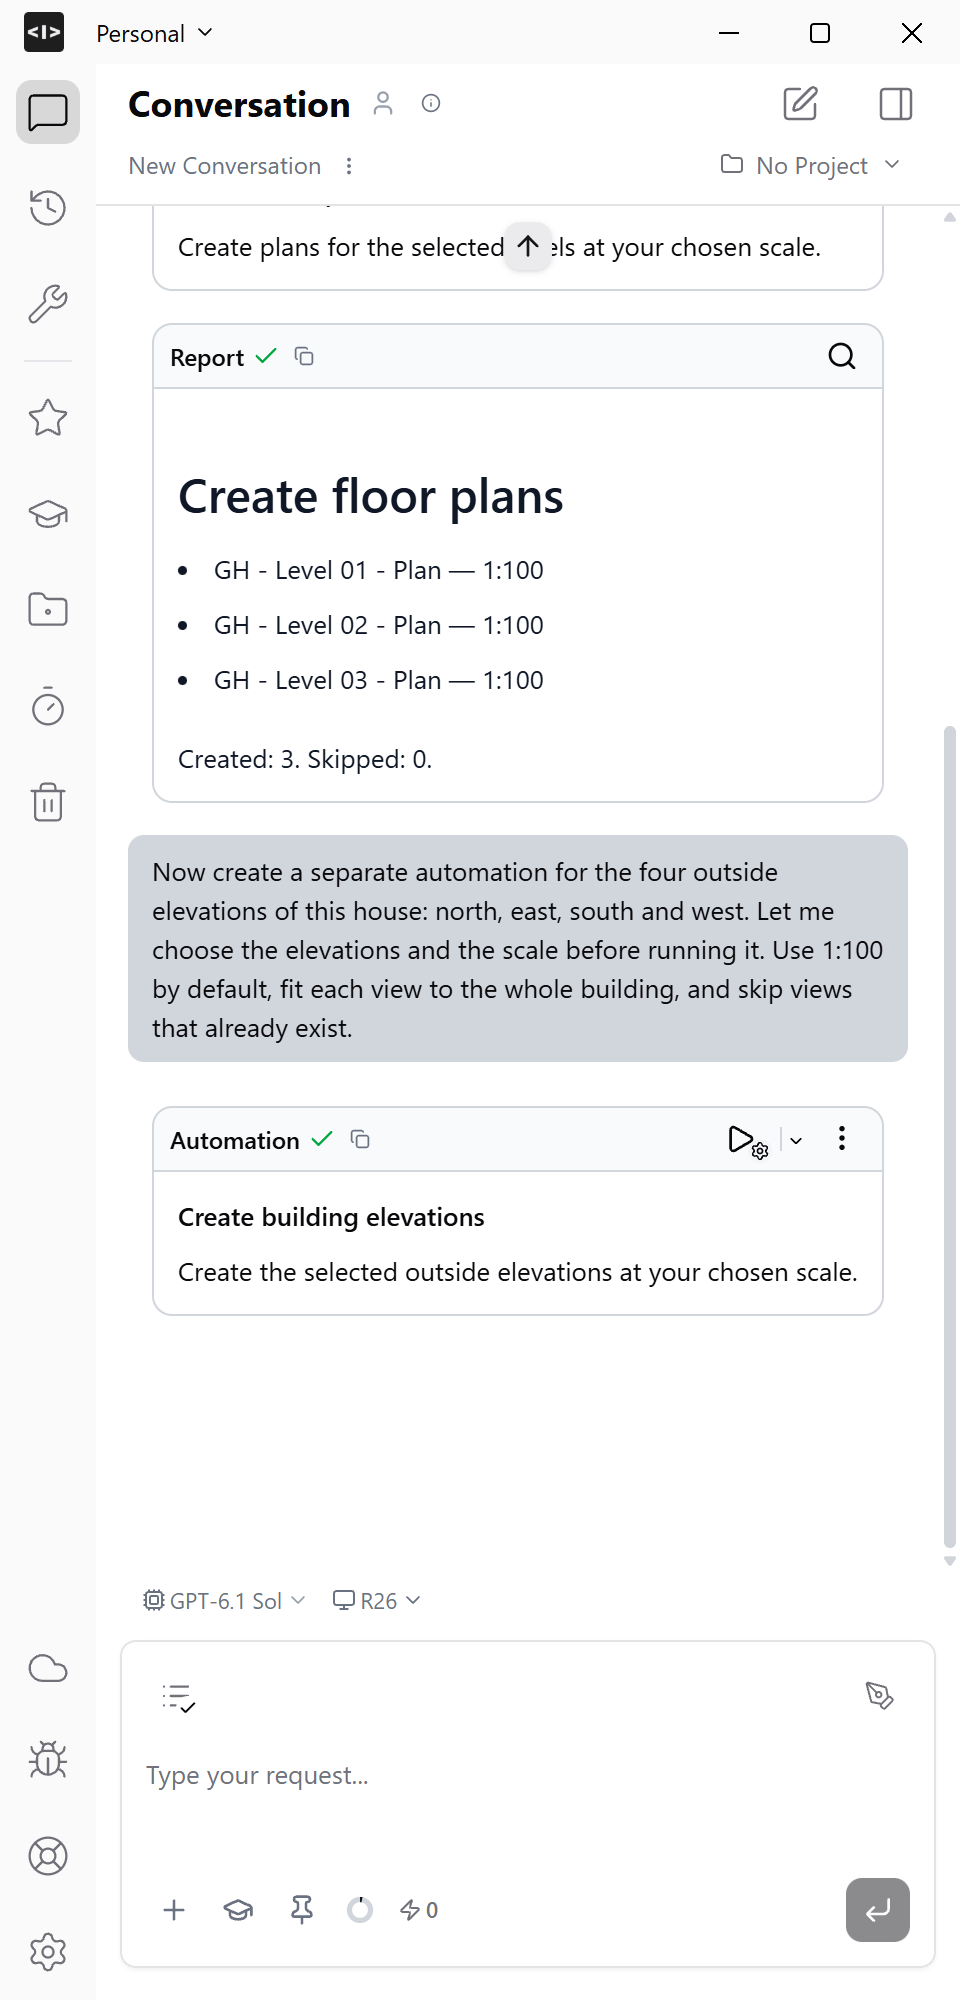
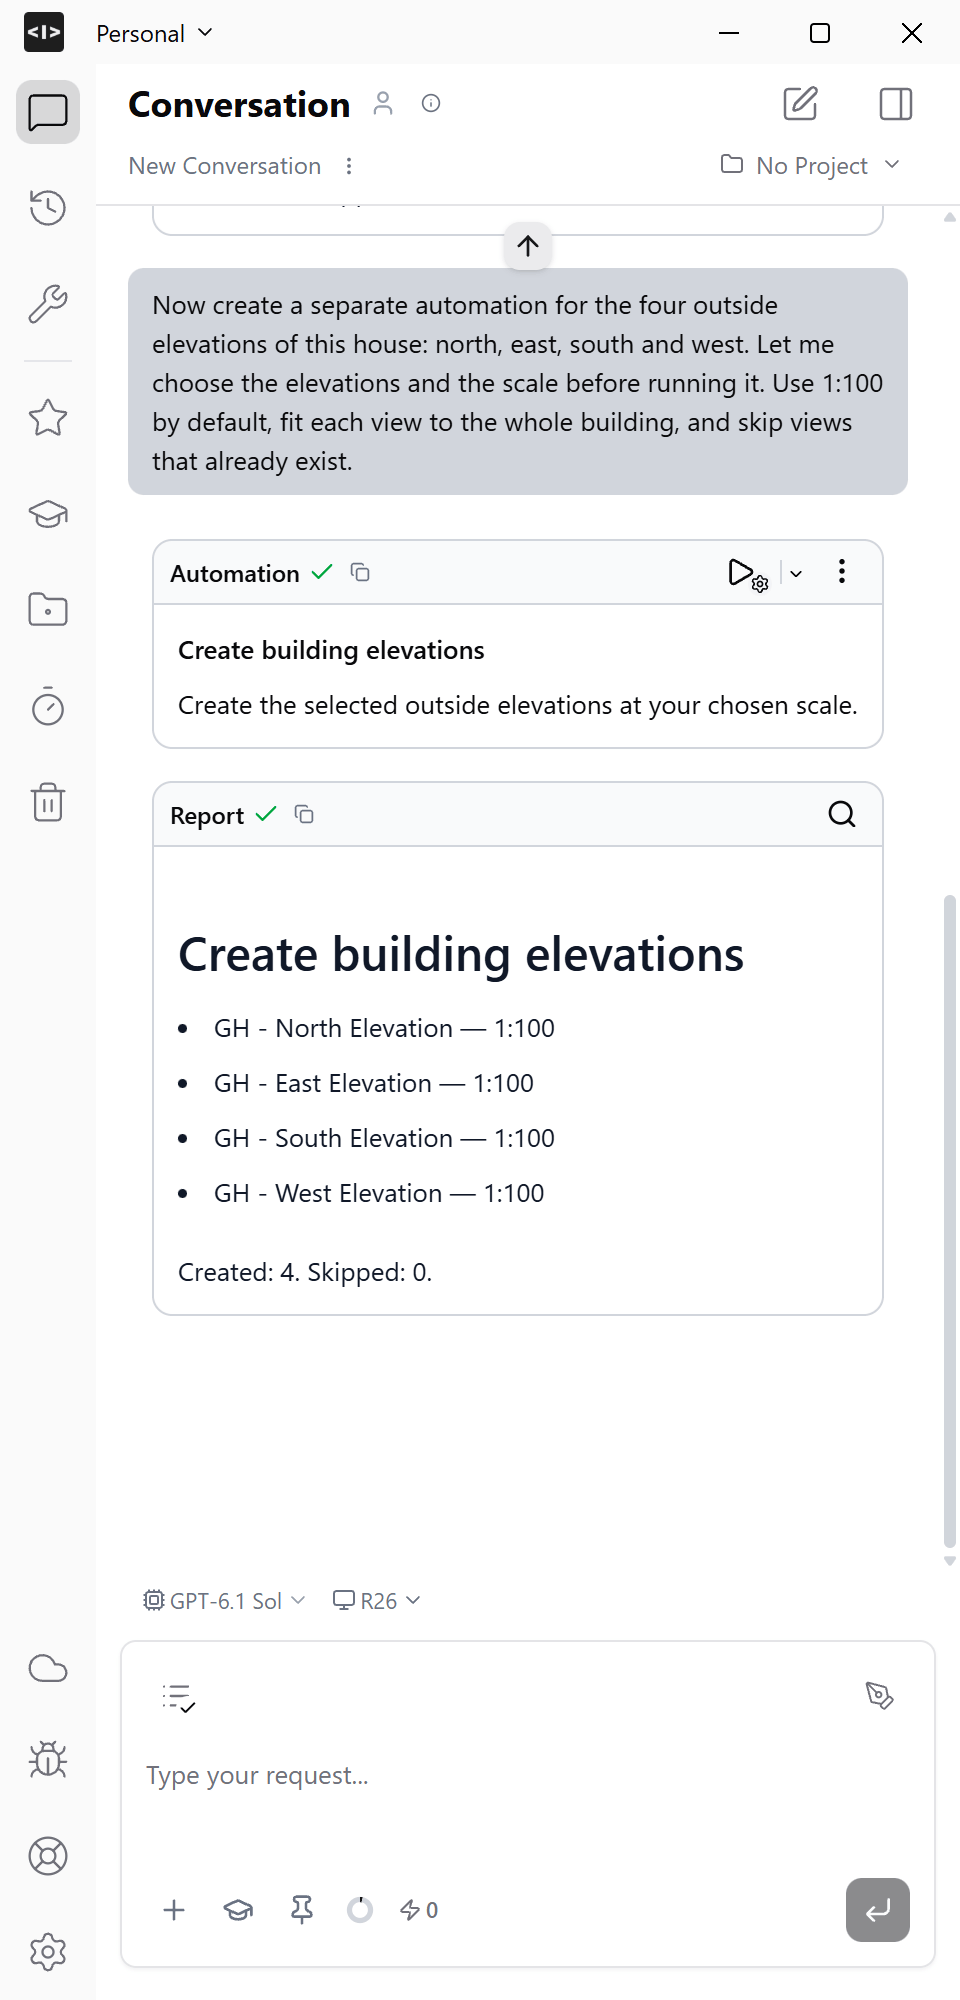
Now create a separate automation for the four outside elevations of this house: north, east, south and west. Let me choose the elevations and the scale before running it. Use 1:100 by default, fit each view to the whole building, and skip views that already exist.
7
Run the elevation automation
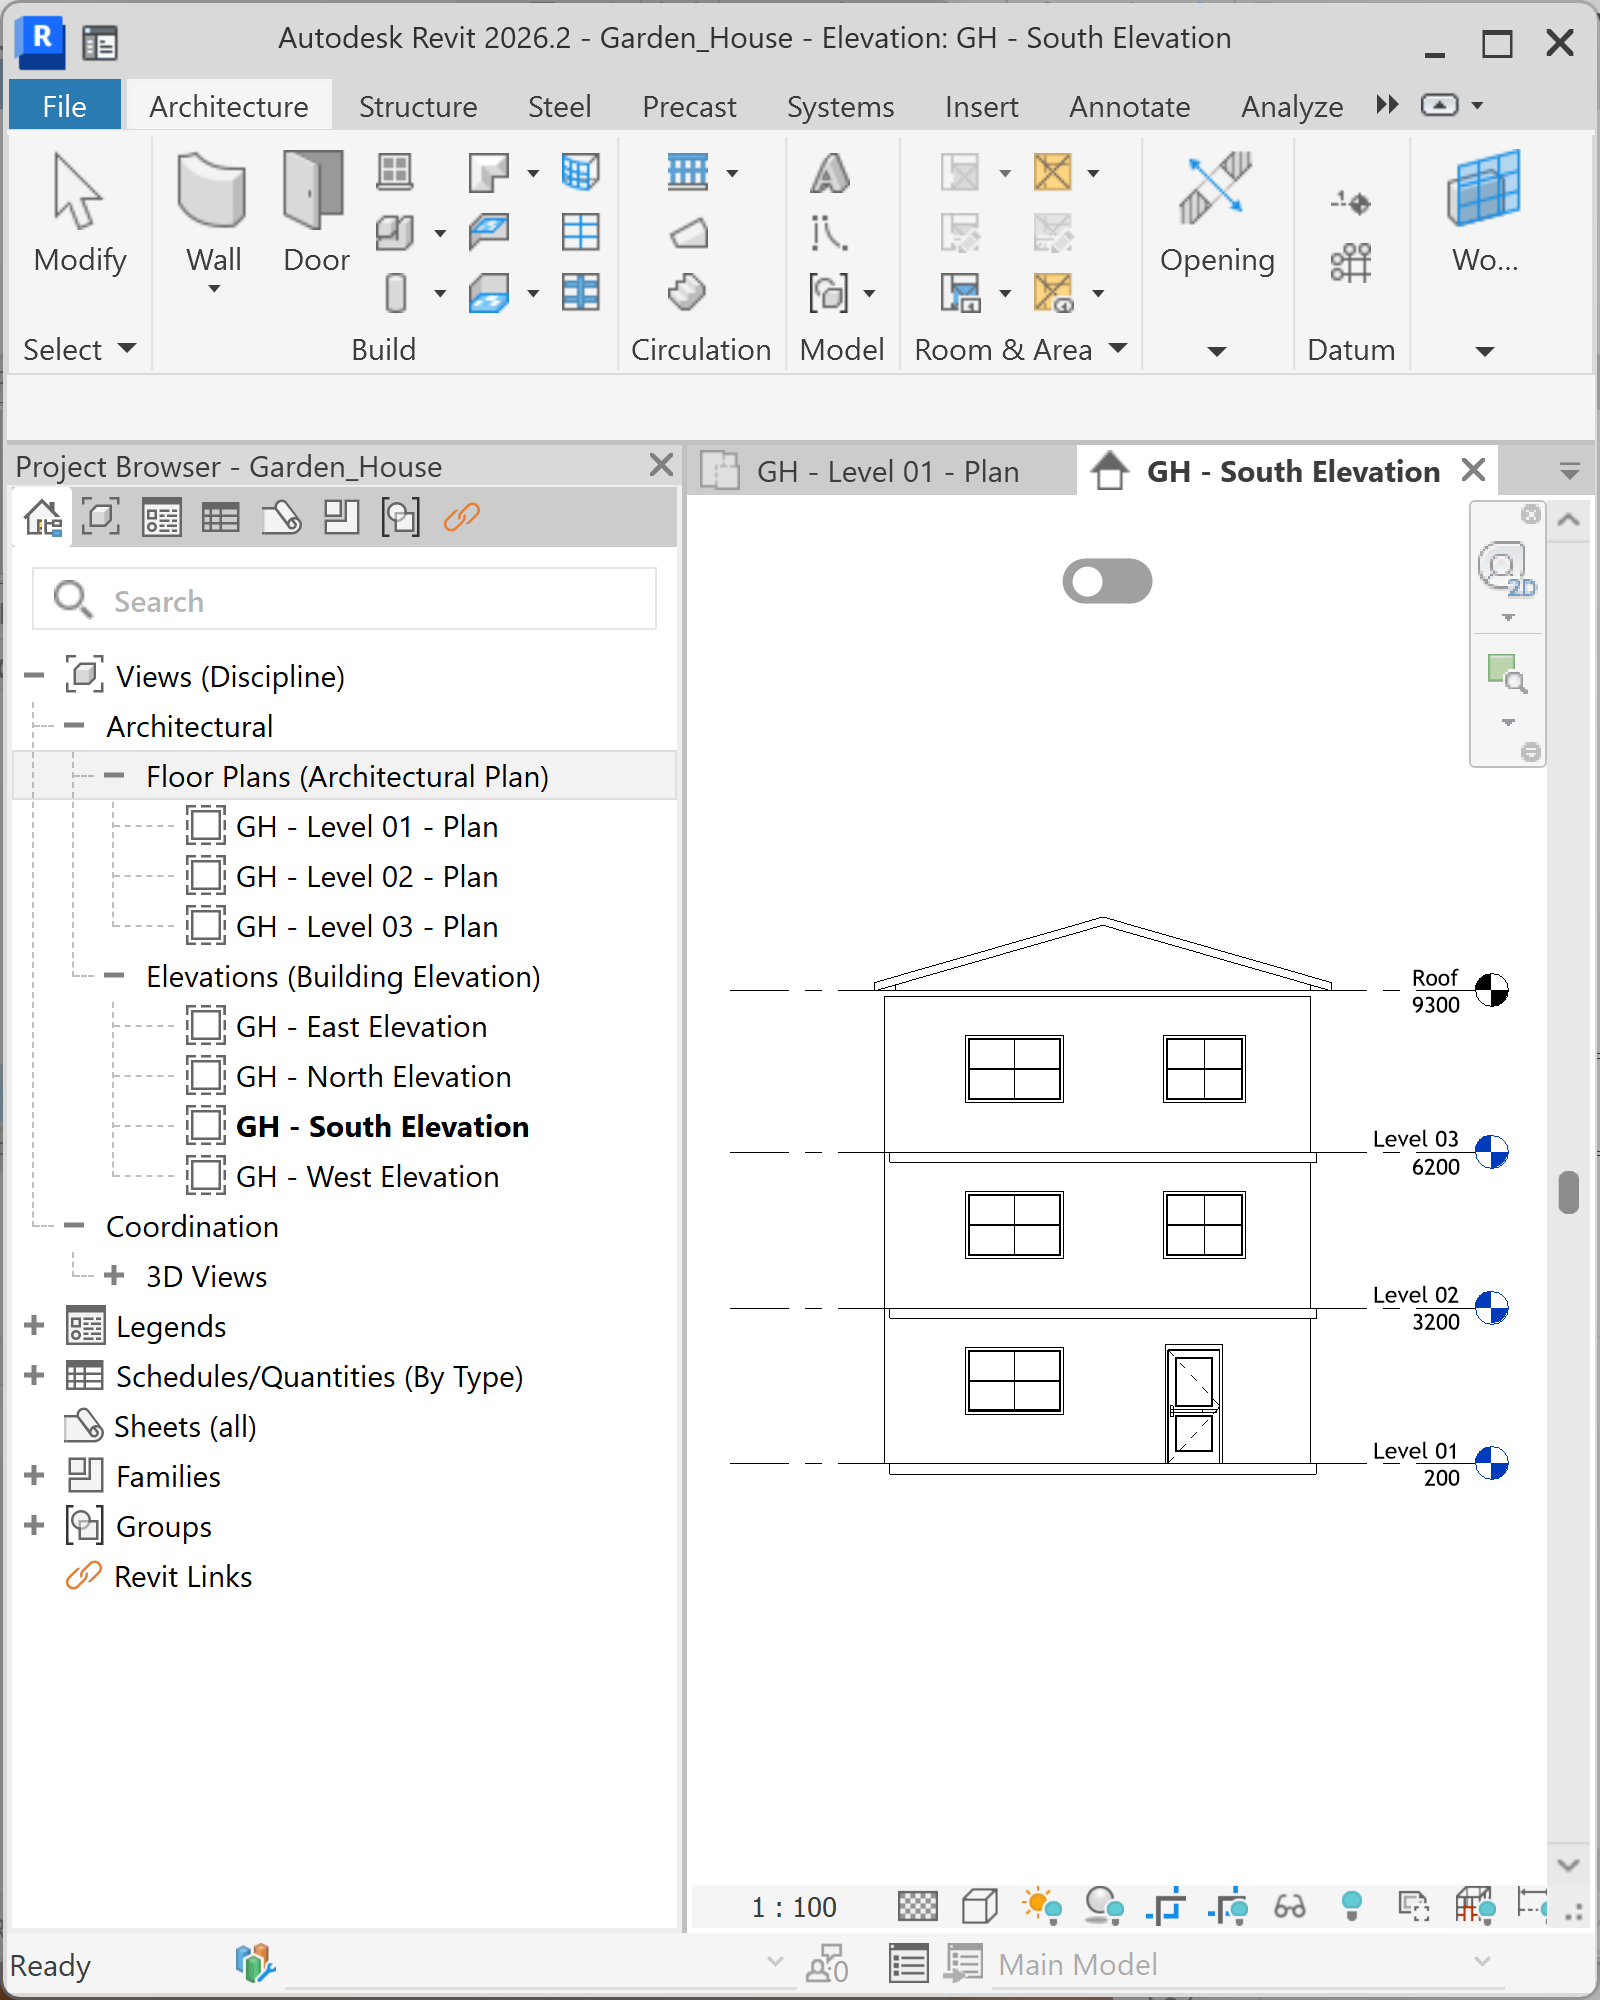
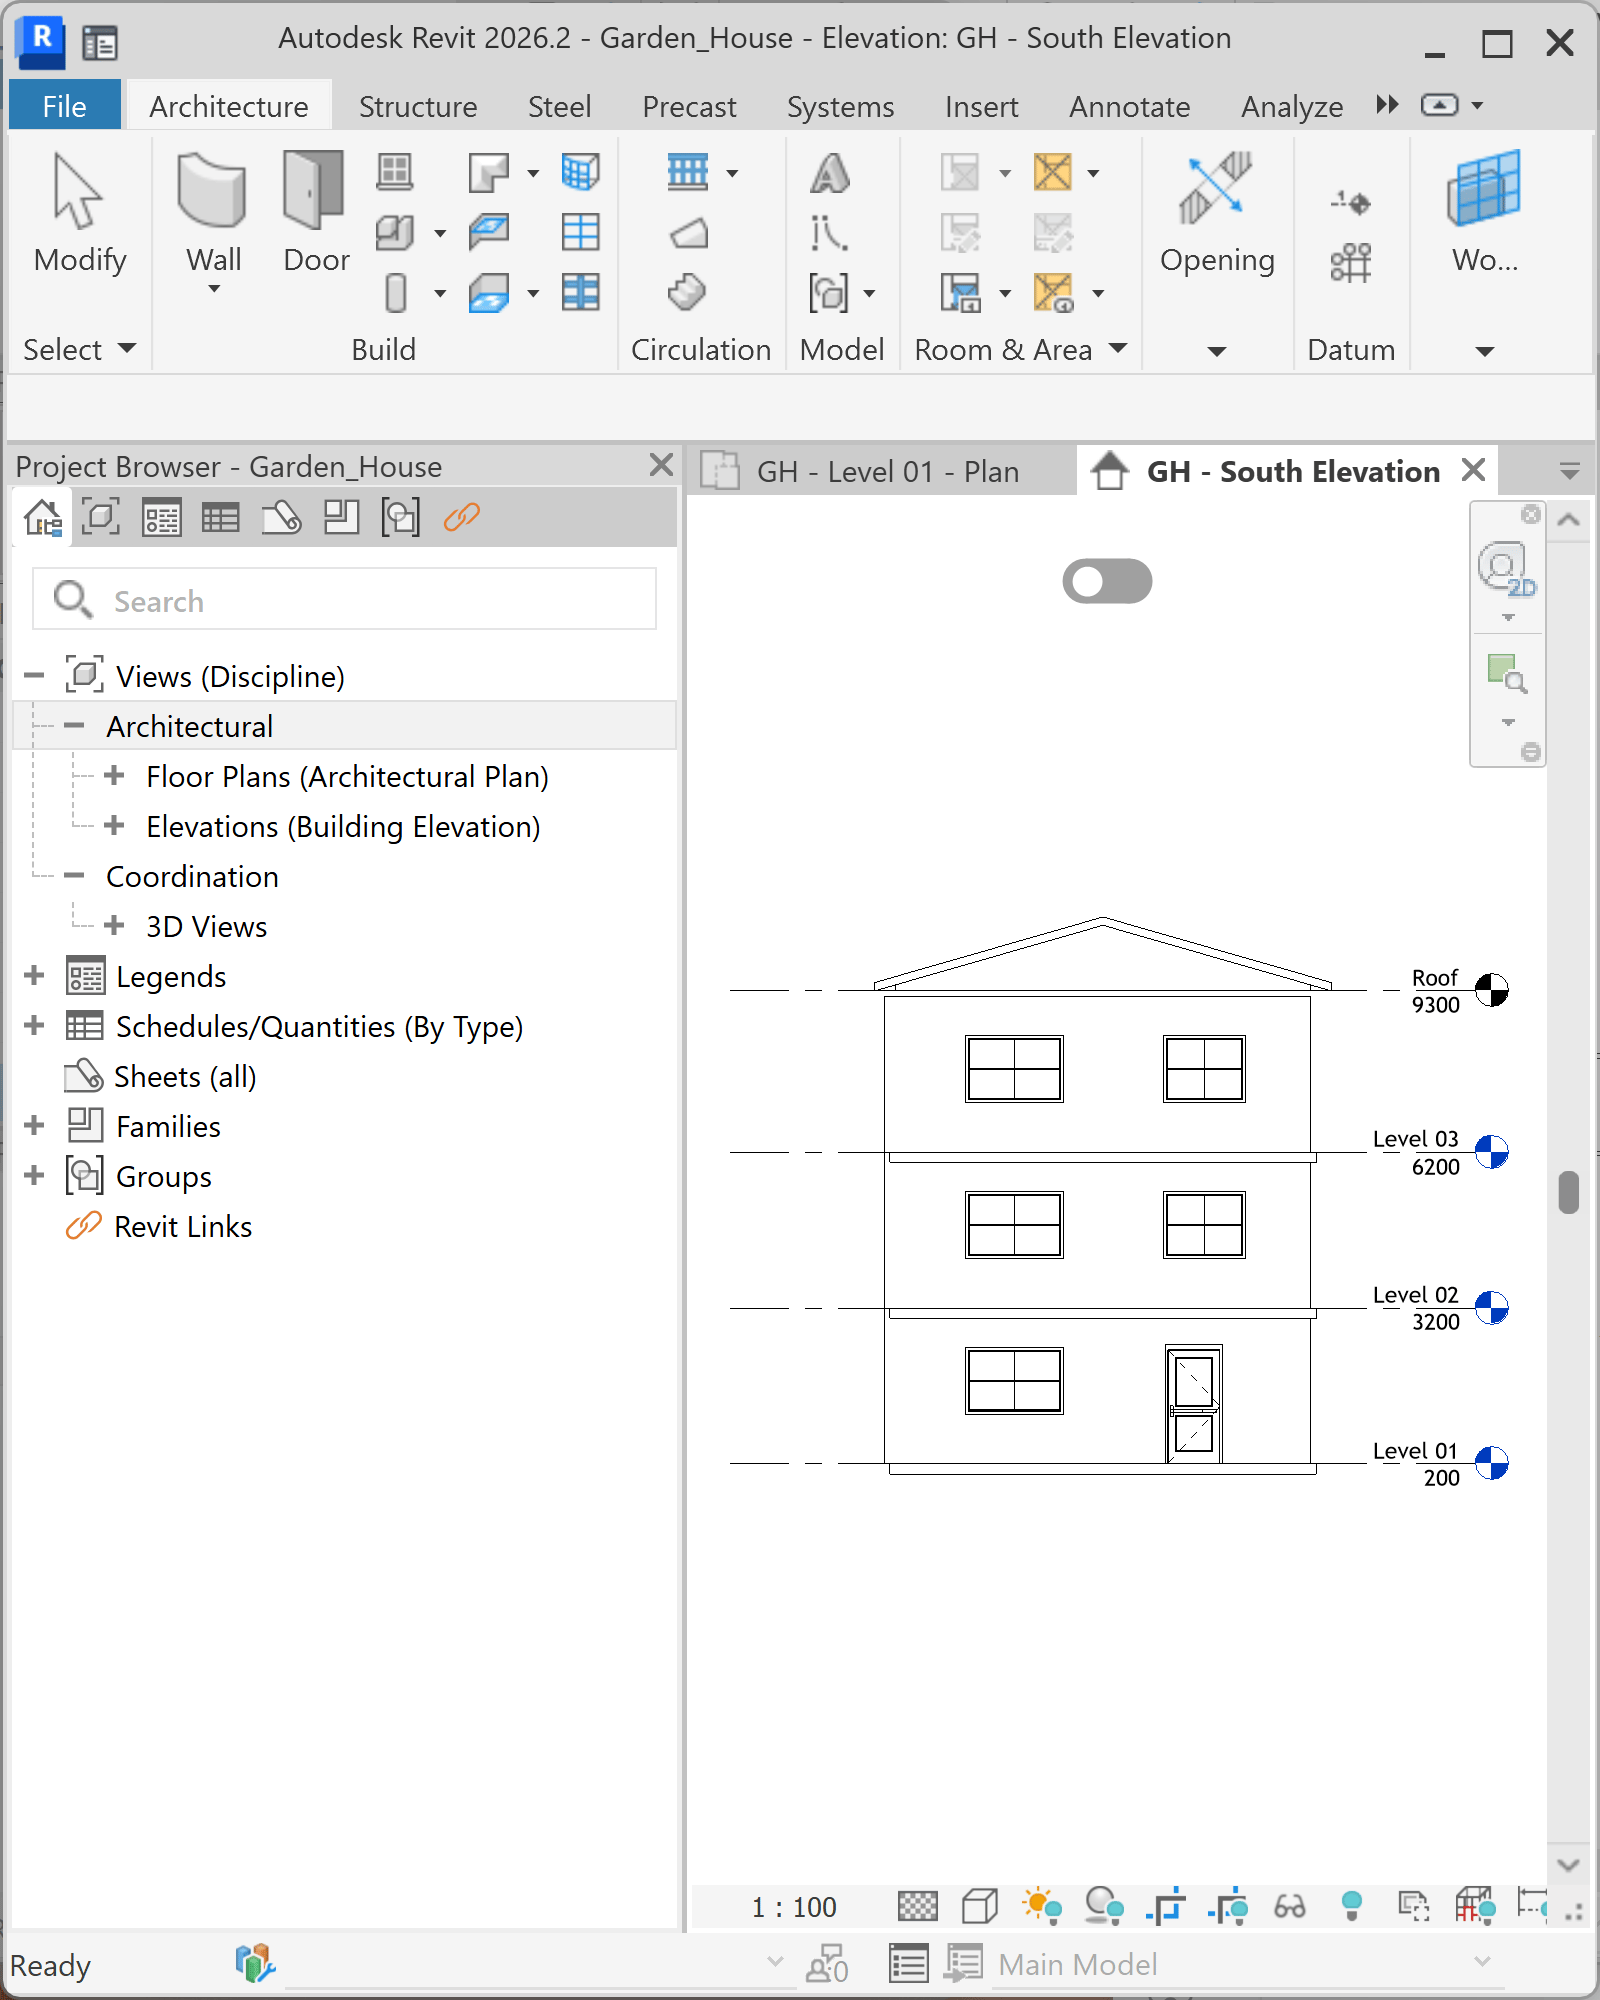
Open its run dialog. Select North, East, South and West, set the scale value to 100 (1:100), and run it.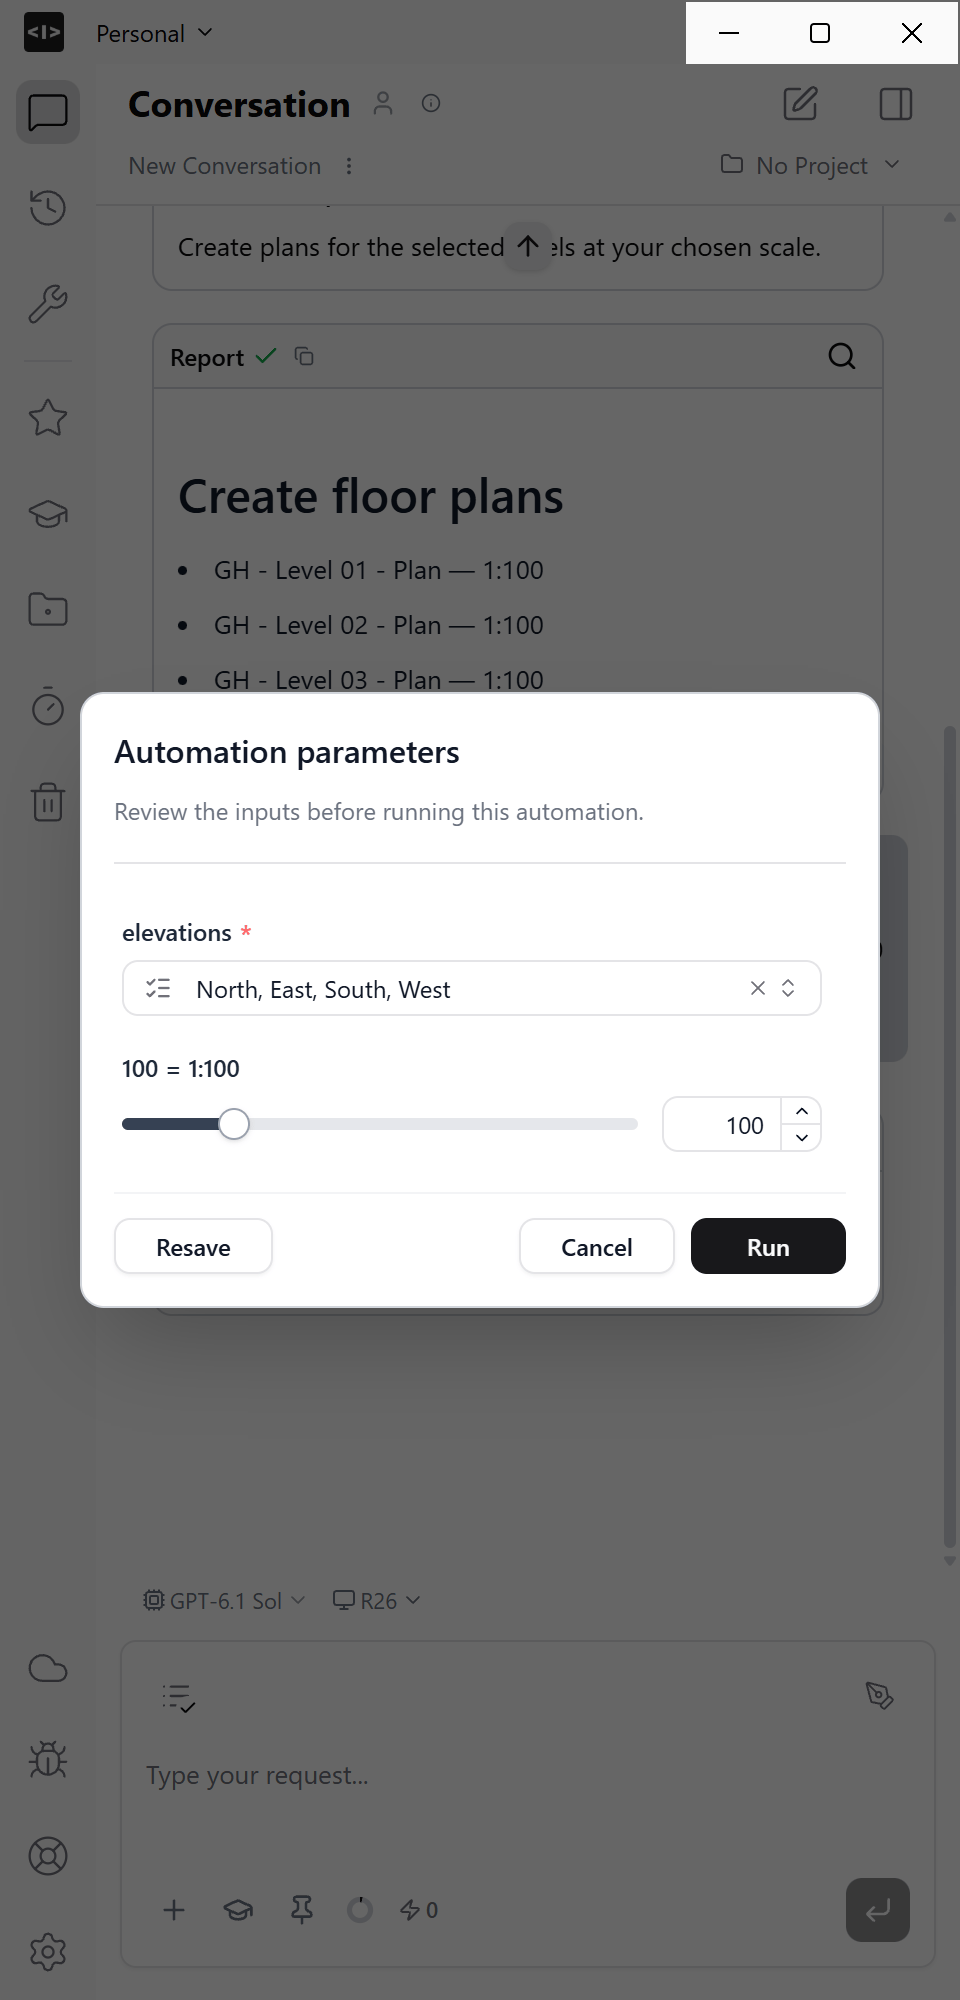
8
Save both automations to your Library
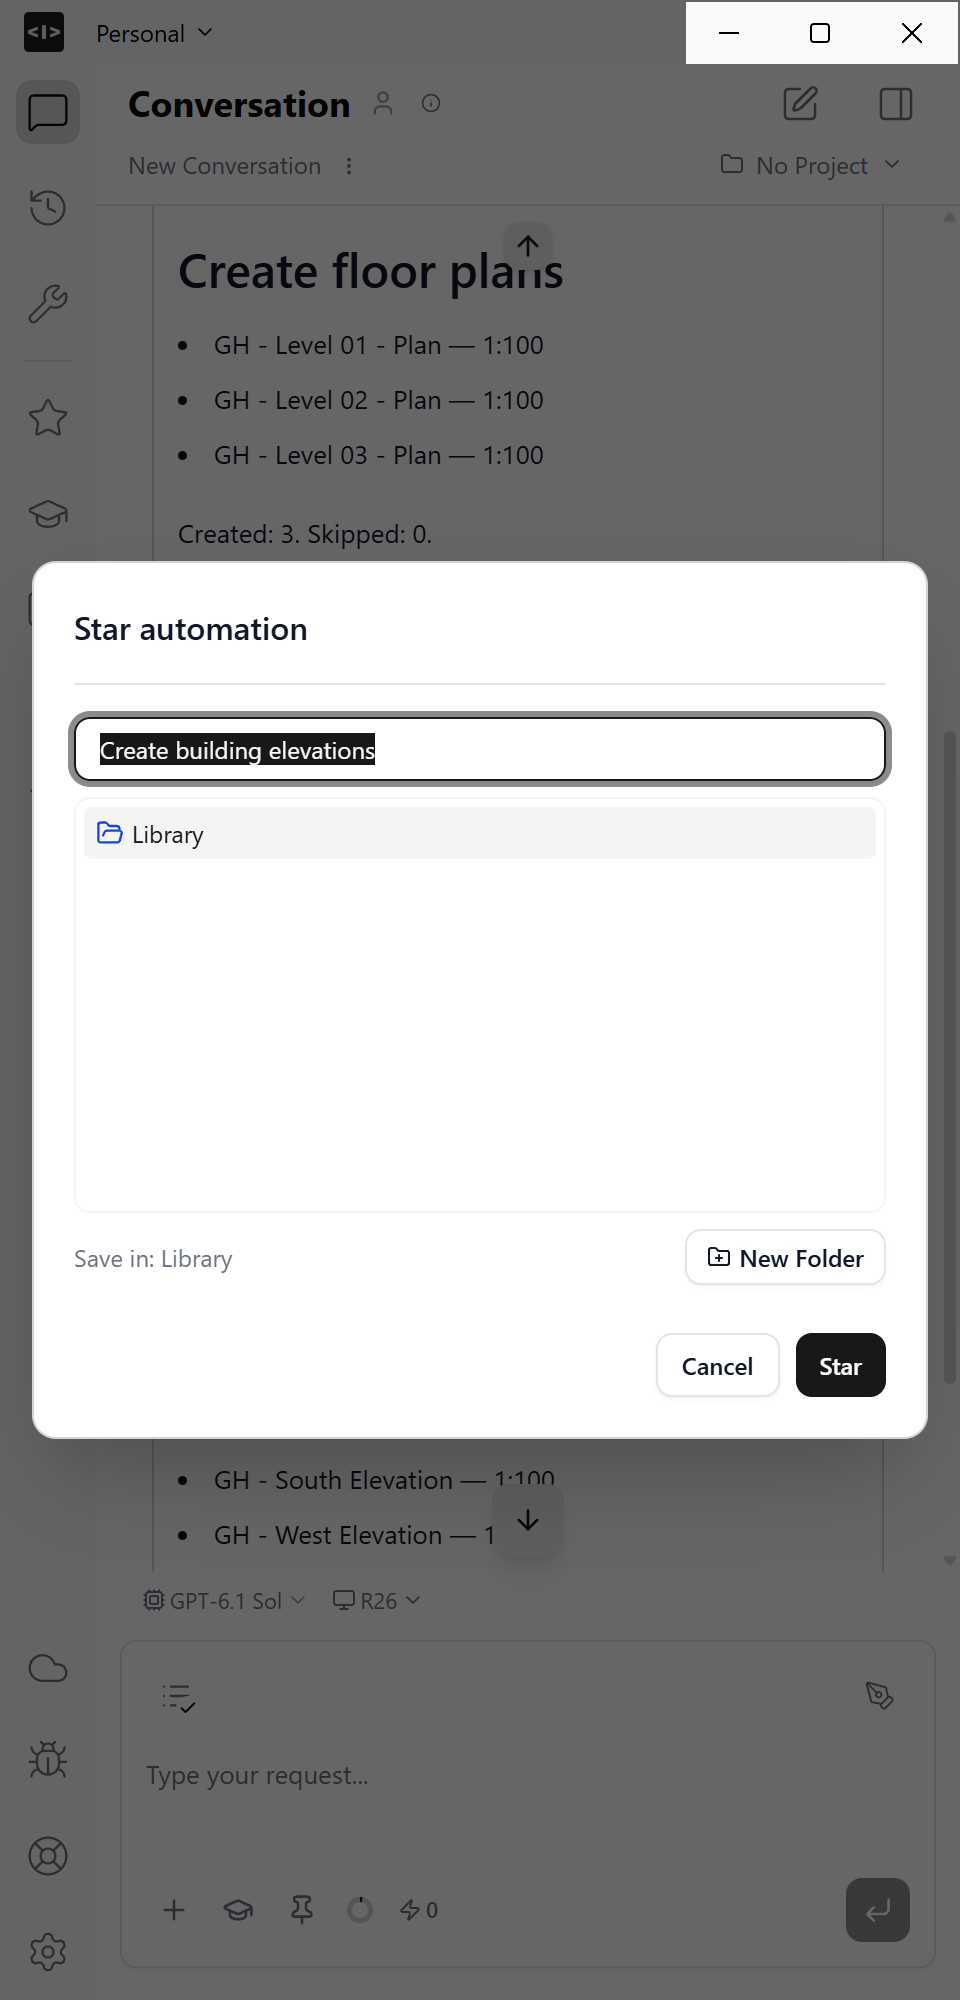
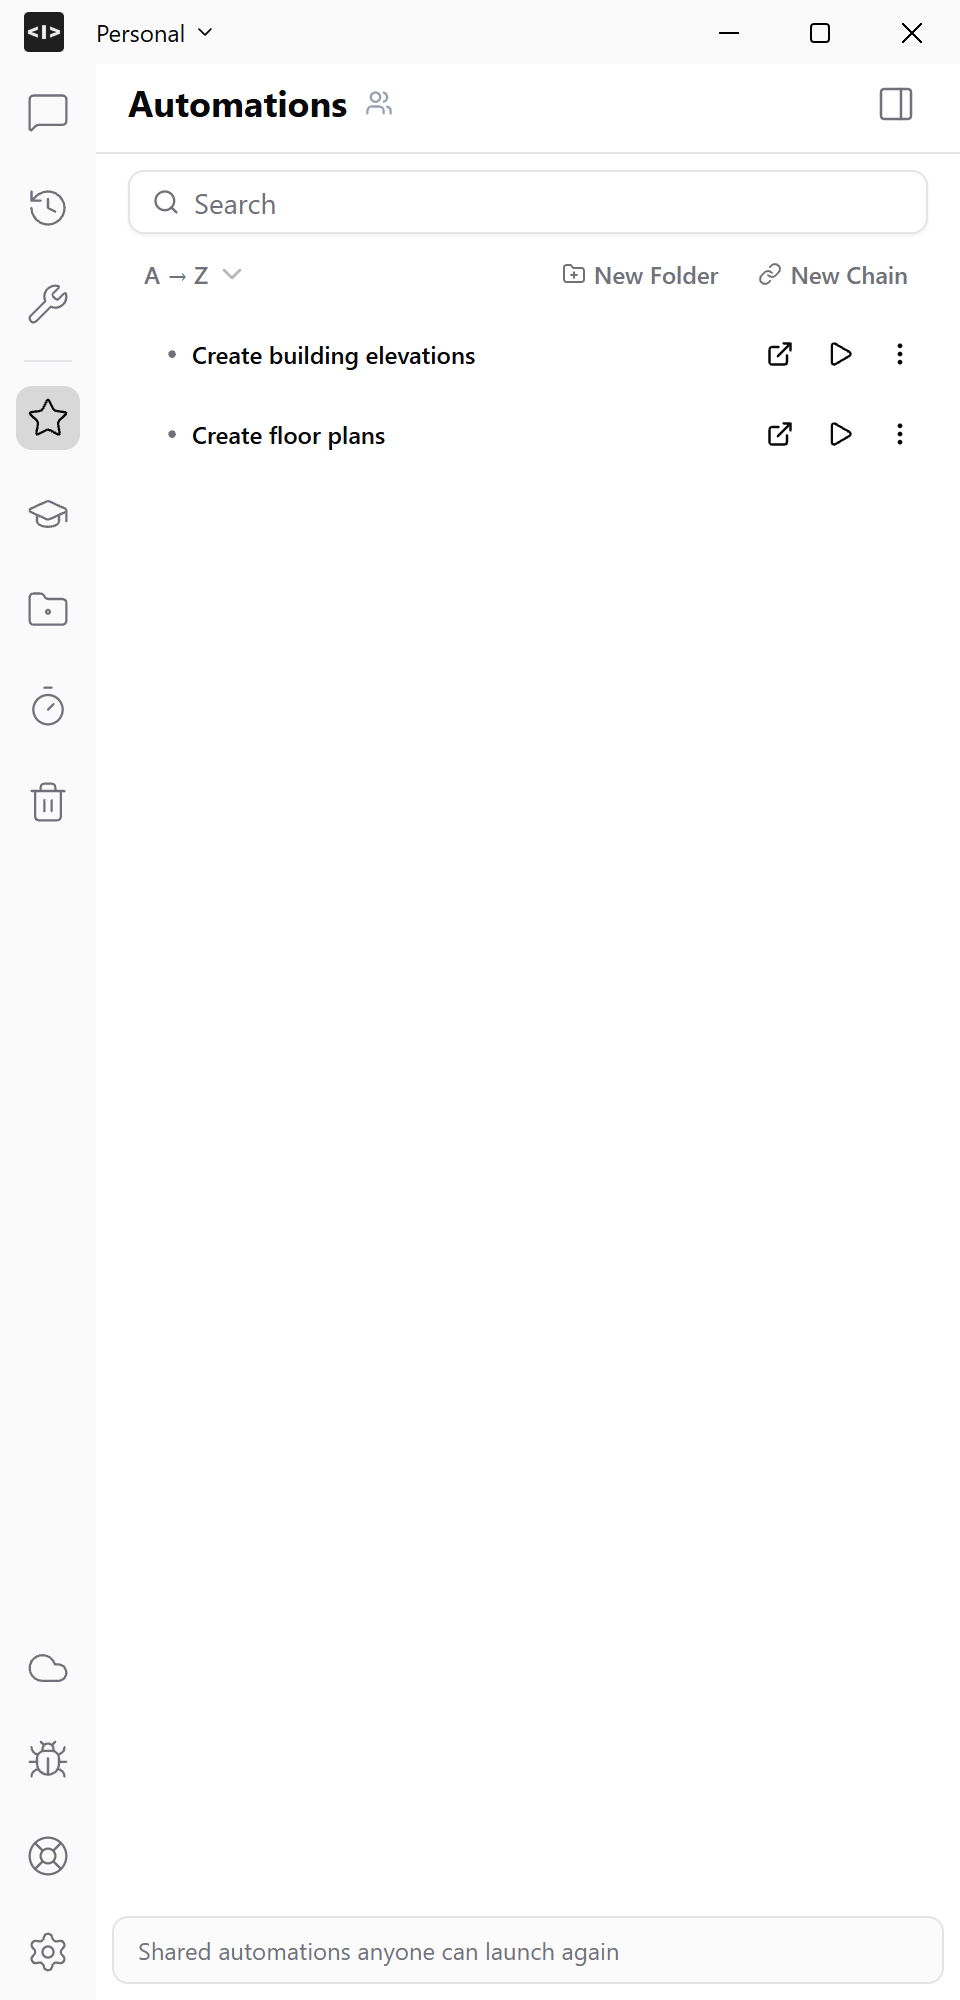
Open the updated floor-plan automation’s three-dot menu, choose Star, keep Library selected and click Star. Repeat for Create building elevations. Save these two parameterized versions; leave the initial floor-plan version unsaved.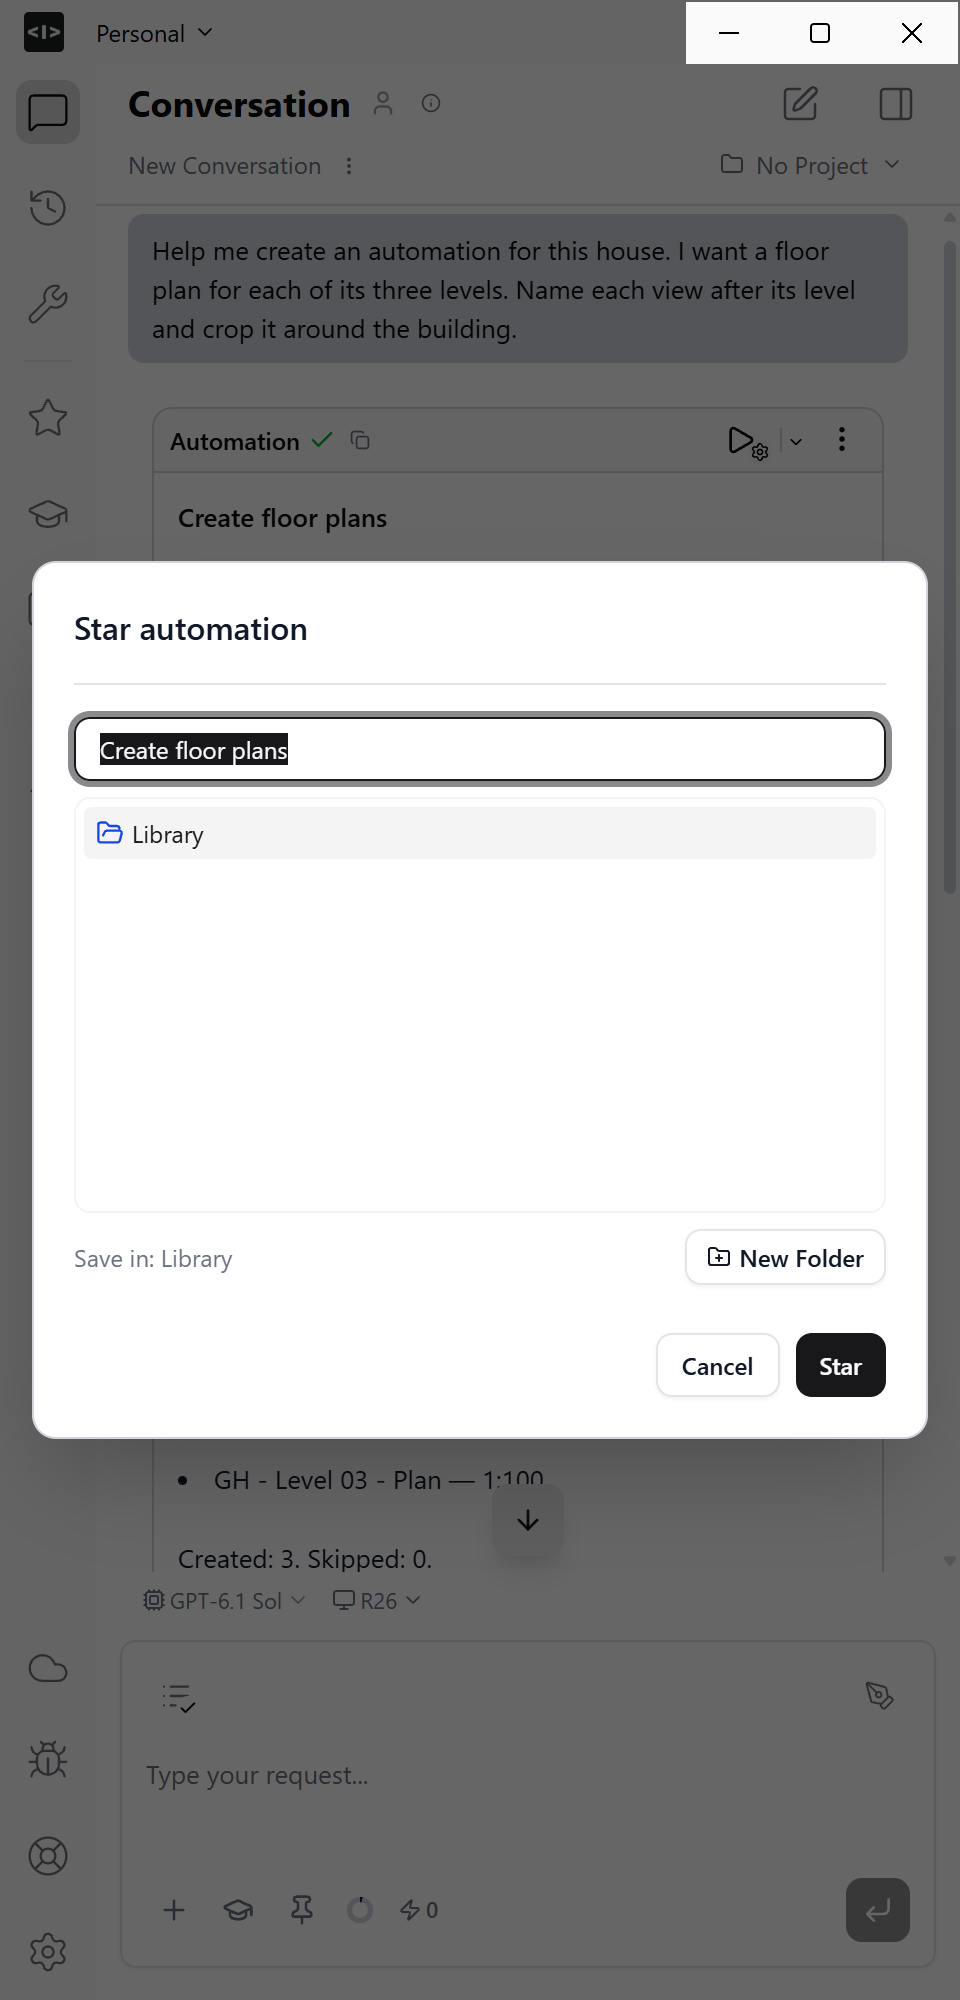
9
Combine them in a chain
Click New Chain, rename it Create house drawings, then drag Create floor plans into it first and Create building elevations second.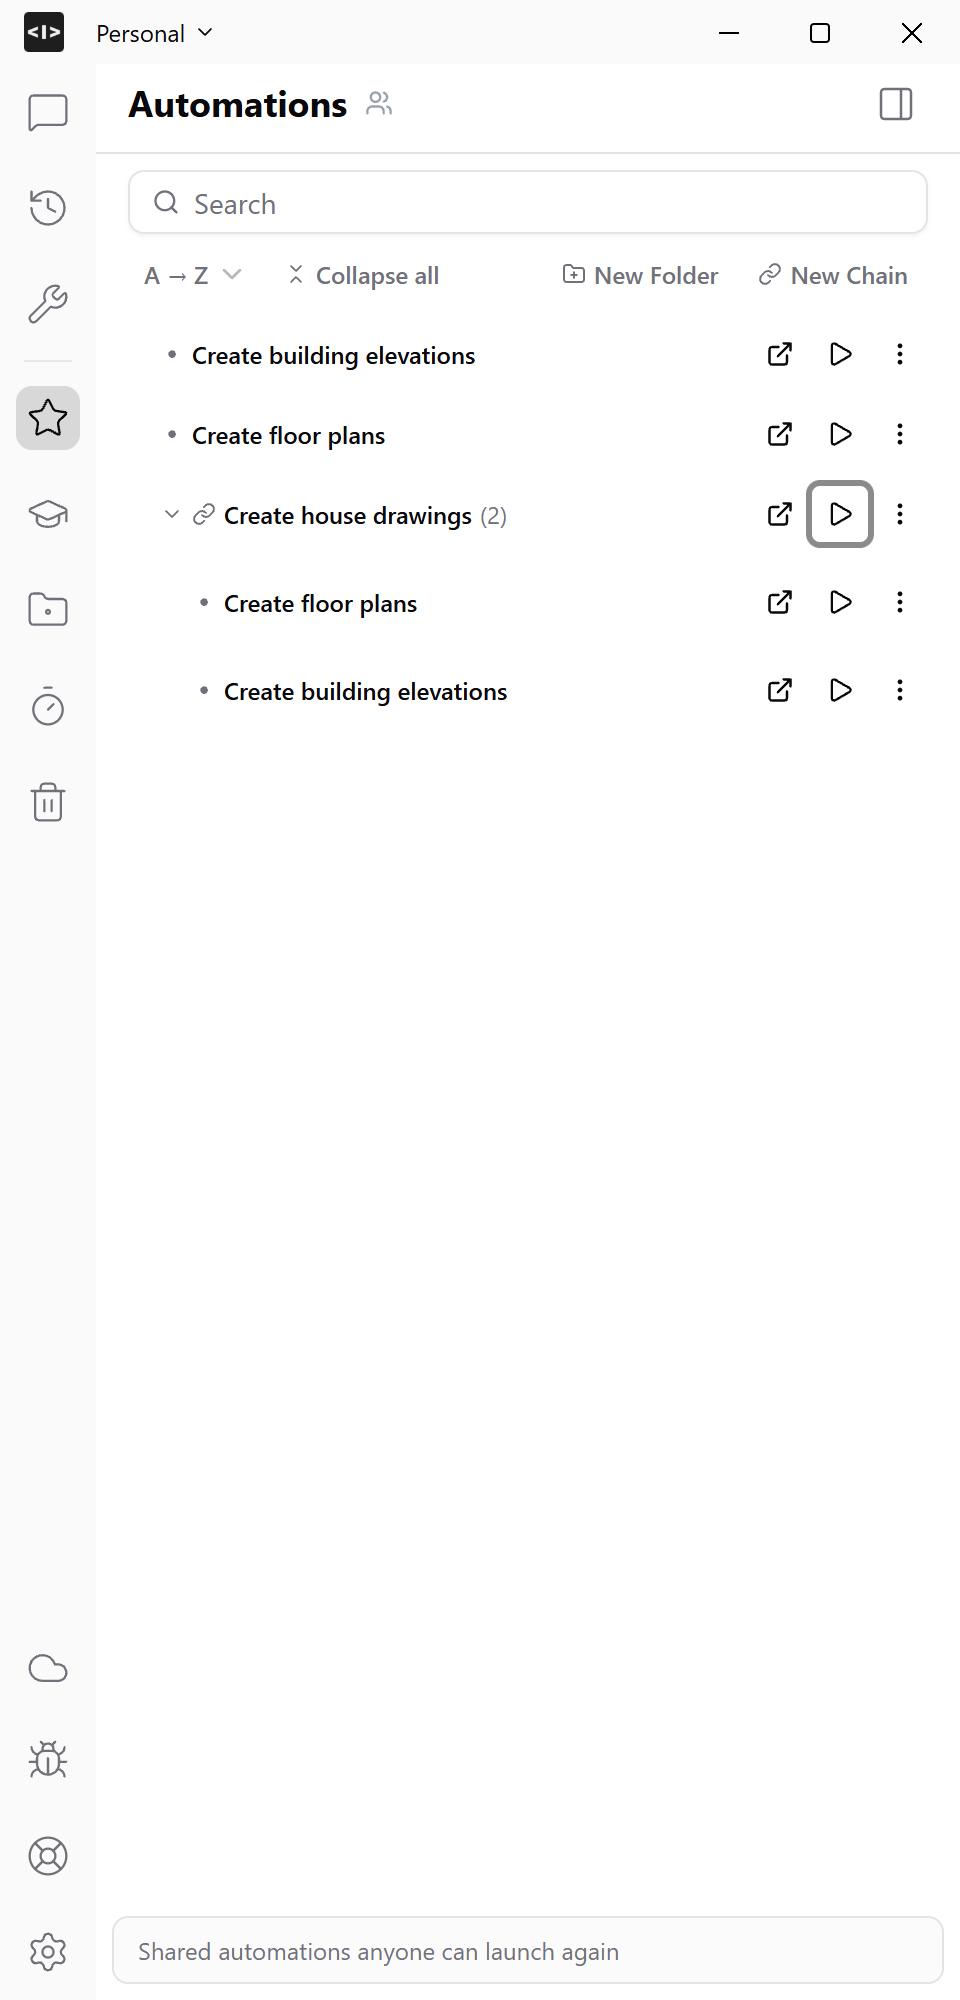
10
Run the whole drawing workflow again
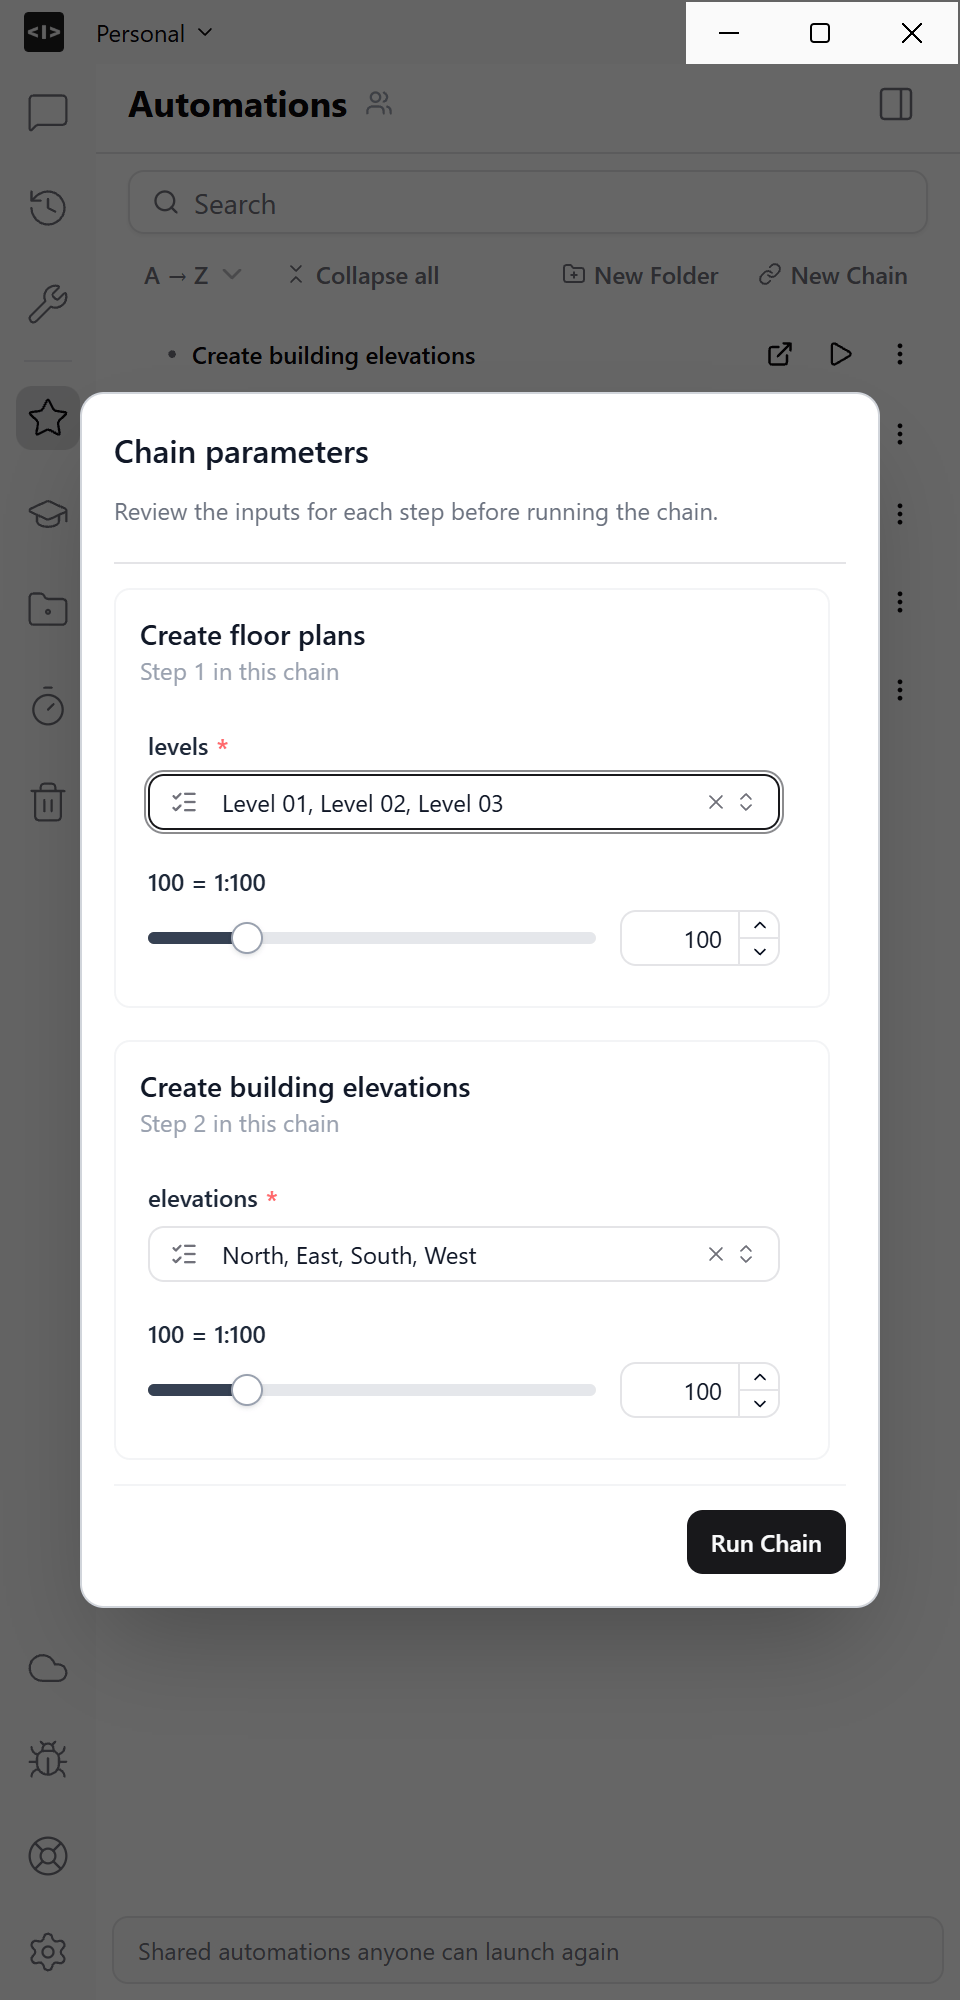
In your demo Revit project, delete only the plans and elevations created in this walkthrough. Keep the model and its levels.Open Run chain with params. Review the level selection, elevation directions and scale for each step, then click Run Chain.