

1
Develop the window in IFC
Attach the references and ask Ideatura to identify the dimensions and missing construction information.
Create an IFC study of this window. Start with the overall frame, then add the glazed bays and louvres. Keep the parts separate. Confirm any dimensions missing from the references before adding detail.Review the model in Studio from the front, side and back. Check frame proportions, bay widths, glazing and louvre spacing.
2
Create a native window family
Connect Revit and describe both the category and hosting behaviour.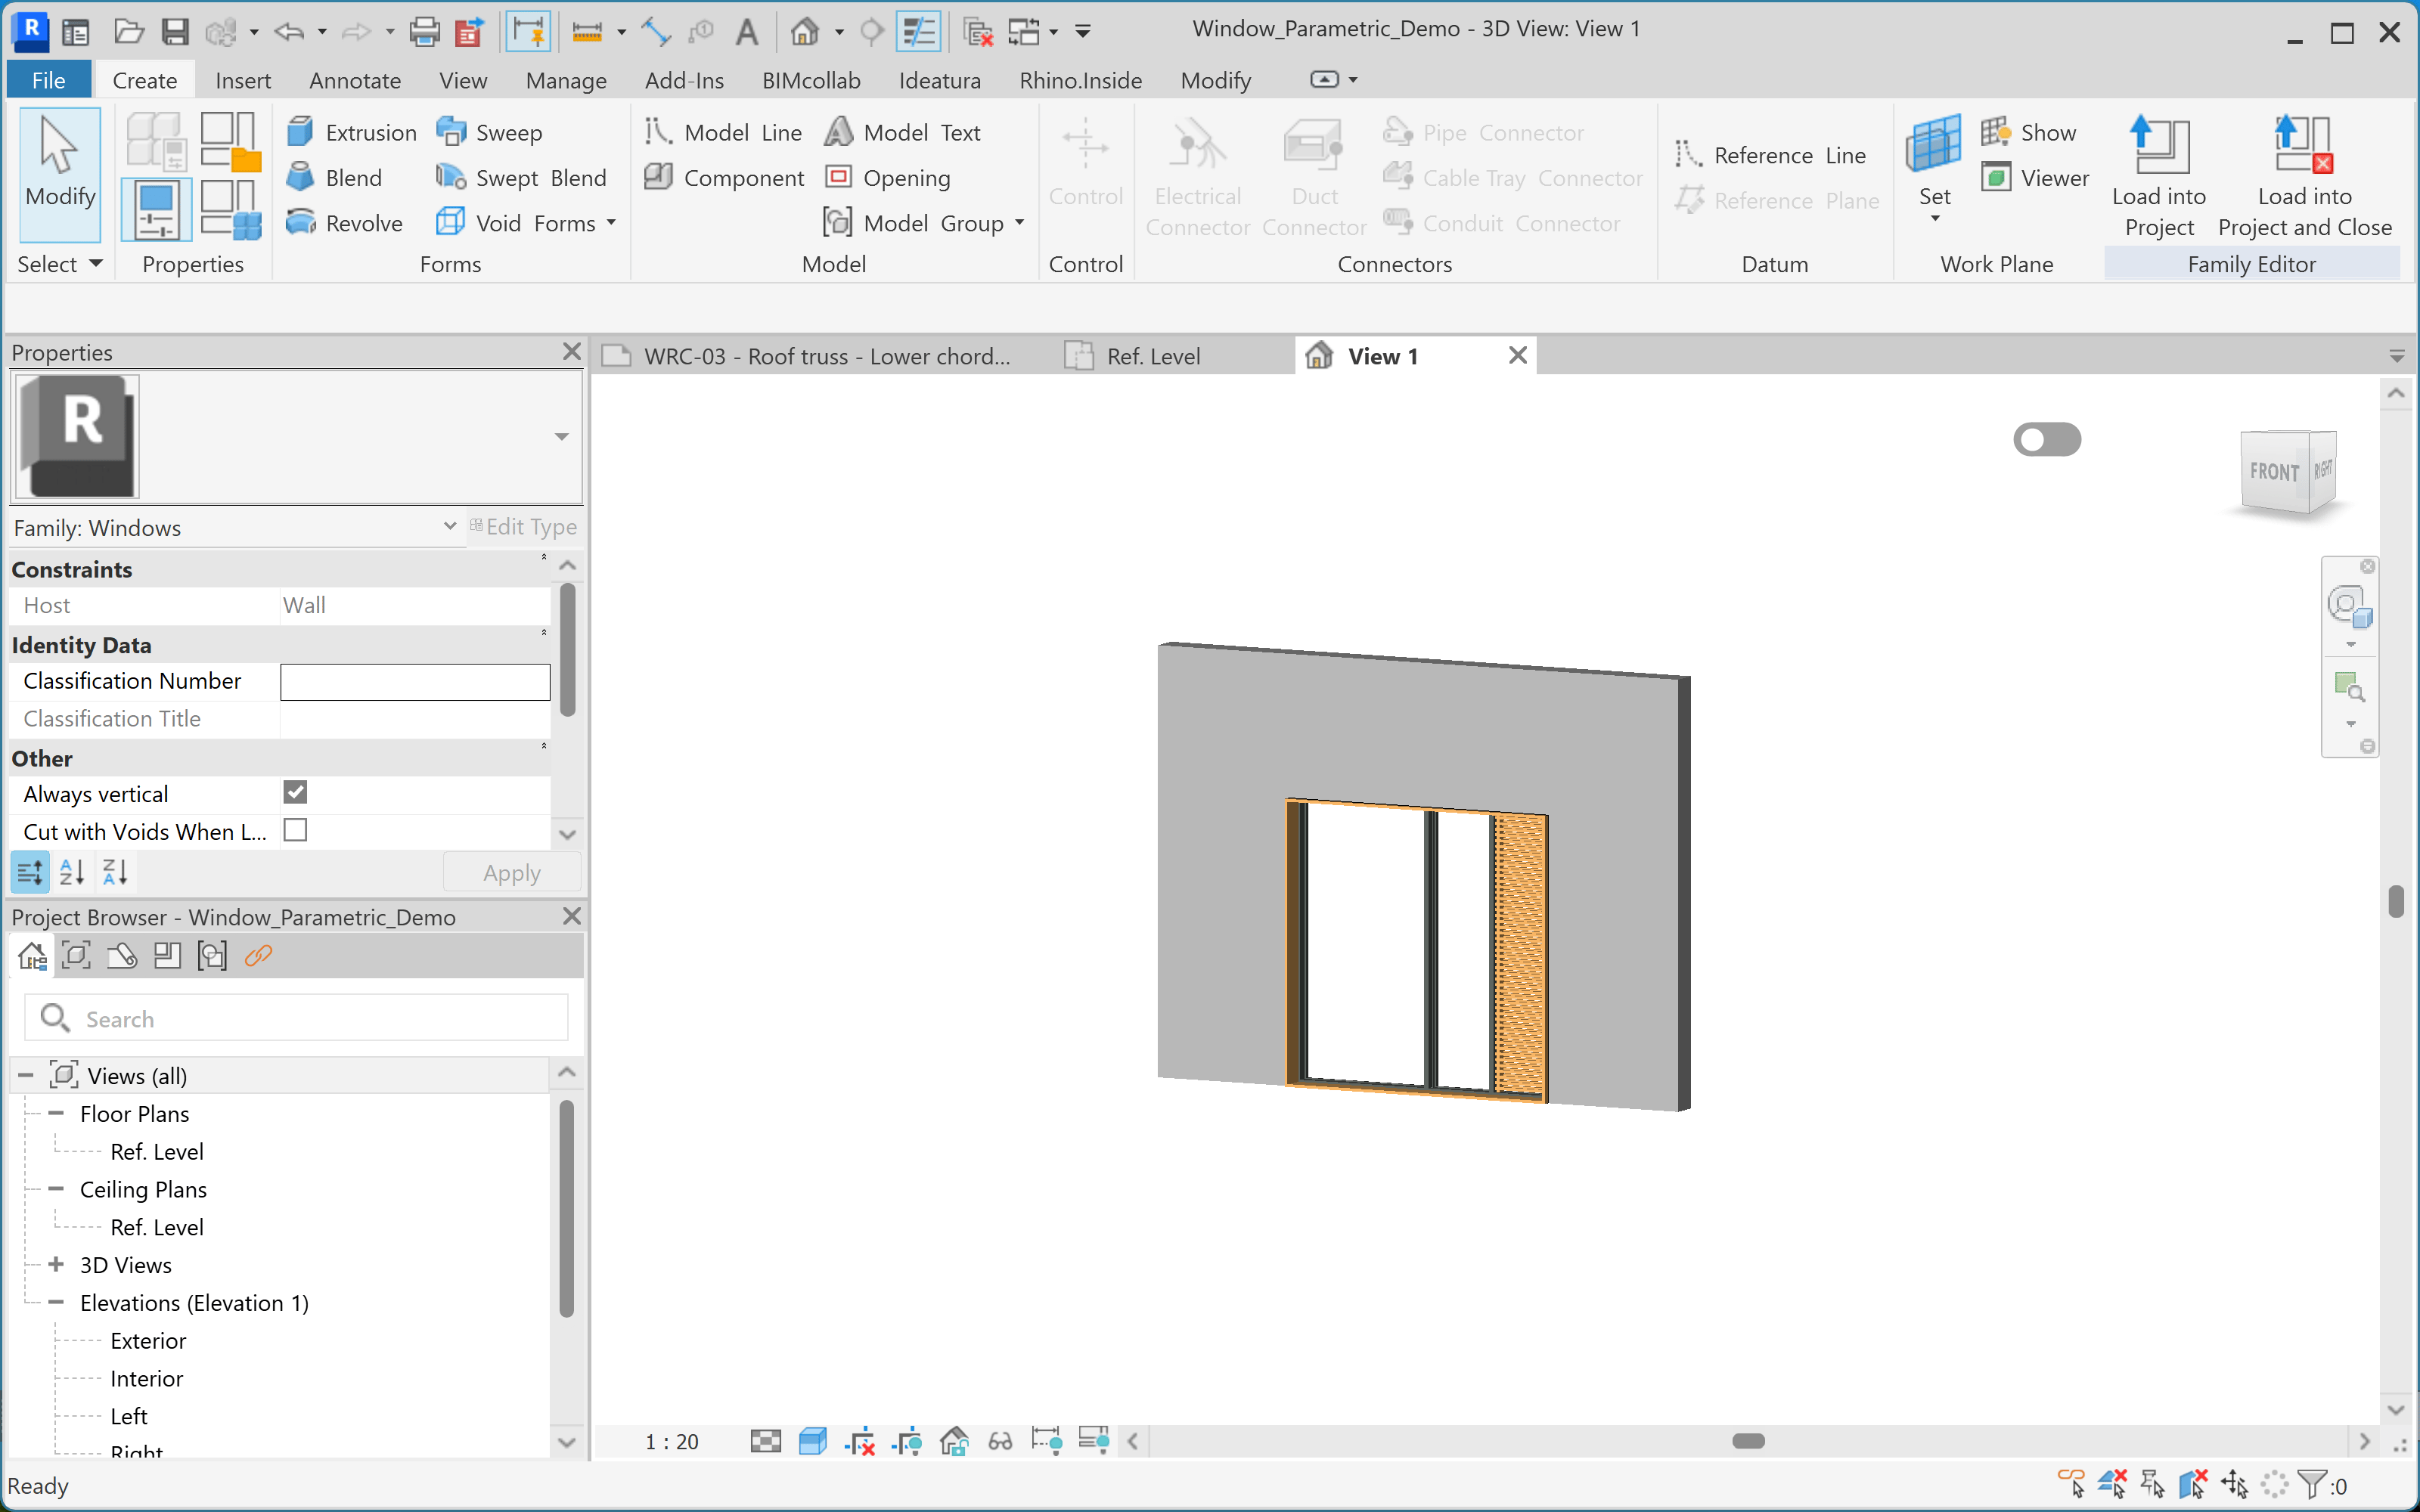
Recreate the approved IFC window as a native, wall-hosted Revit Window family. Use editable family geometry. Make overall width and height adjustable, keep the agreed bay proportions, and make the wall opening follow the frame dimensions. Identify any fixed dimensions.Open the family in Revit. Check that the geometry and parameters are native; an imported IFC shape is not a parametric window family.
3
Flex the dimensions
Change width and height one at a time in Family Types. Inspect the frame, glass, louvres and opening after each change.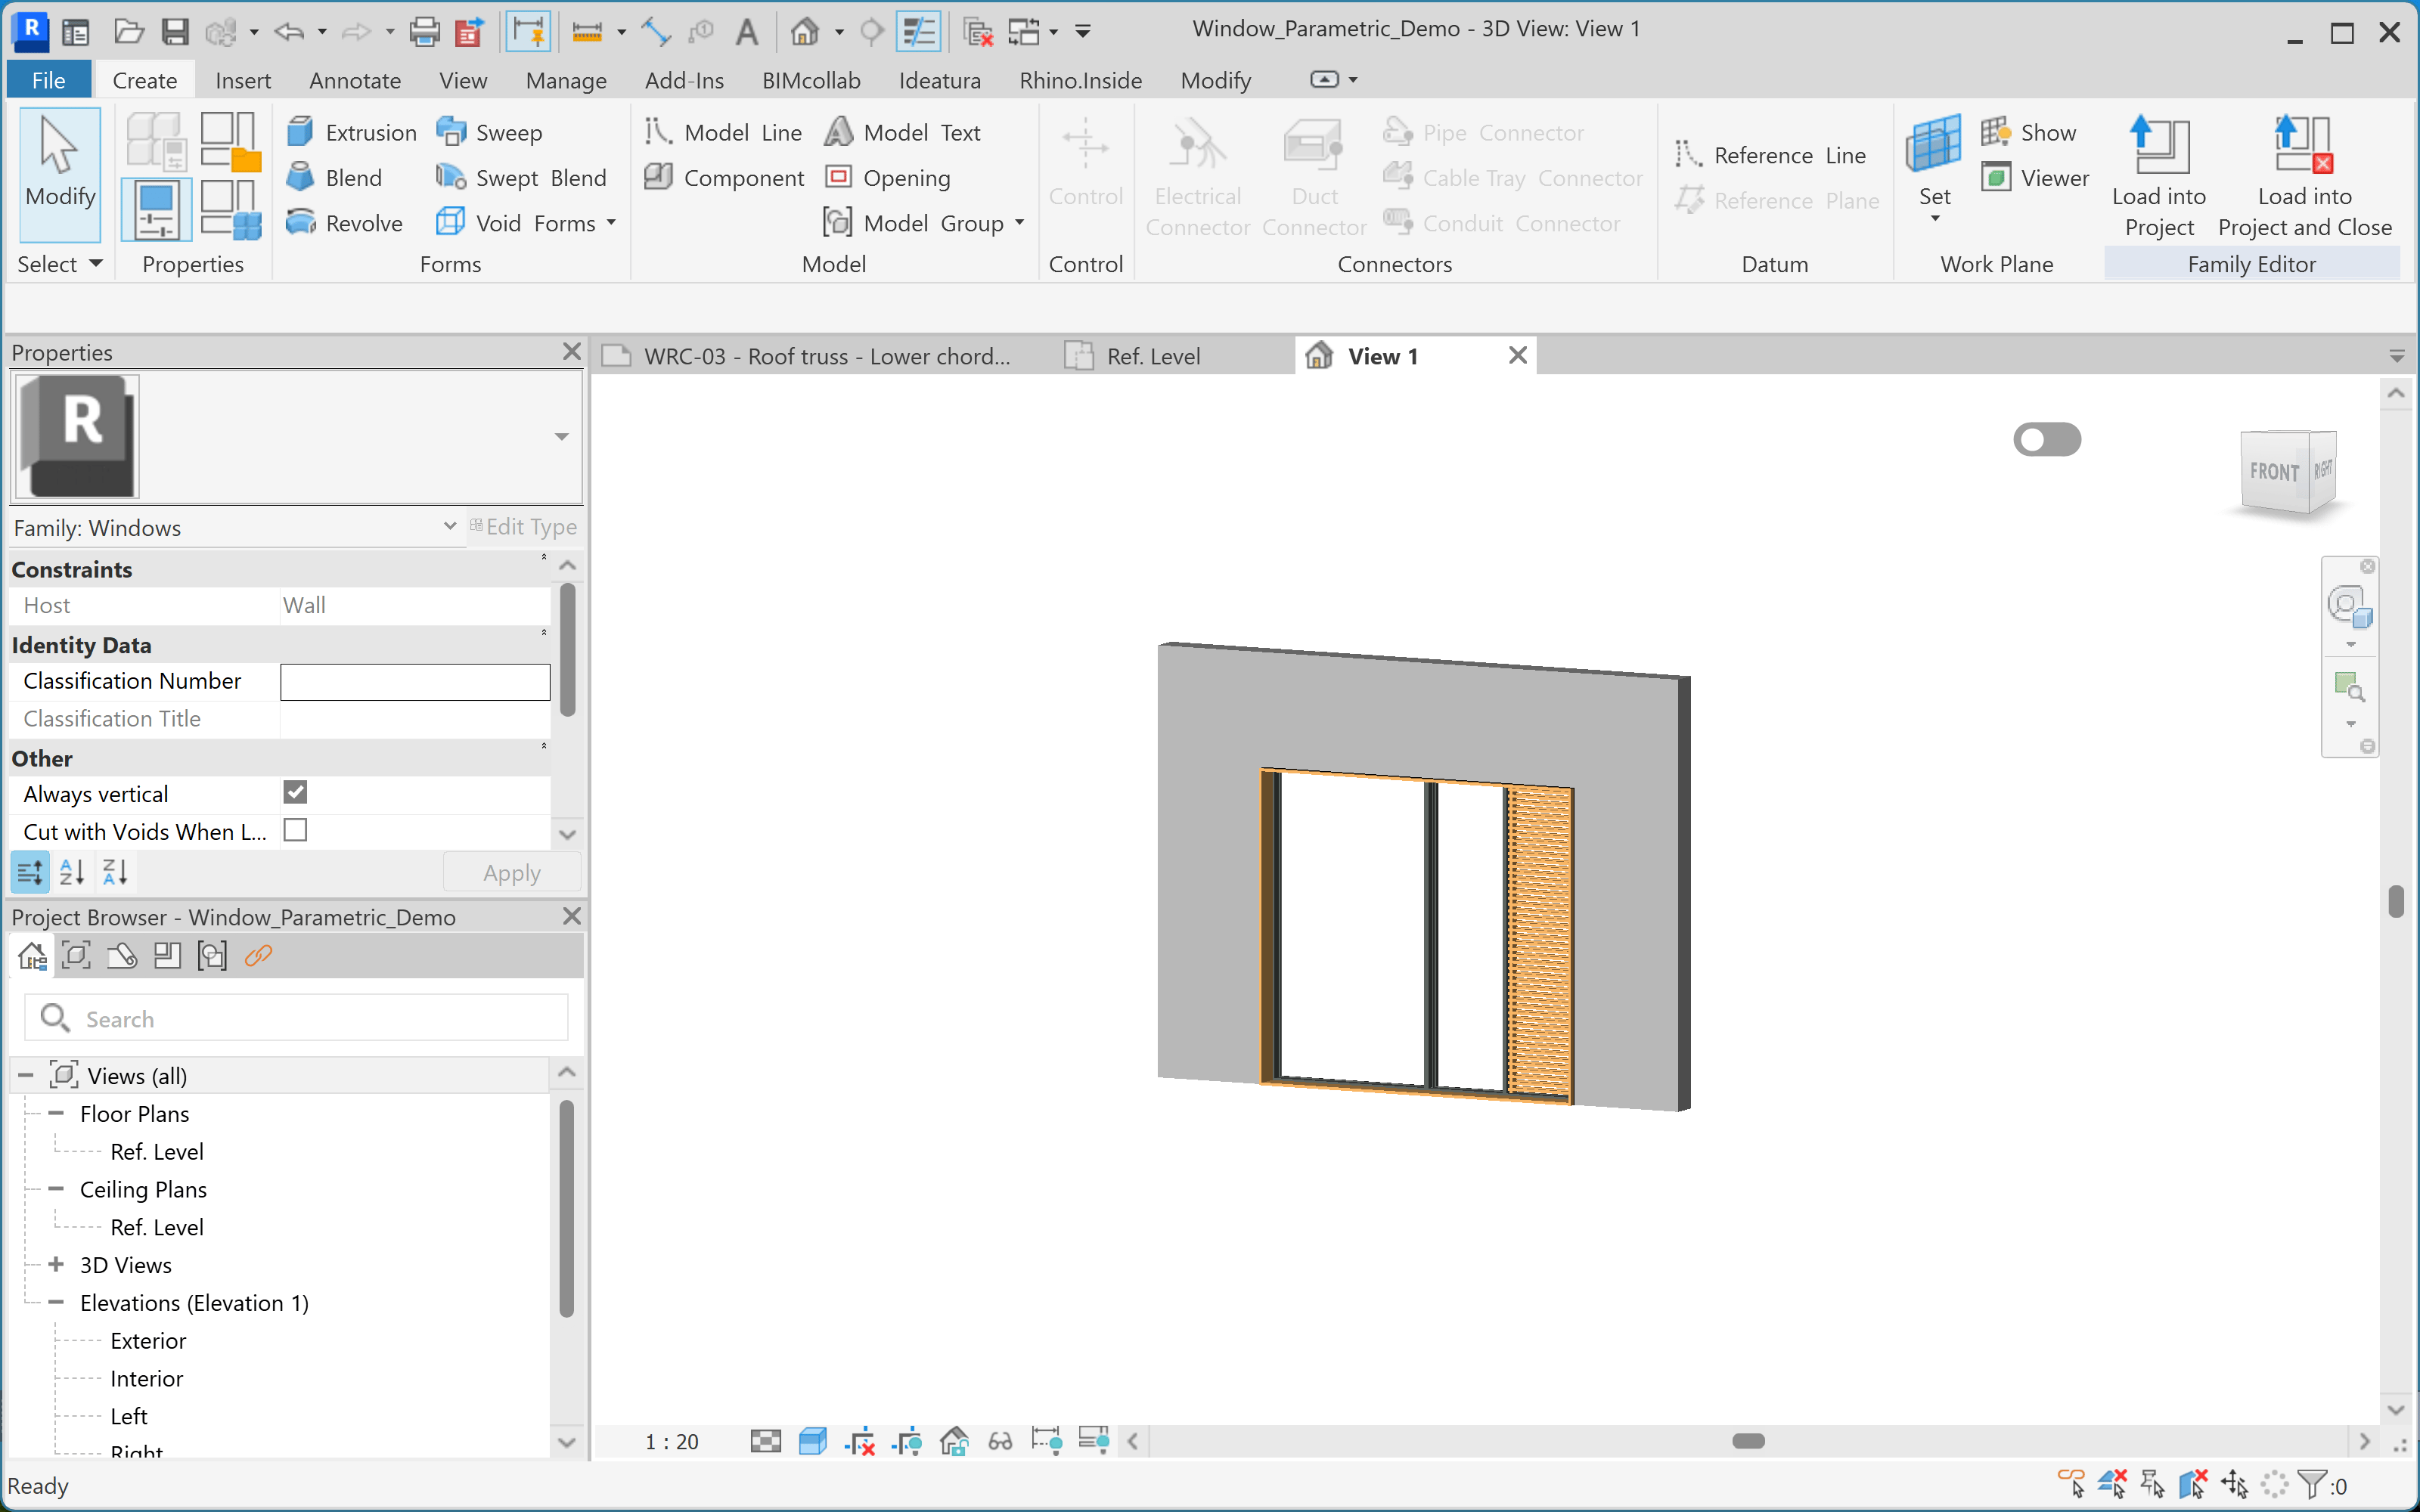
Test this 2000 × 2000 mm window at 2400 × 2200 mm. Check the frame, bay proportions, glazing and wall opening. Restore the original size afterwards and report any warnings.These are test sizes for this example. Check the size range you intend to use in your project.
4
Place it in a test wall
Load the family into a project and place an instance in a wall. Check its orientation, sill height, wall opening and appearance in plan, elevation and 3D. Save the checked family and retain the IFC reference.