1. Identify the baseline
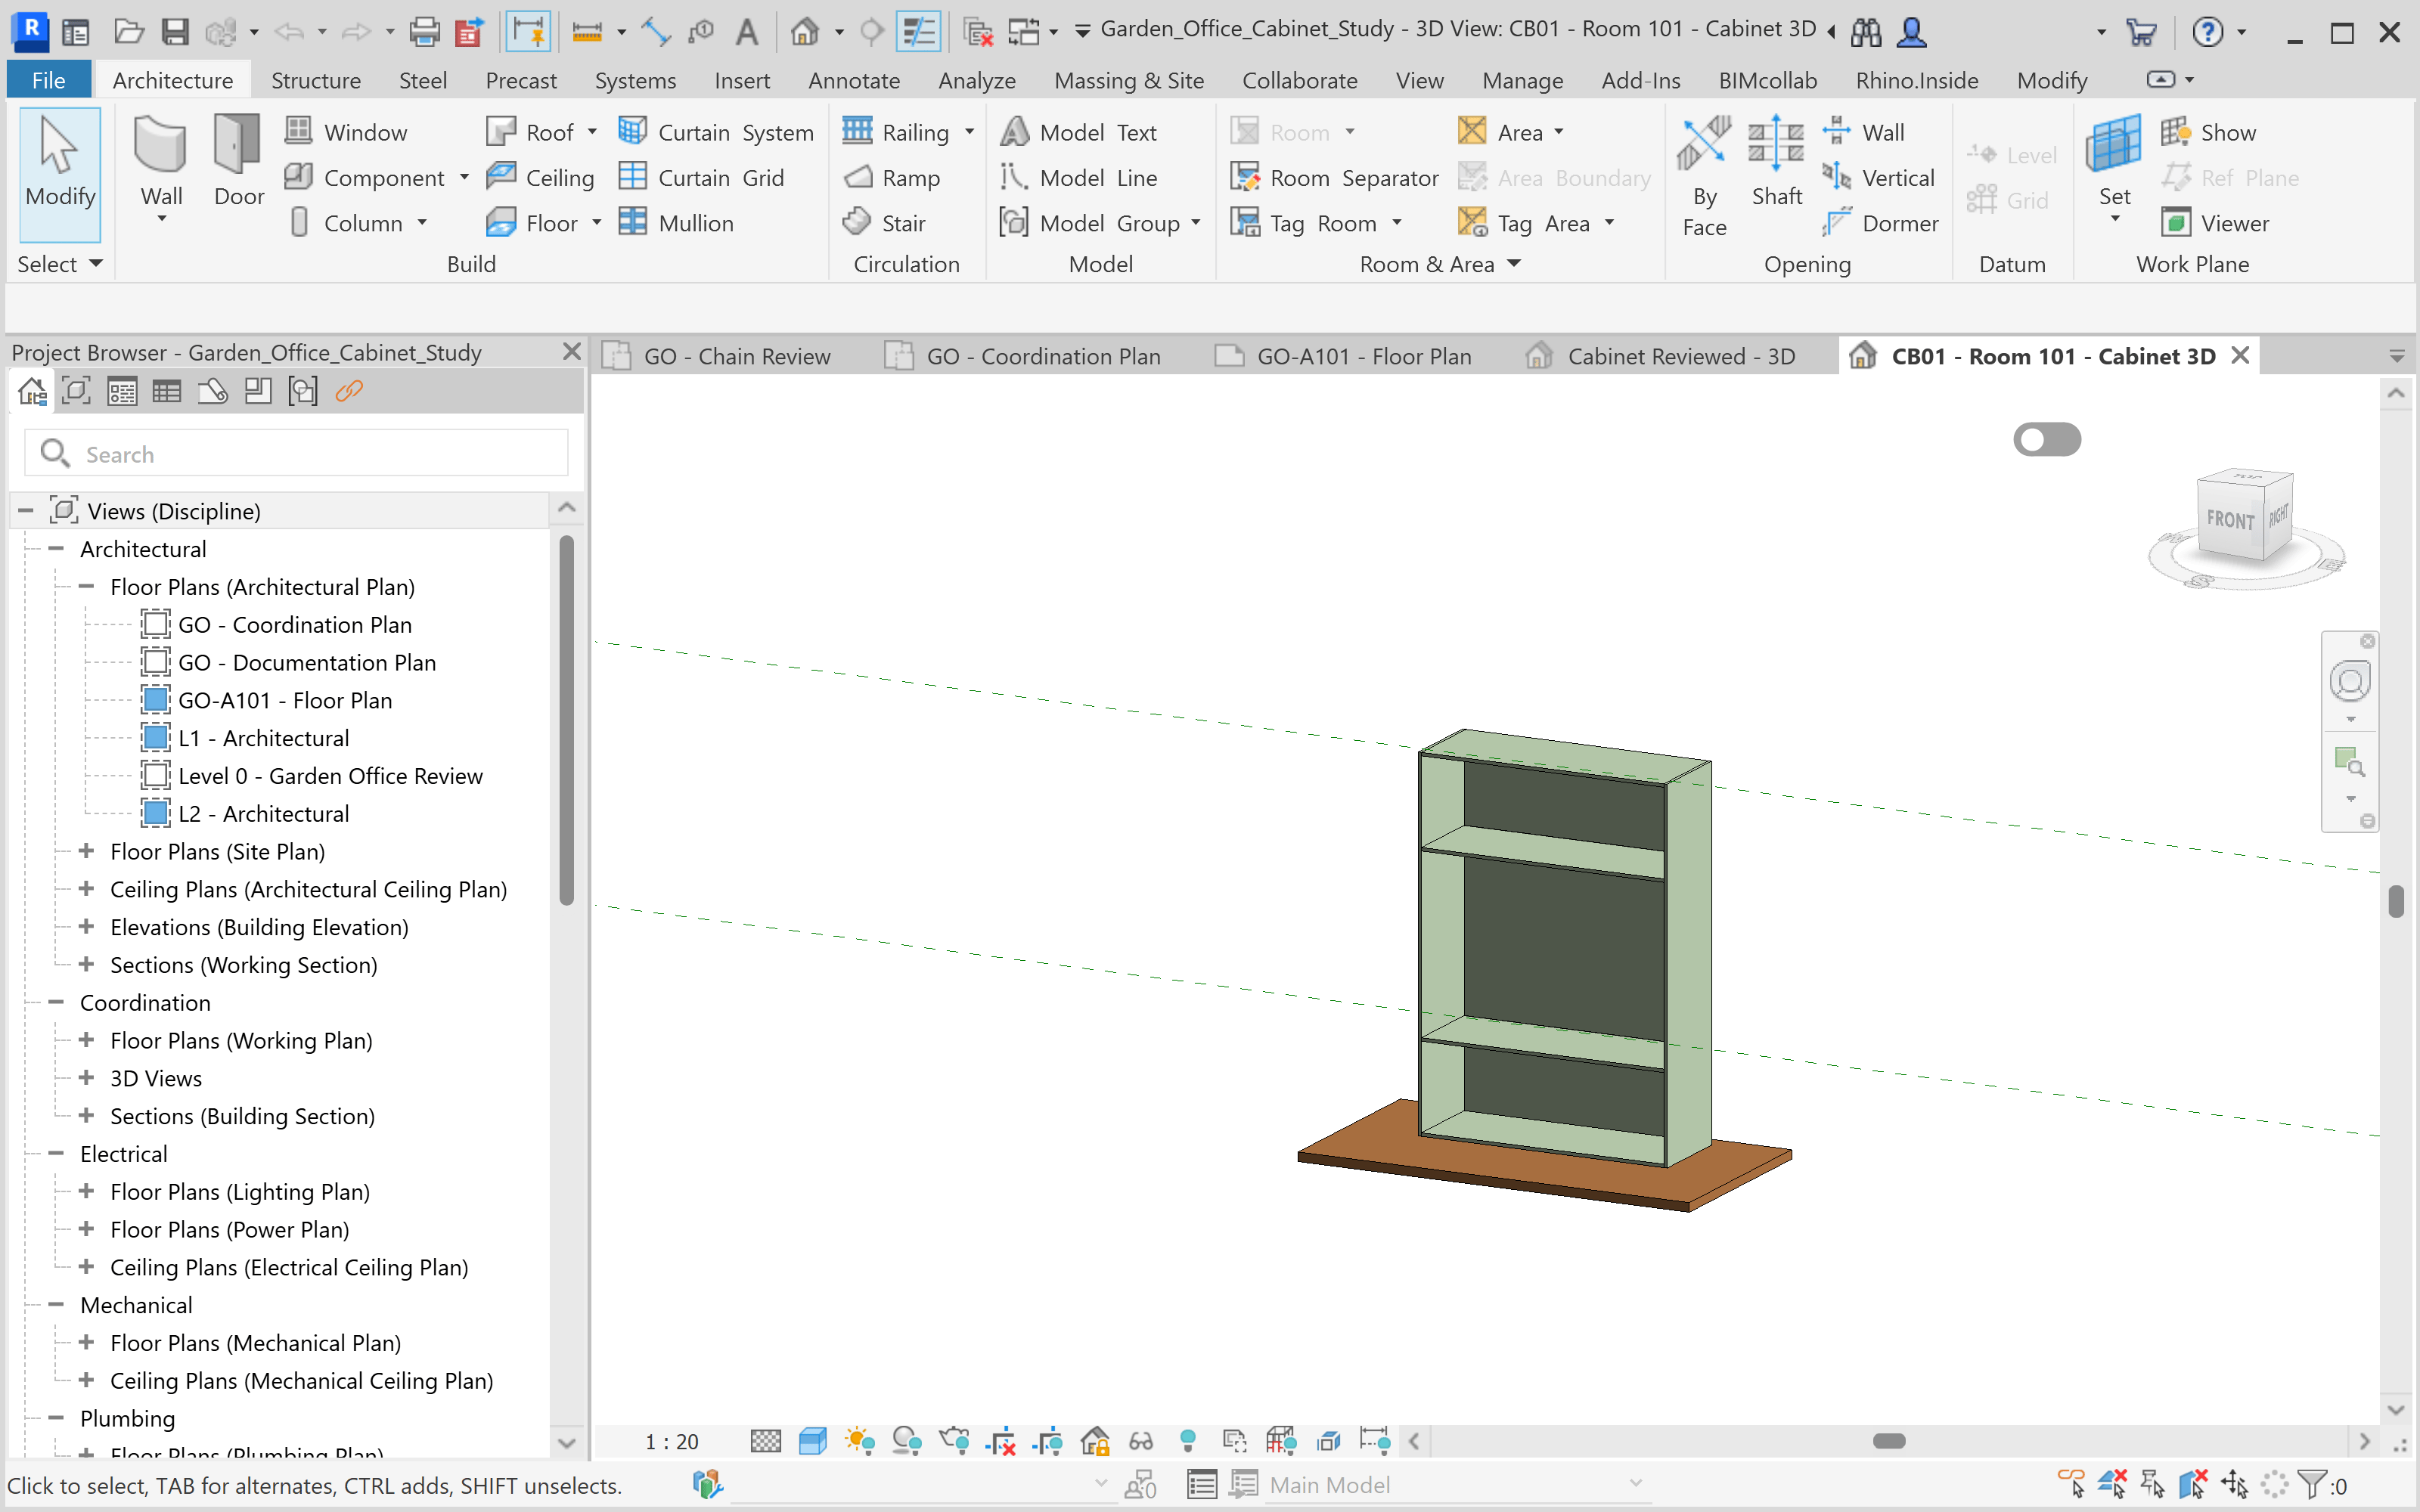
Choose one element and record what should change and what must stay. This example resizes cabinet CB01 in Room 101 of the Garden Office project. Its original type measures 1200 × 450 × 1800 mm, with two shelves and 18 mm panels. Inspect the family and locate the placed instance before editing. Include its position, orientation, nearby walls and windows in the review. The family window below shows the original component; the project window later shows the resized instance in its room.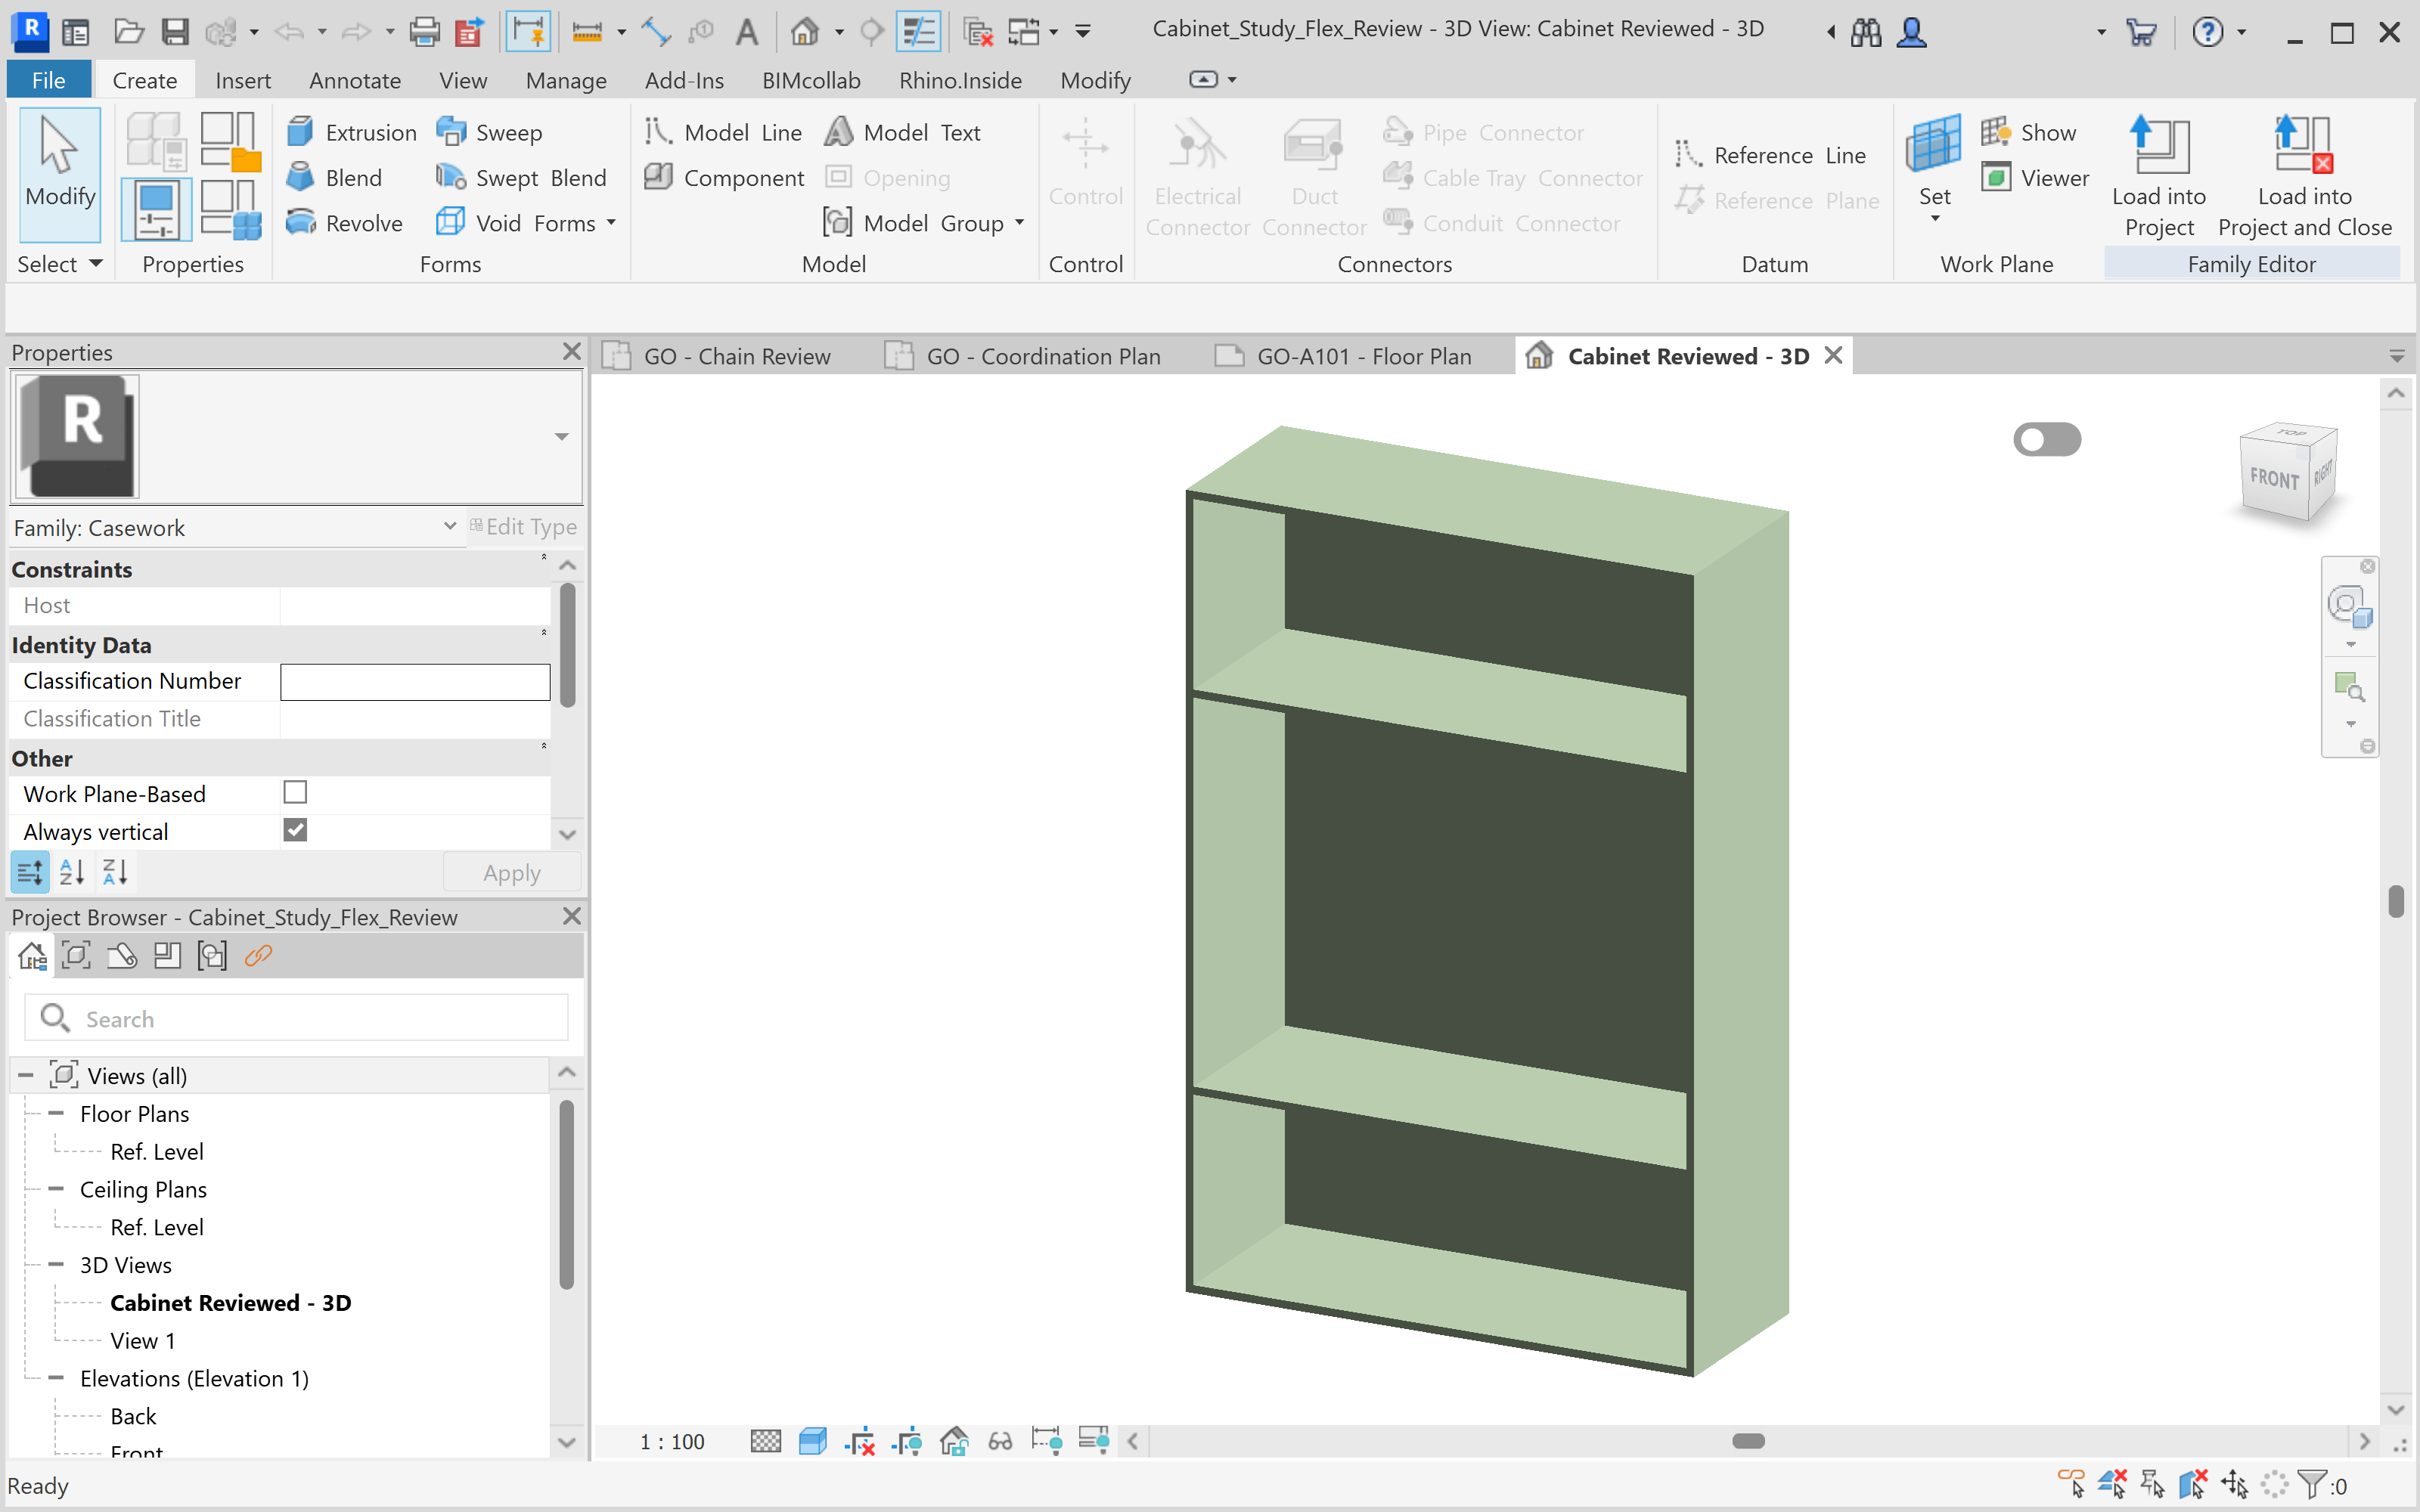
2. Prepare a separate type
Changing a shared type can affect every instance. Ask for a separate project type and specify which instance should use it. Keep the original type available and work in a separate project copy. For this example, the requested type is Cabinet 1400x500x2000mm. A new type name alone does not prove that its dimensions or geometry changed.3. Request and check the edit
Create a separate 1400 × 500 × 2000 mm cabinet type and apply it to CB01. Preserve the original type, the cabinet’s location and orientation, its two shelves, finish and 18 mm panel construction. Leave the surrounding building and other elements unchanged. Check the physical fit before saving.The saved example retained the same cabinet instance and assigned a new type. Verification confirmed that the original type remained available, the instance’s position and orientation were unchanged, and all 145 tracked original building and documentation records were preserved.
4. Inspect the change
Inspect the resulting instance in Revit, then check its type dimensions and geometry. In this example, seven non-overlapping panel solids span 1400 × 500 × 2000 mm. The two shelves, finish and 18 mm construction remain.