1. Provide your references
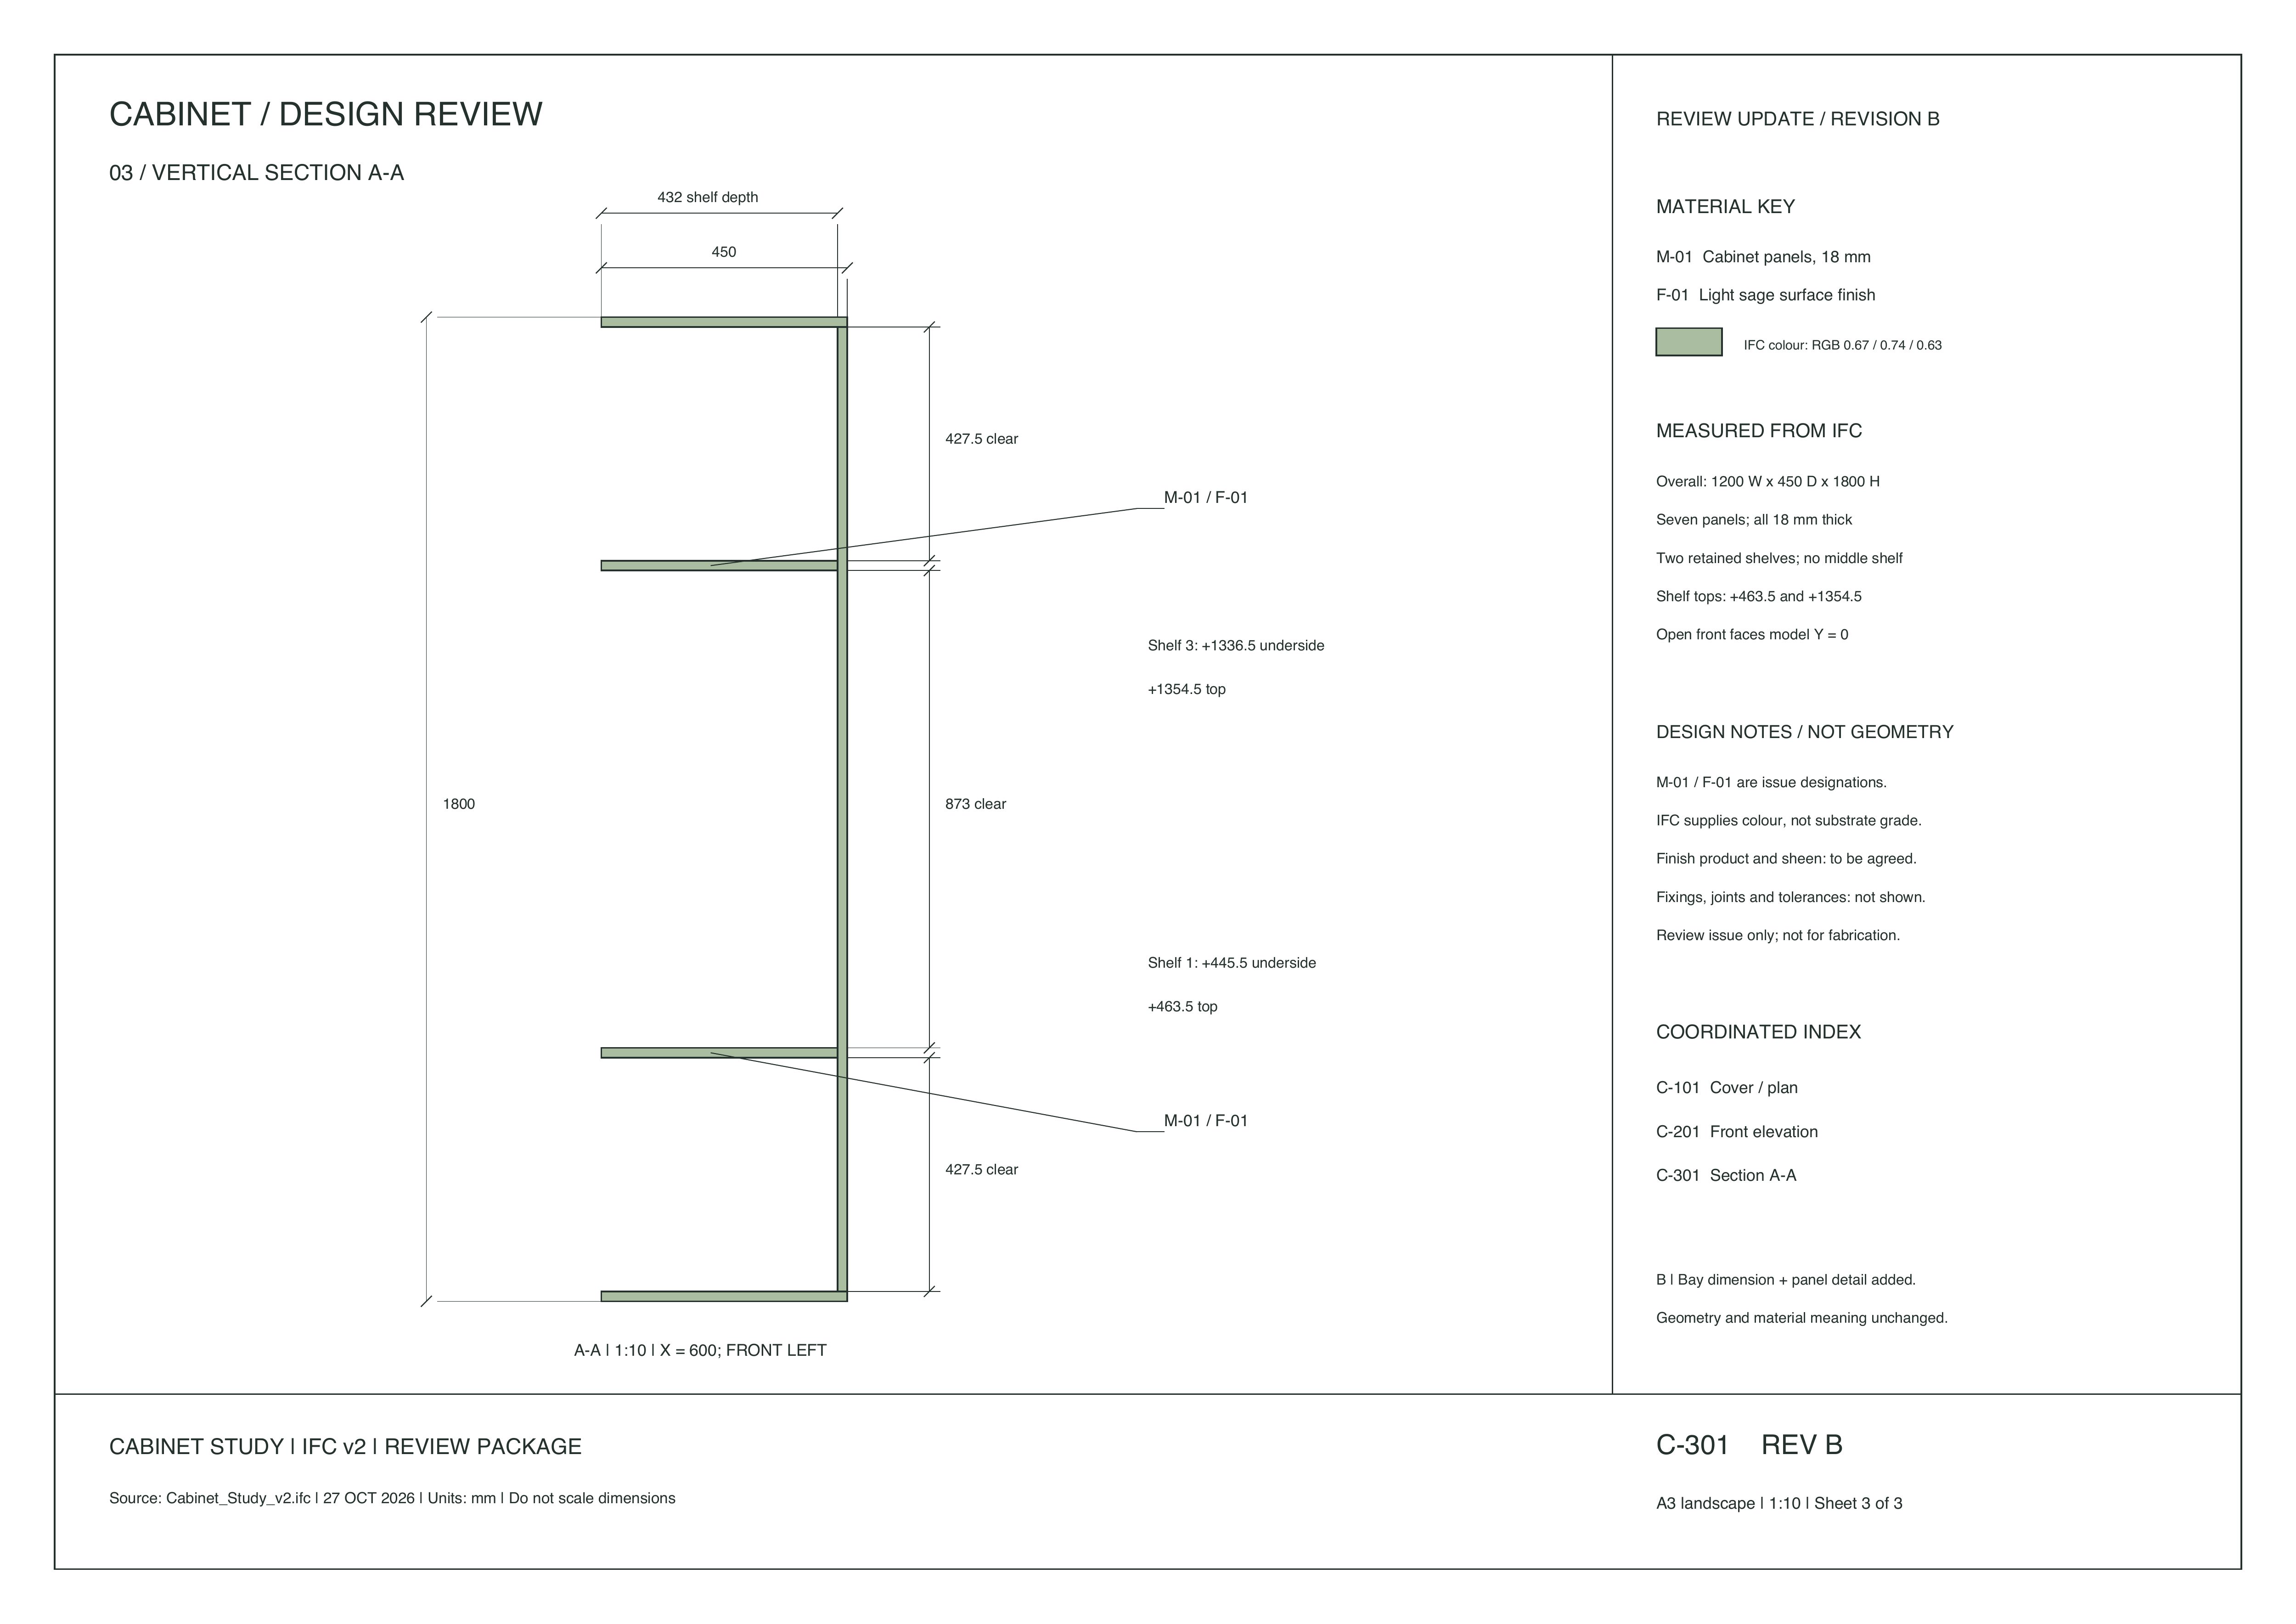
Start a chat and attach the reference document. Explain which dimensions and construction details must be preserved. Include a known dimension when working from photographs. The cabinet reference specifies a 1200 × 450 × 1800 mm assembly with seven 18 mm panels and two shelves. It leaves fixings, joints and tolerances unresolved. Ask AI to identify those gaps before modelling.Read this cabinet drawing. List the dimensions, panel arrangement and material information it specifies. Identify missing details and propose a simple construction arrangement for review before creating the model.
2. Agree on the modelling stages
Work from the overall form toward the details. For this cabinet, first agree on the outside dimensions and panel arrangement, then the shelf positions and finish.Create an IFC model with full-height sides, a back between the sides, and the top, base and shelves in front of the back. Preserve the written dimensions and shelf levels. Keep the panels separate and stop for review before adding details not shown in the drawing.State assumptions explicitly. A plausible joint drawn by AI is still an assumption until you accept it.
3. Review and refine the IFC
Open the model in Studio. Inspect the open front, the two shelves and the relationships between panels. Compare the overall dimensions and shelf levels with the PDF.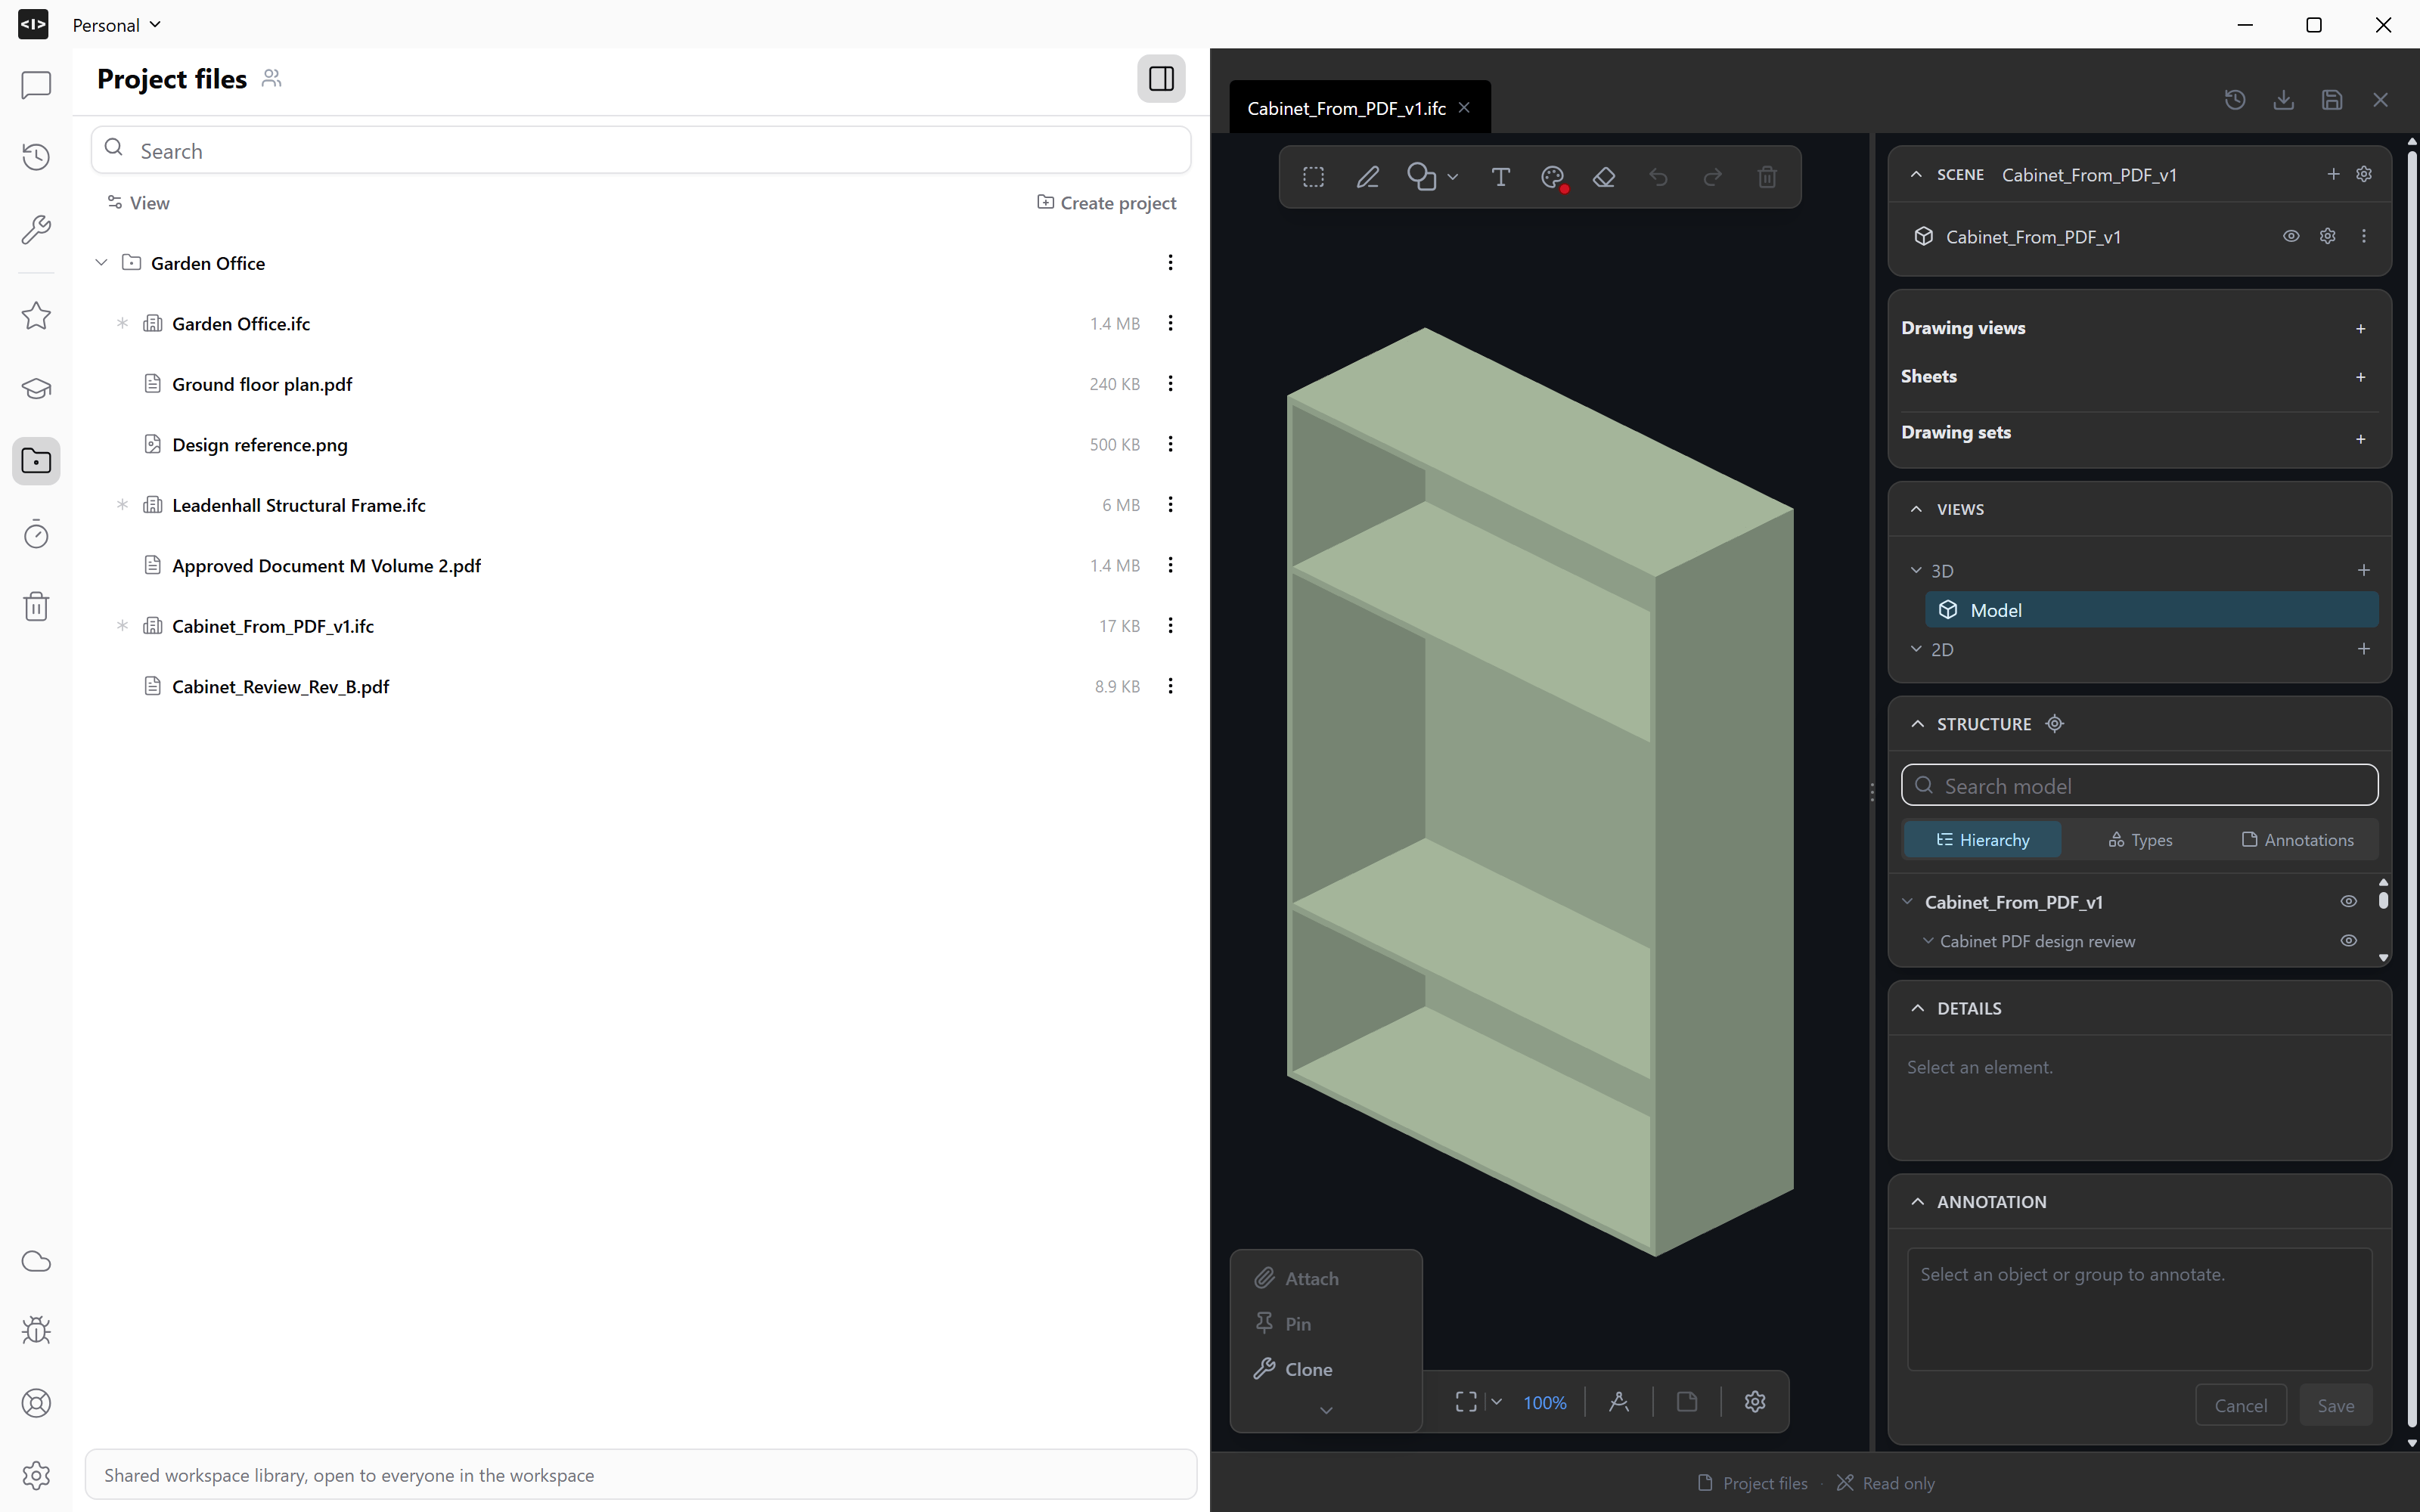
Check the cabinet against the PDF. Verify the overall dimensions, 18 mm panel thickness and shelf levels. Identify overlaps or gaps. Keep the approved outside dimensions unchanged when correcting the panel junctions.
4. Create the Revit family
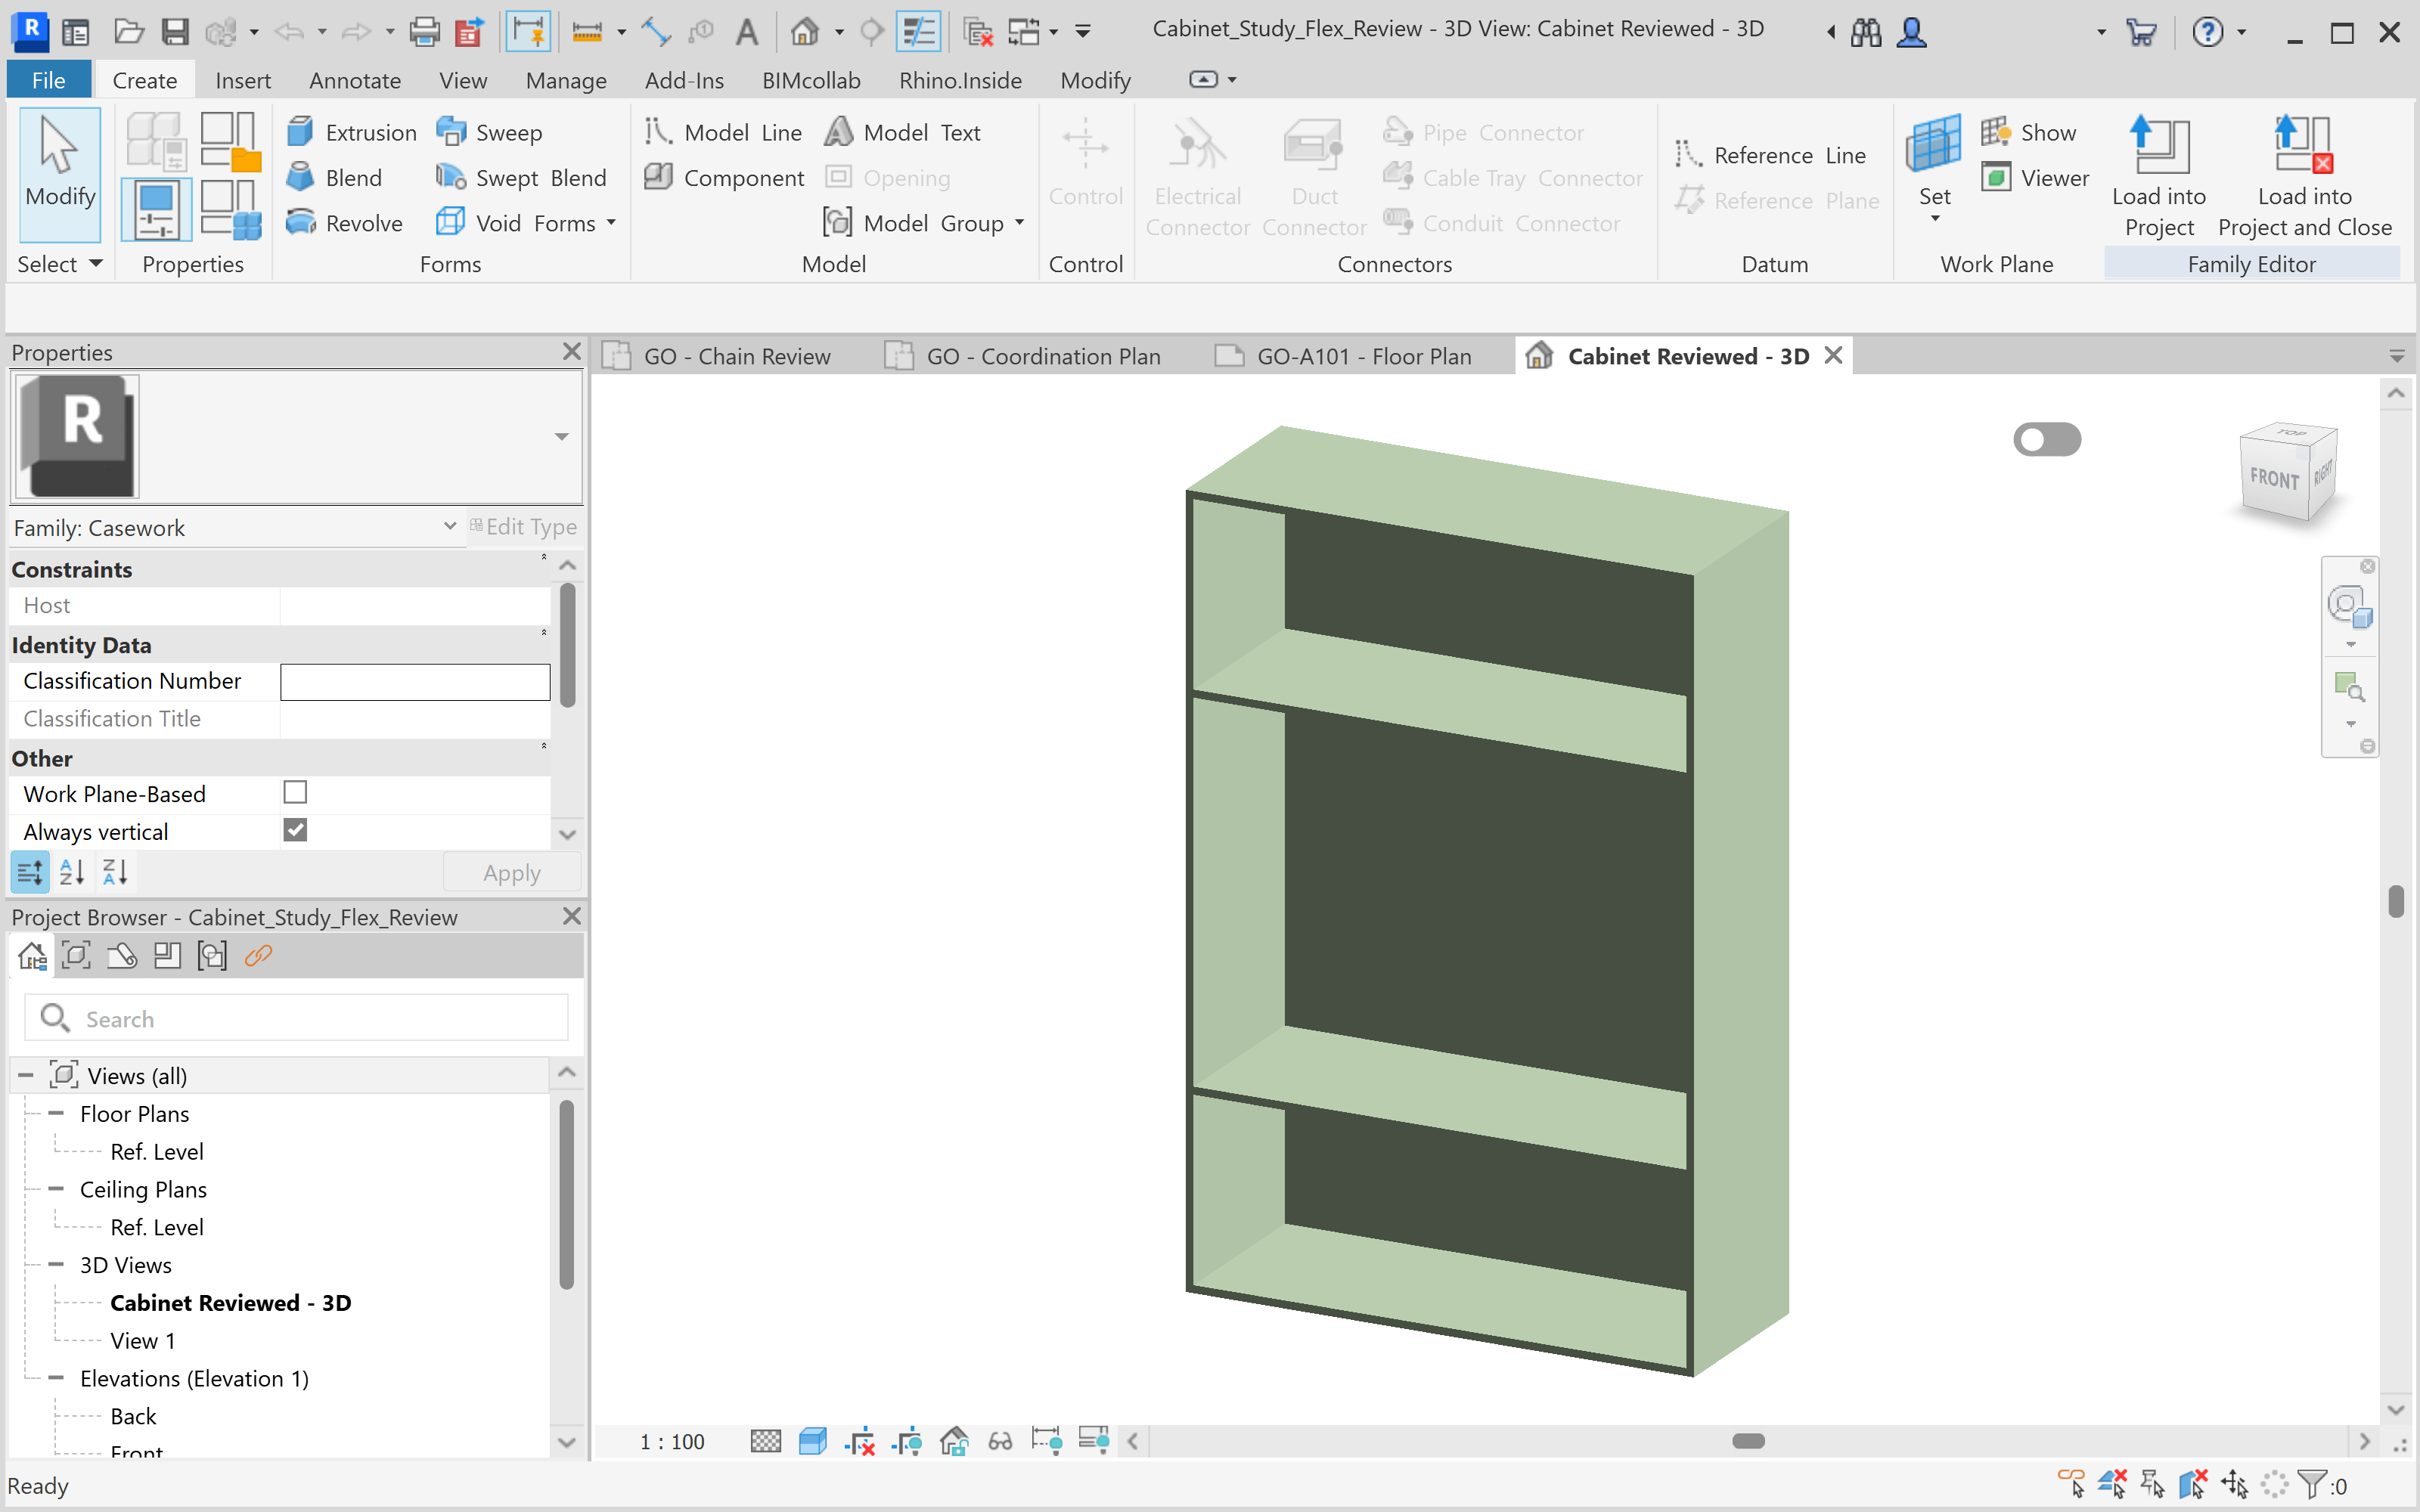
Connect Revit and ask AI to recreate the accepted design with editable native family geometry. Specify the category and how the component should be placed.Create a Revit Casework family from the approved cabinet. Keep the seven-panel construction and open front. Use native editable geometry and a shared finish material. Make the width, depth and height adjustable while retaining 18 mm panels.
5. Add useful parameters
Open Family Types and change one dimension at a time. Apply the value and inspect the geometry before trying another size.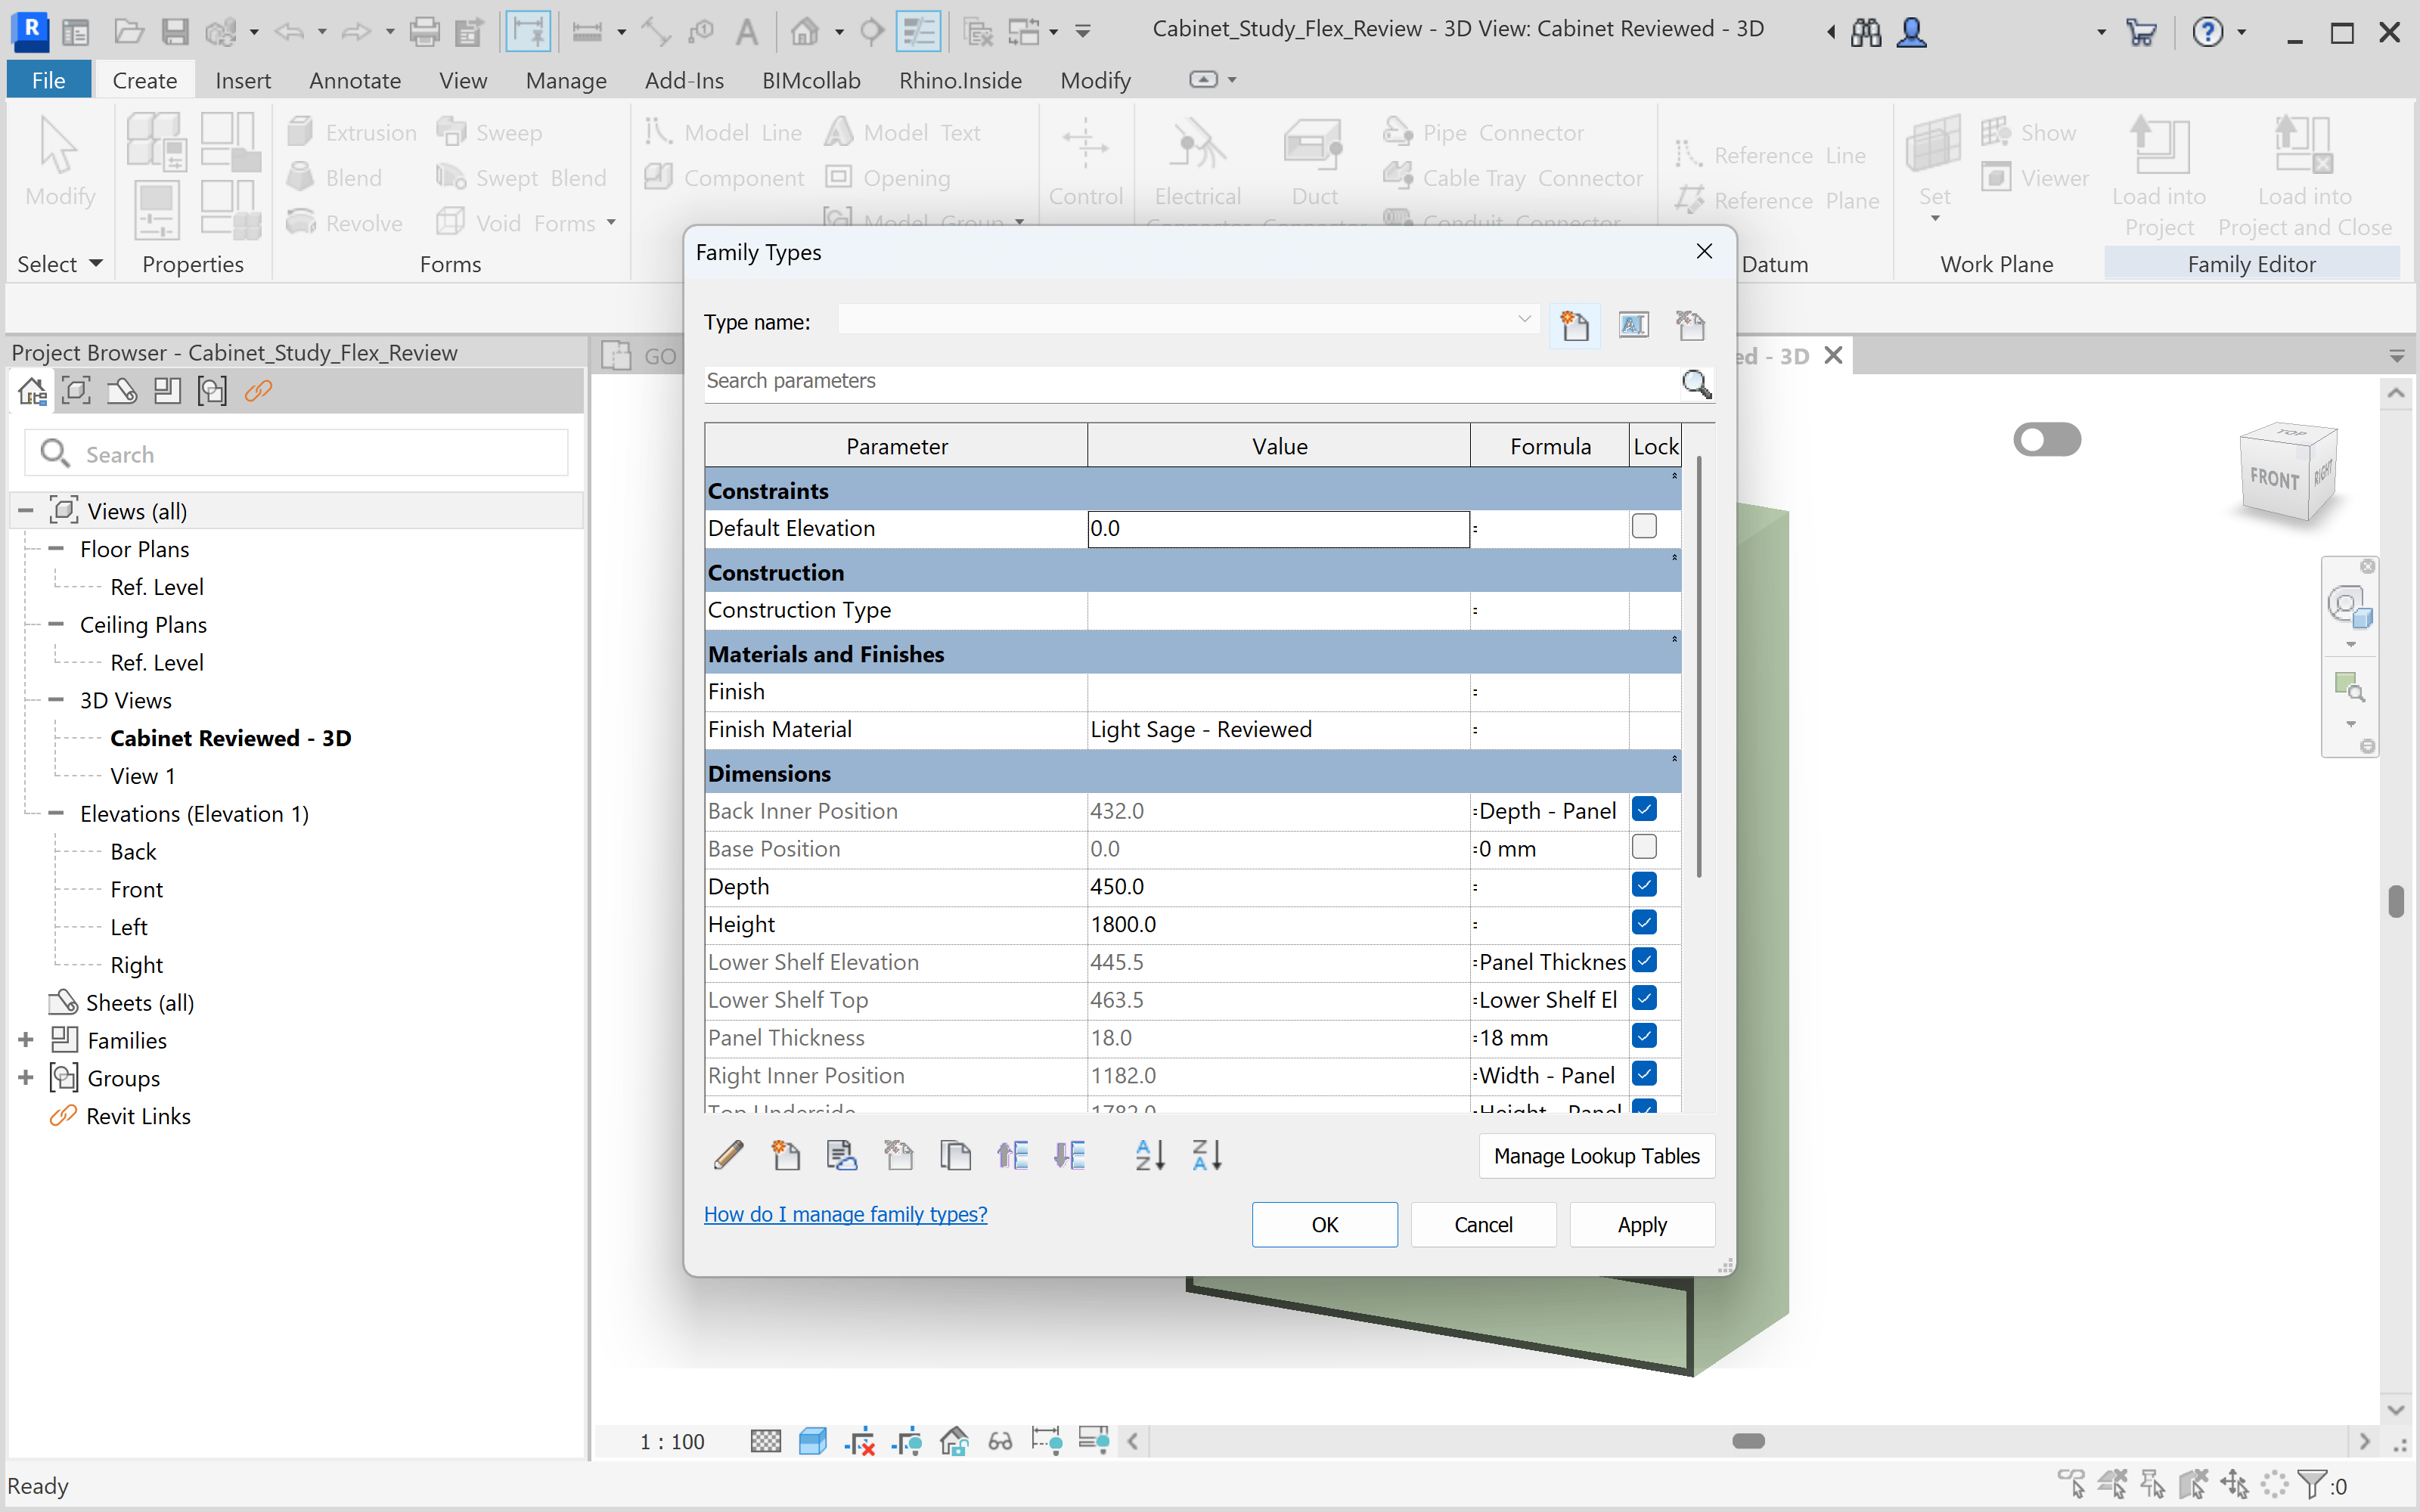
Test the depth at 500 mm and the height at 2000 mm separately. Check that the back, top and shelves follow the changed dimensions and that panels remain connected without overlapping. Restore the original size after testing.
6. Test it in your project
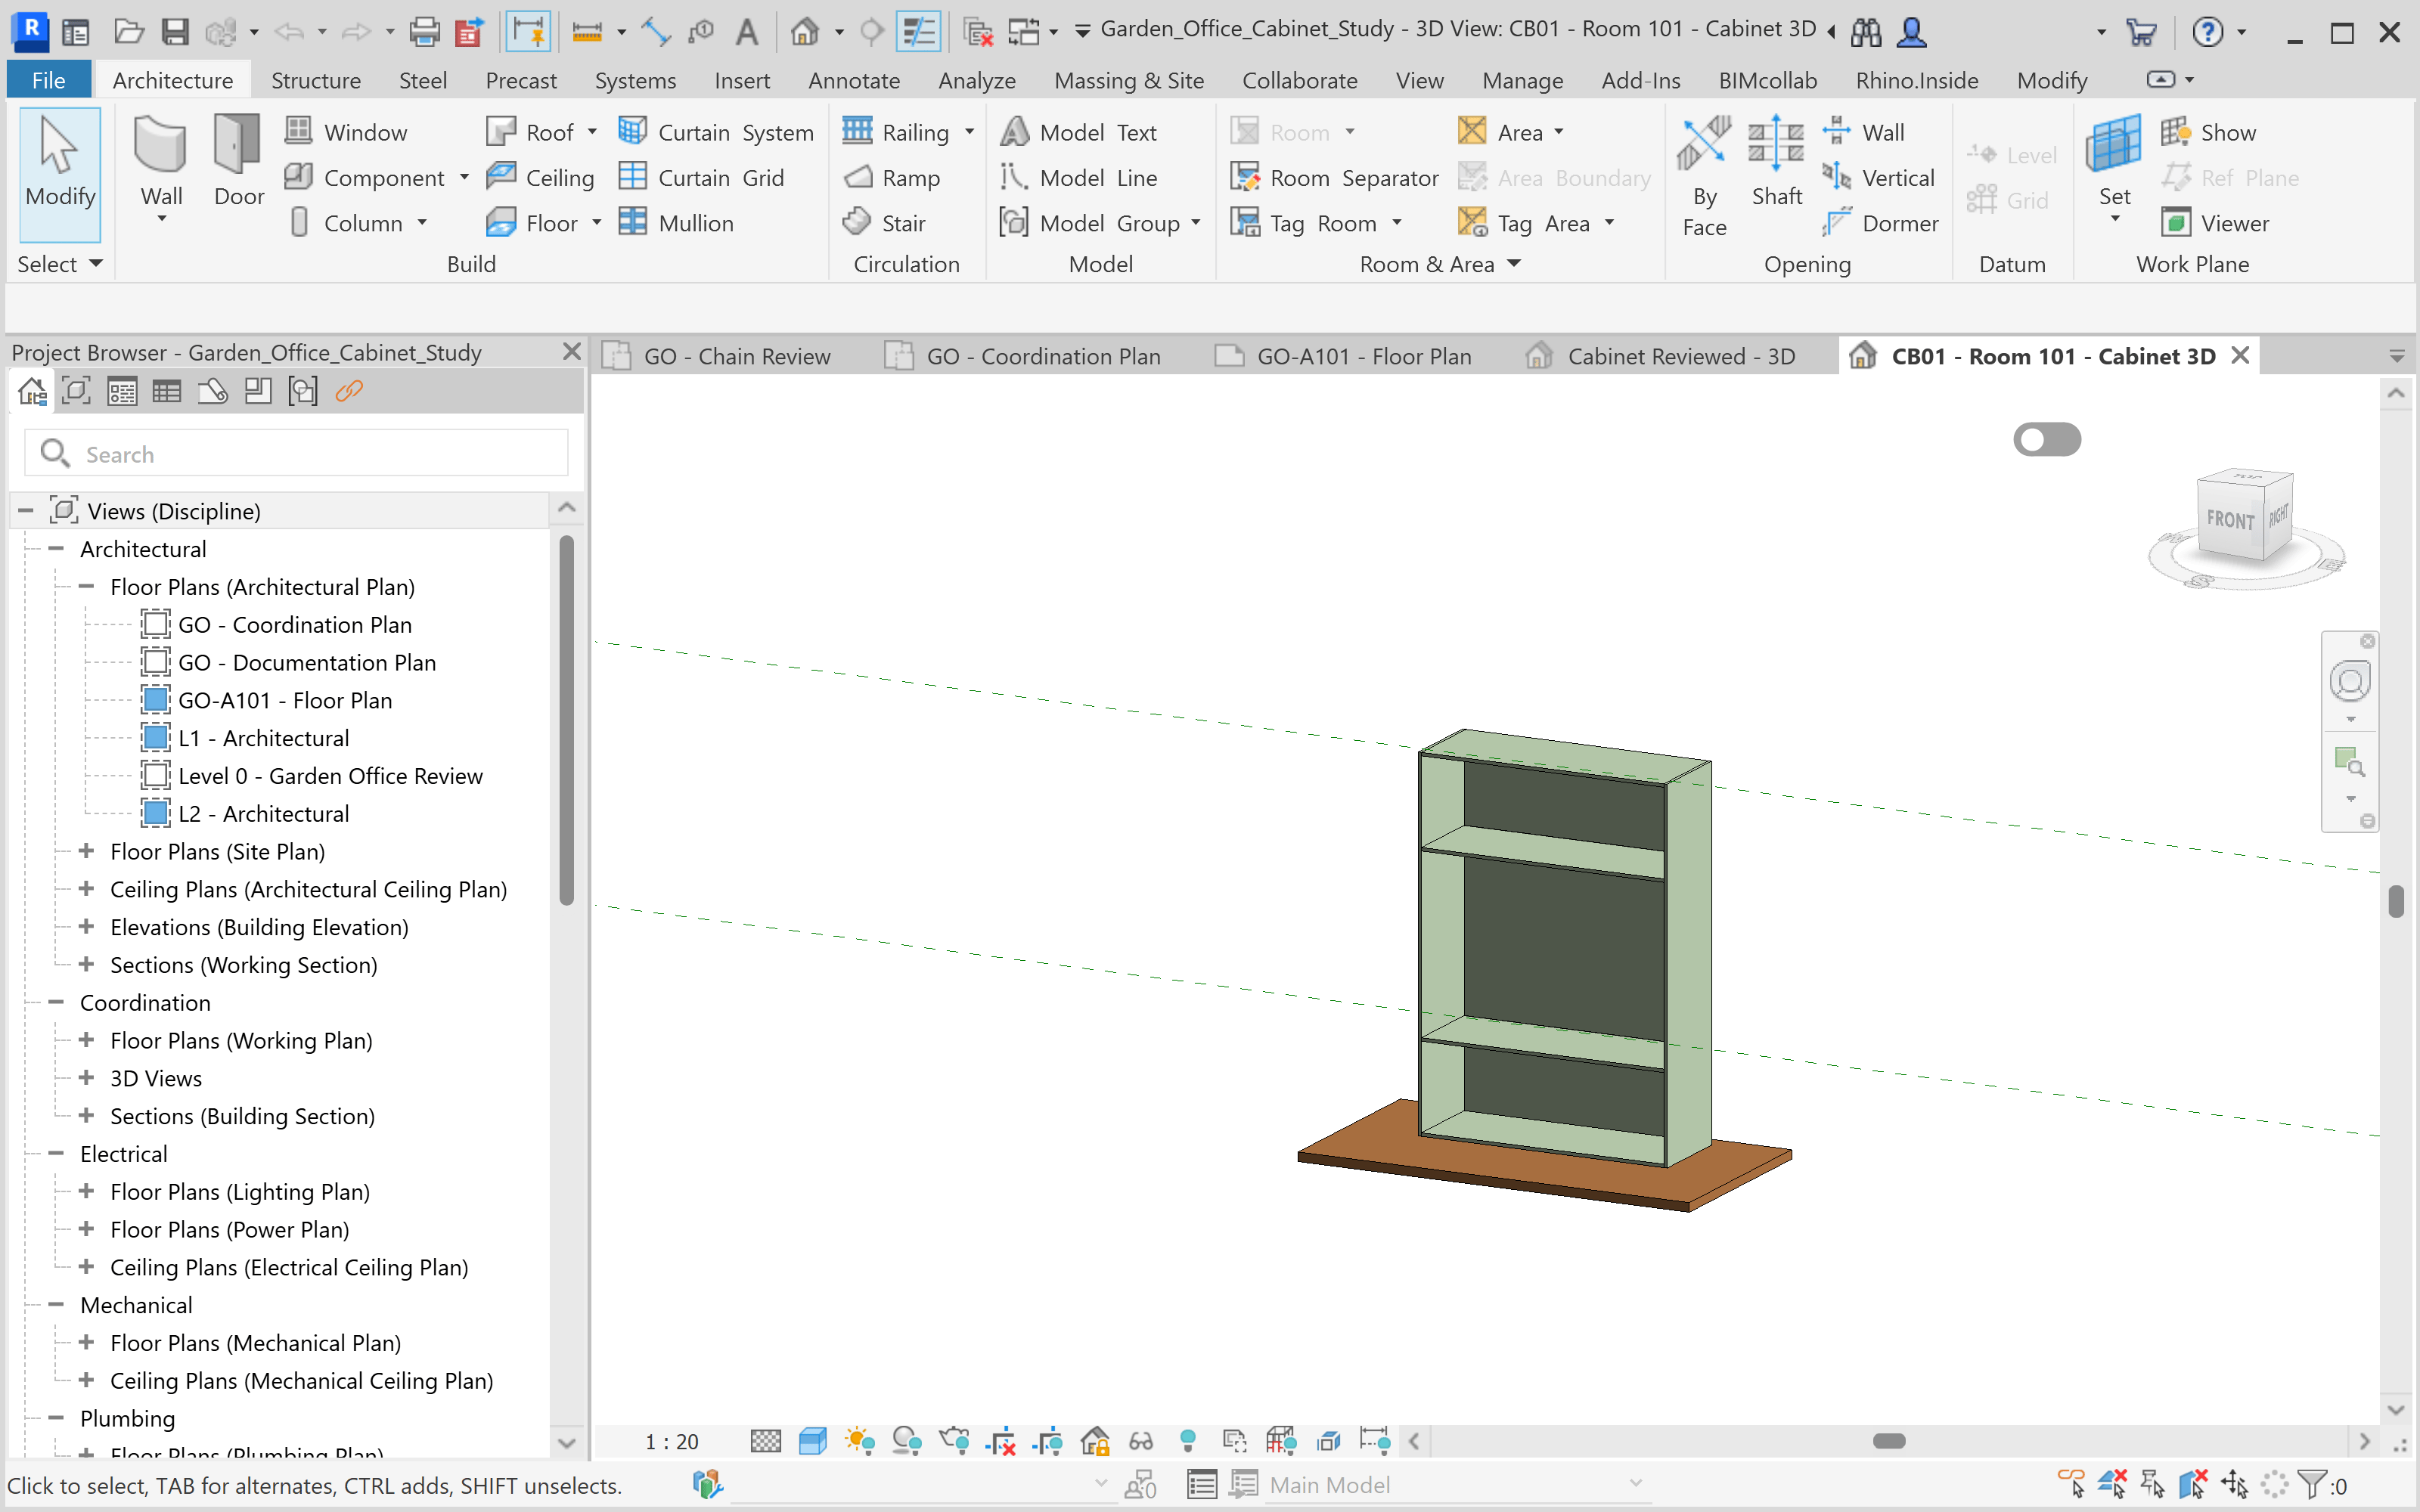
Load the family into a test project. Check its position, orientation and clearance from nearby walls, openings and other components. The Garden Office example retains the original cabinet type and adds a separate 1400 × 500 × 2000 mm type for the placed instance. Inspect the family in its project context after changing its size.Create a separate 1400 × 500 × 2000 mm type for this cabinet. Keep the original type, instance location and orientation. Check the larger cabinet’s geometry and clearance from the surrounding walls and window.