

1. Side panels
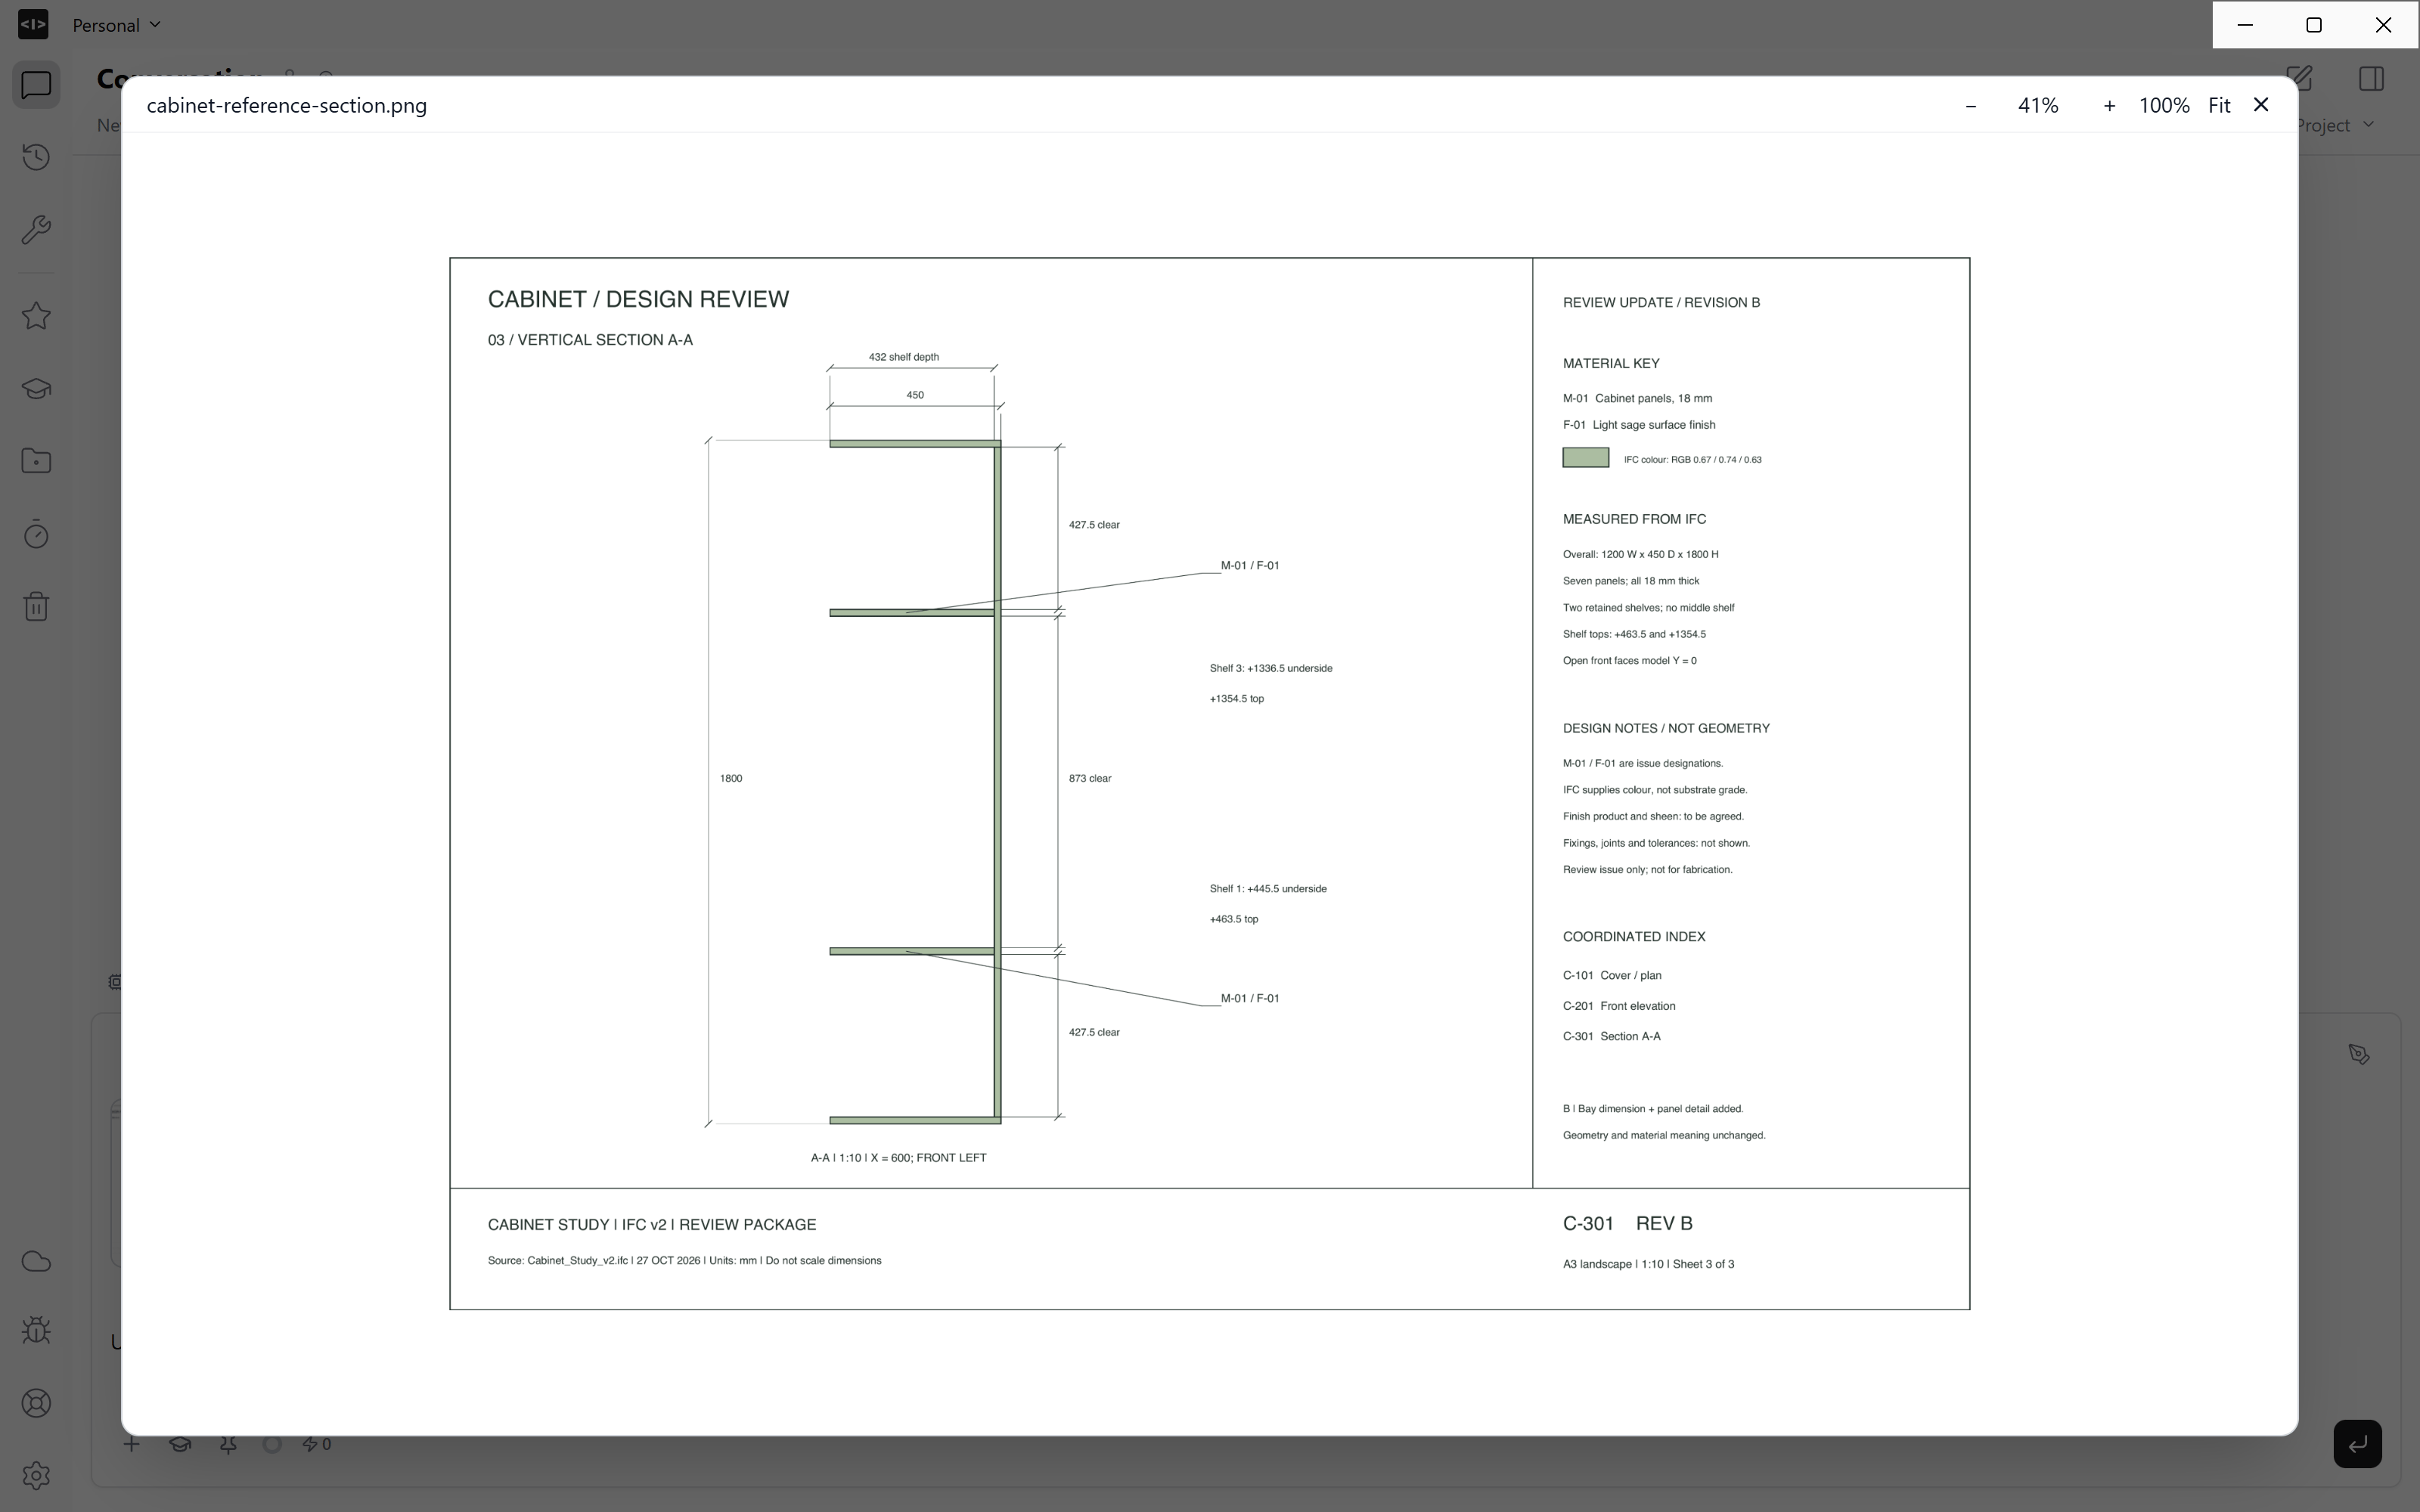
Open a file beside the conversation to read it while you work. Use the file tabs to switch references and the panel boundary to adjust the space. Closing a preview leaves the file in place.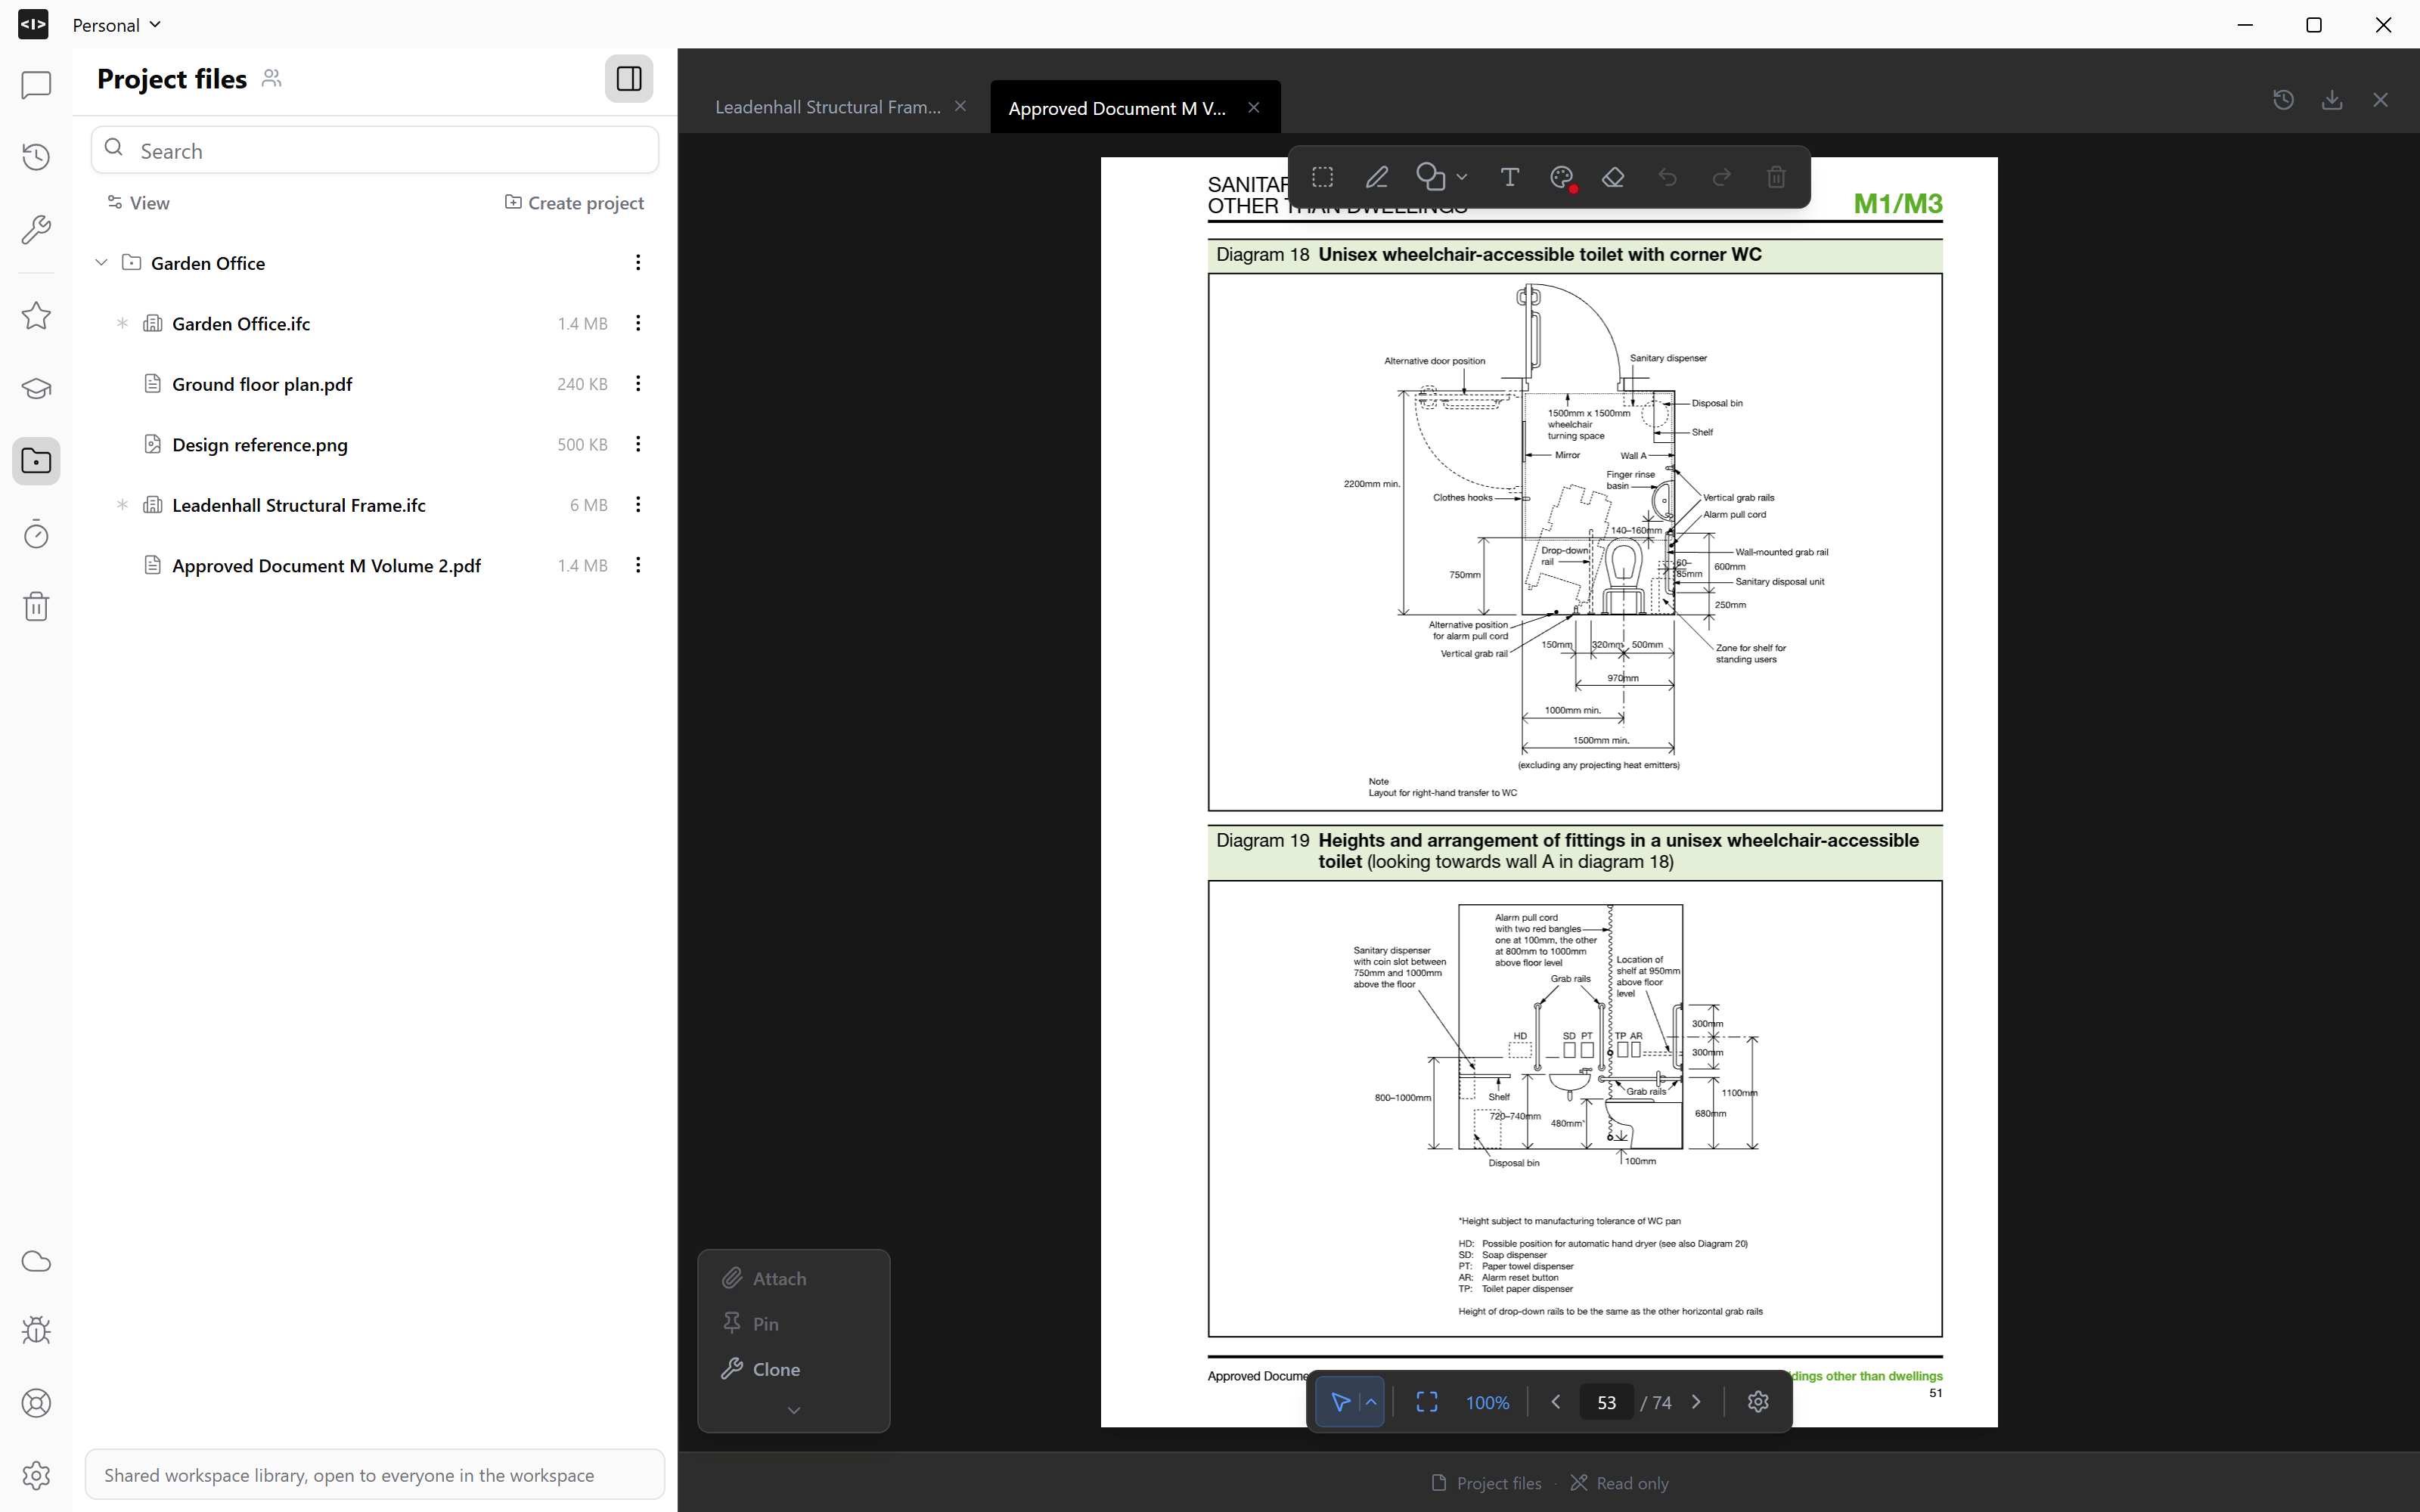
2. Capture a view
Connect your application, then click Connected App screen capture at the upper right of the message box. In the live-view tab, click Capture to open an image of the current view in a new tab. The example below shows a Garden Office Revit plan image opened in Studio.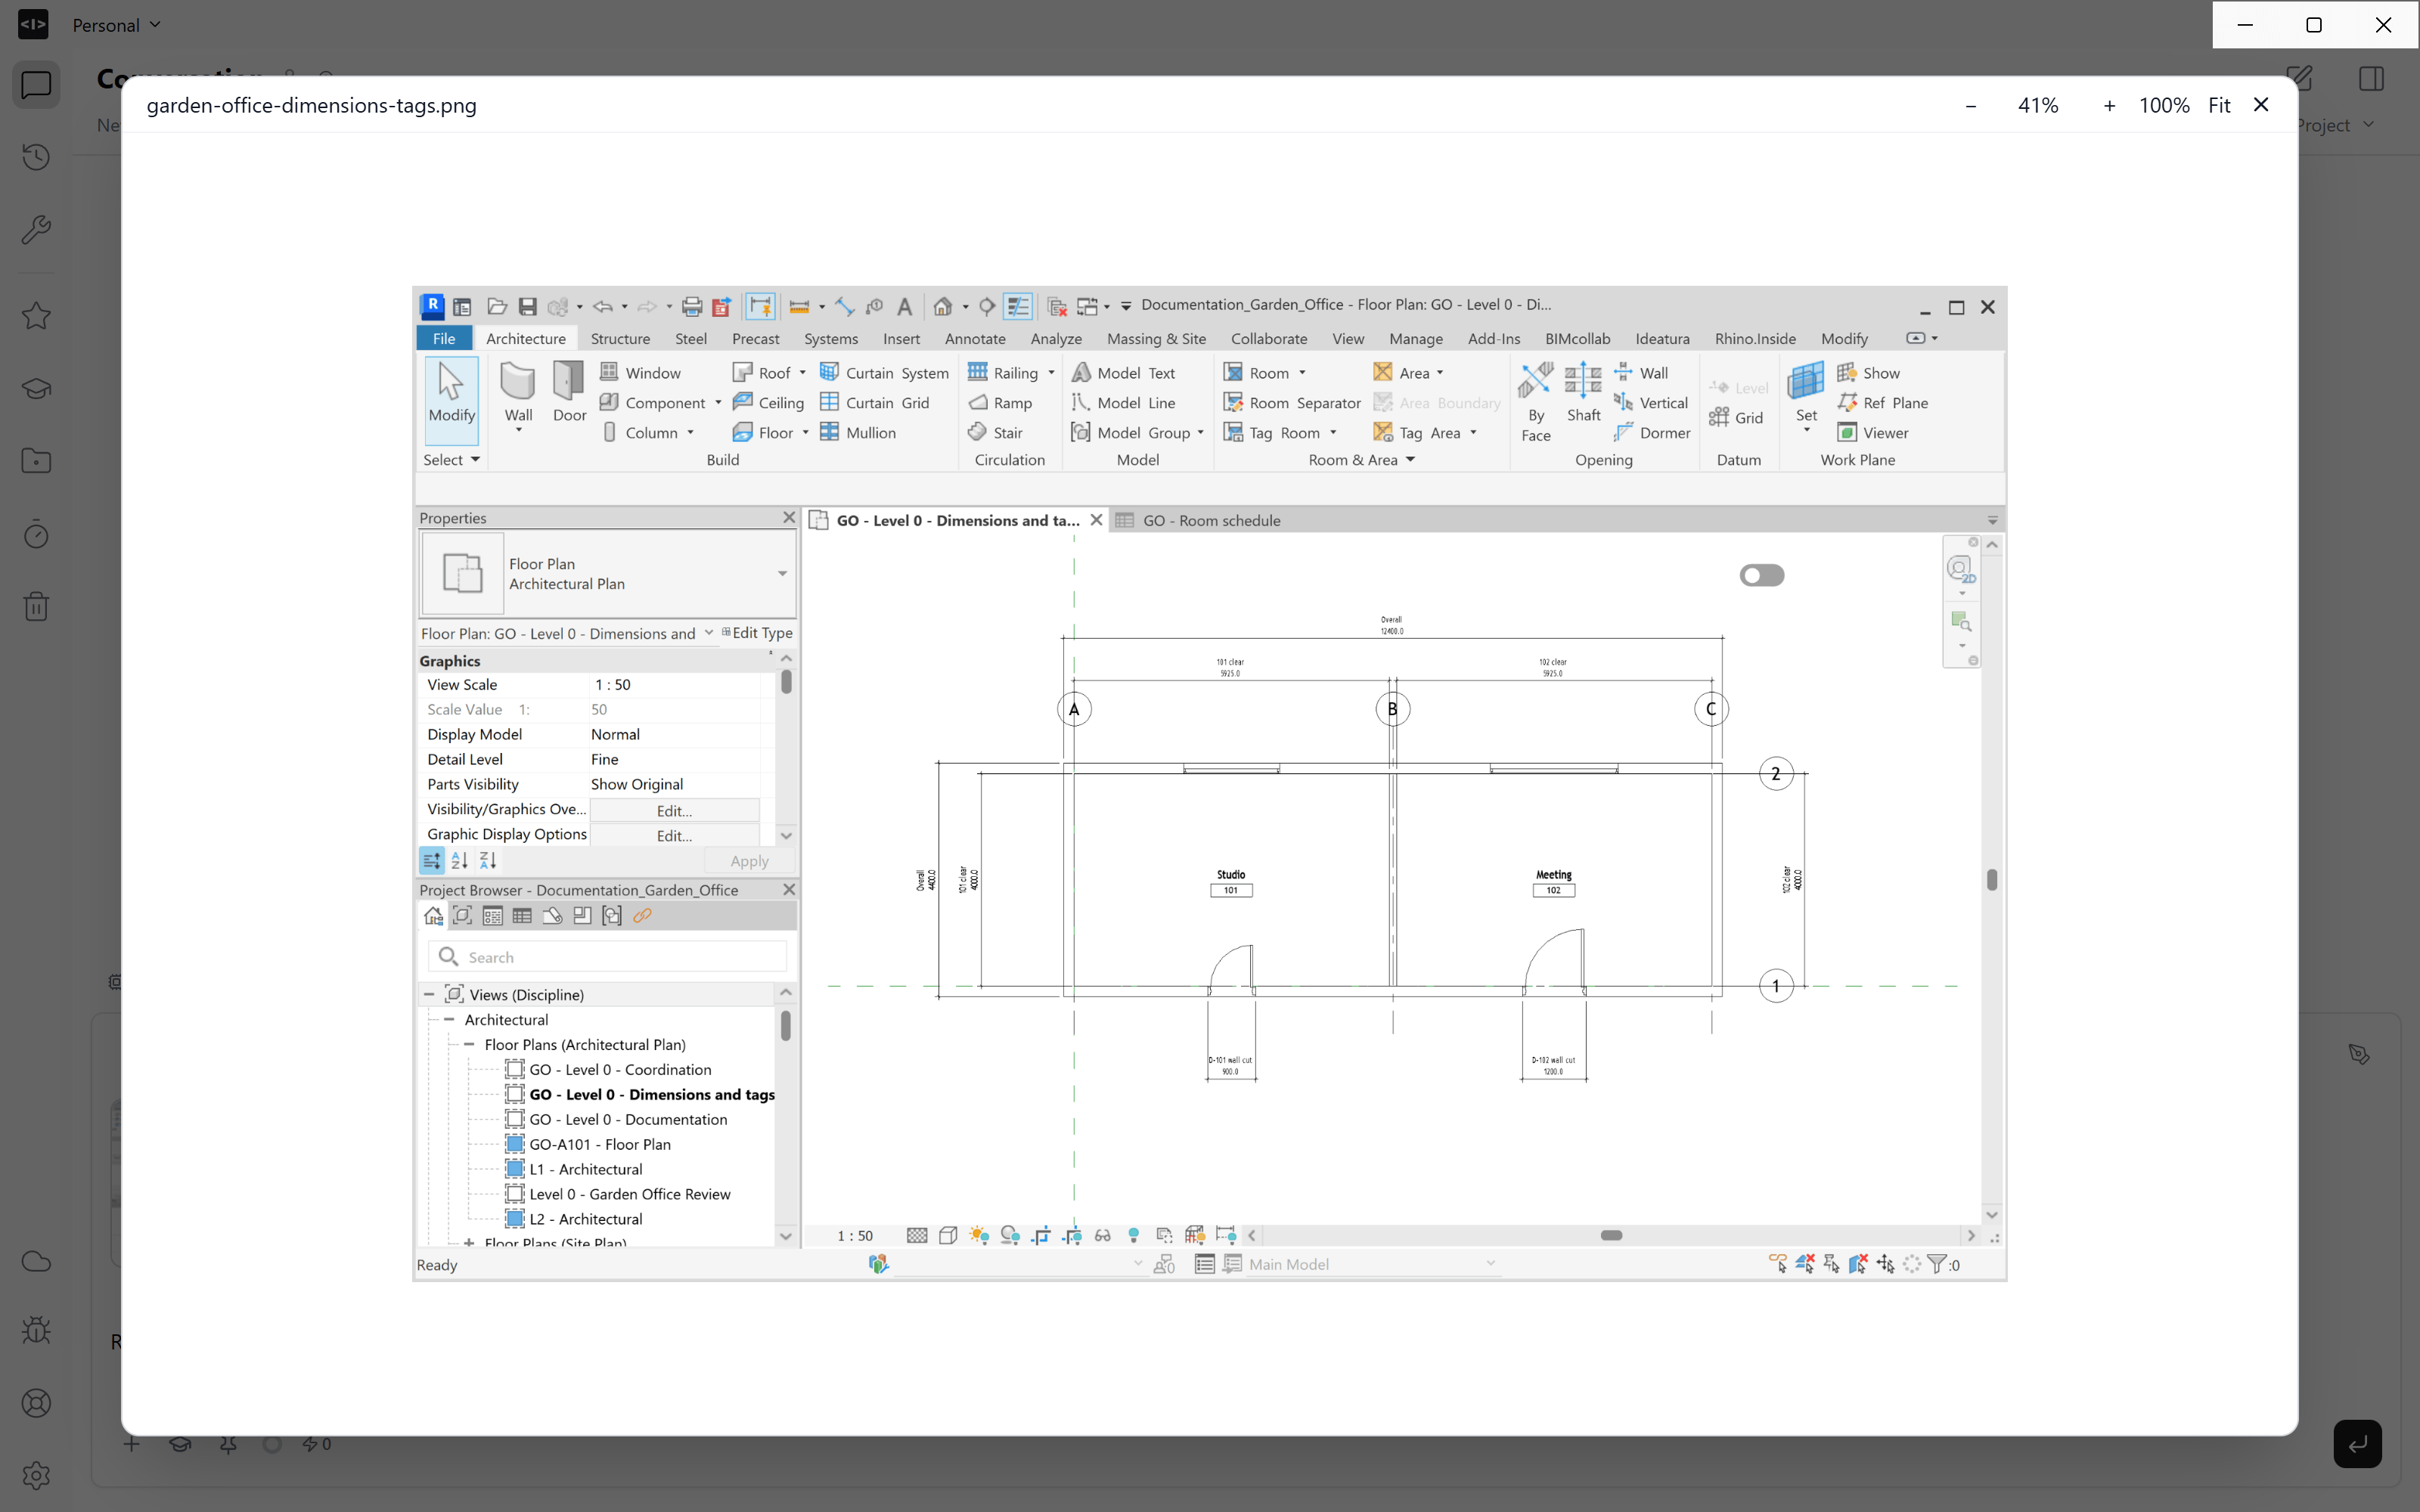
3. Add markup
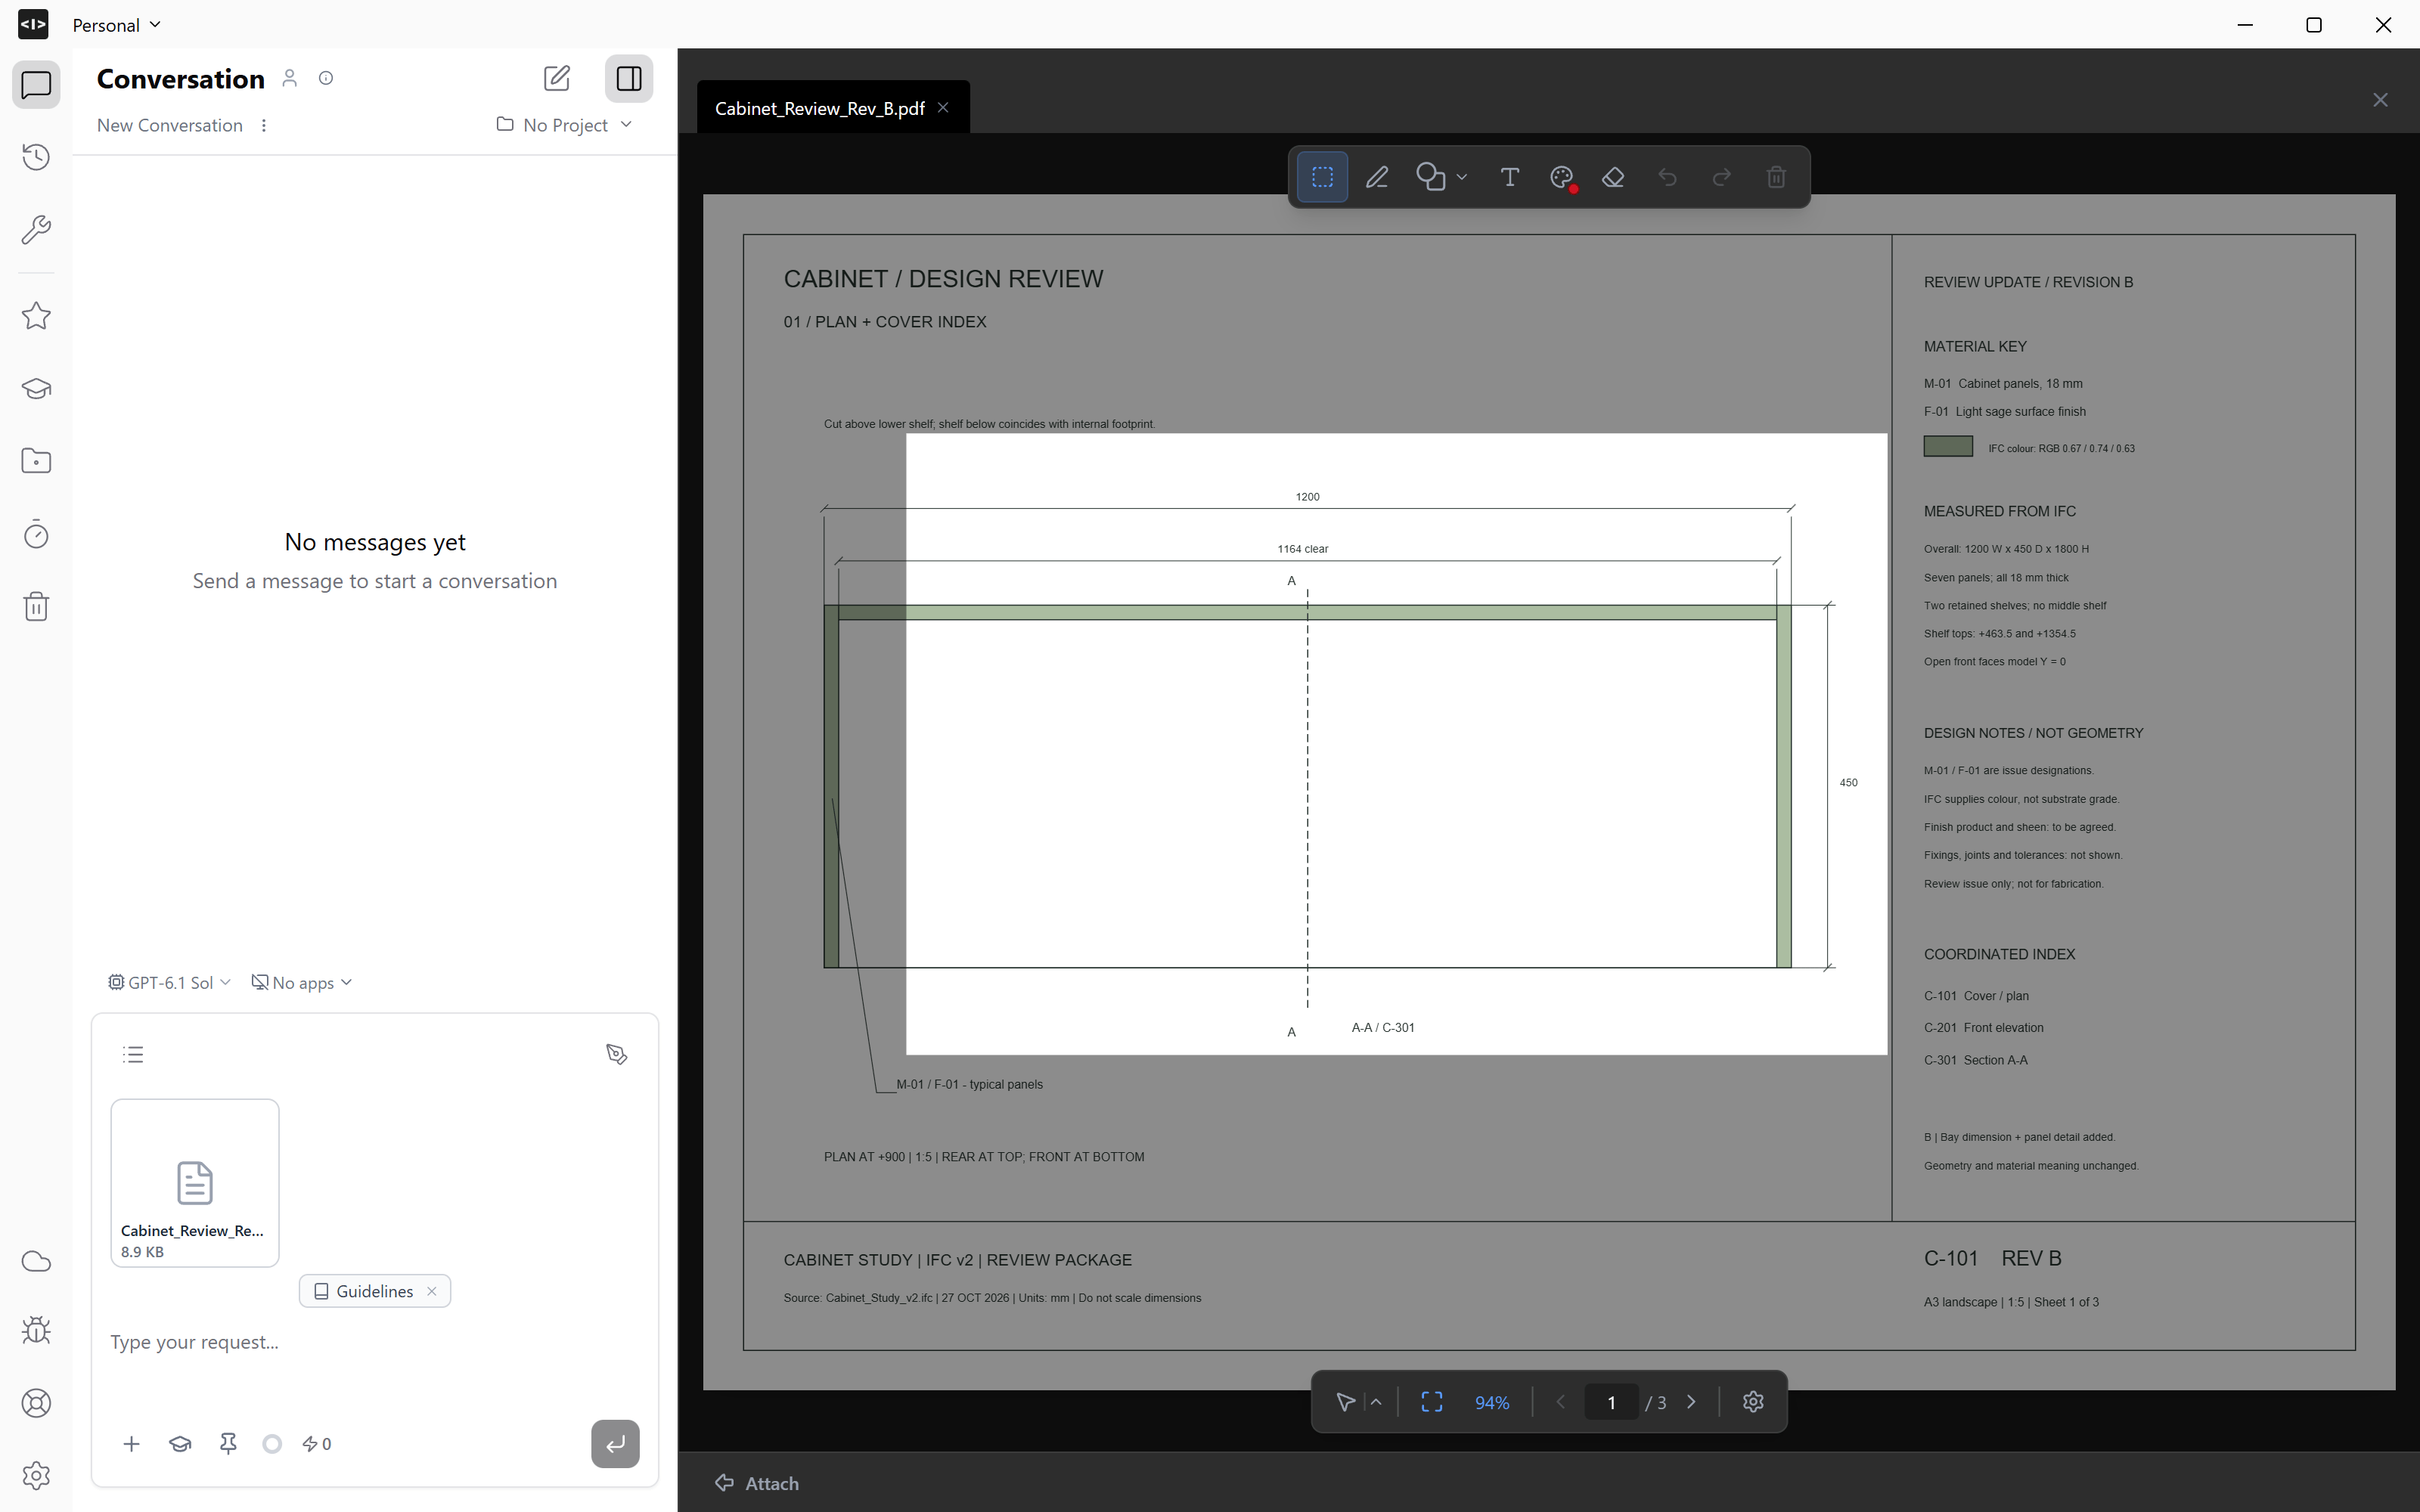
Use Pen, Text or a shape to mark the detail you want to discuss. Choose a contrasting colour and add a short request, such as “Explain the clear space around this WC.” For a change, say what should move or change size and include exact dimensions where needed.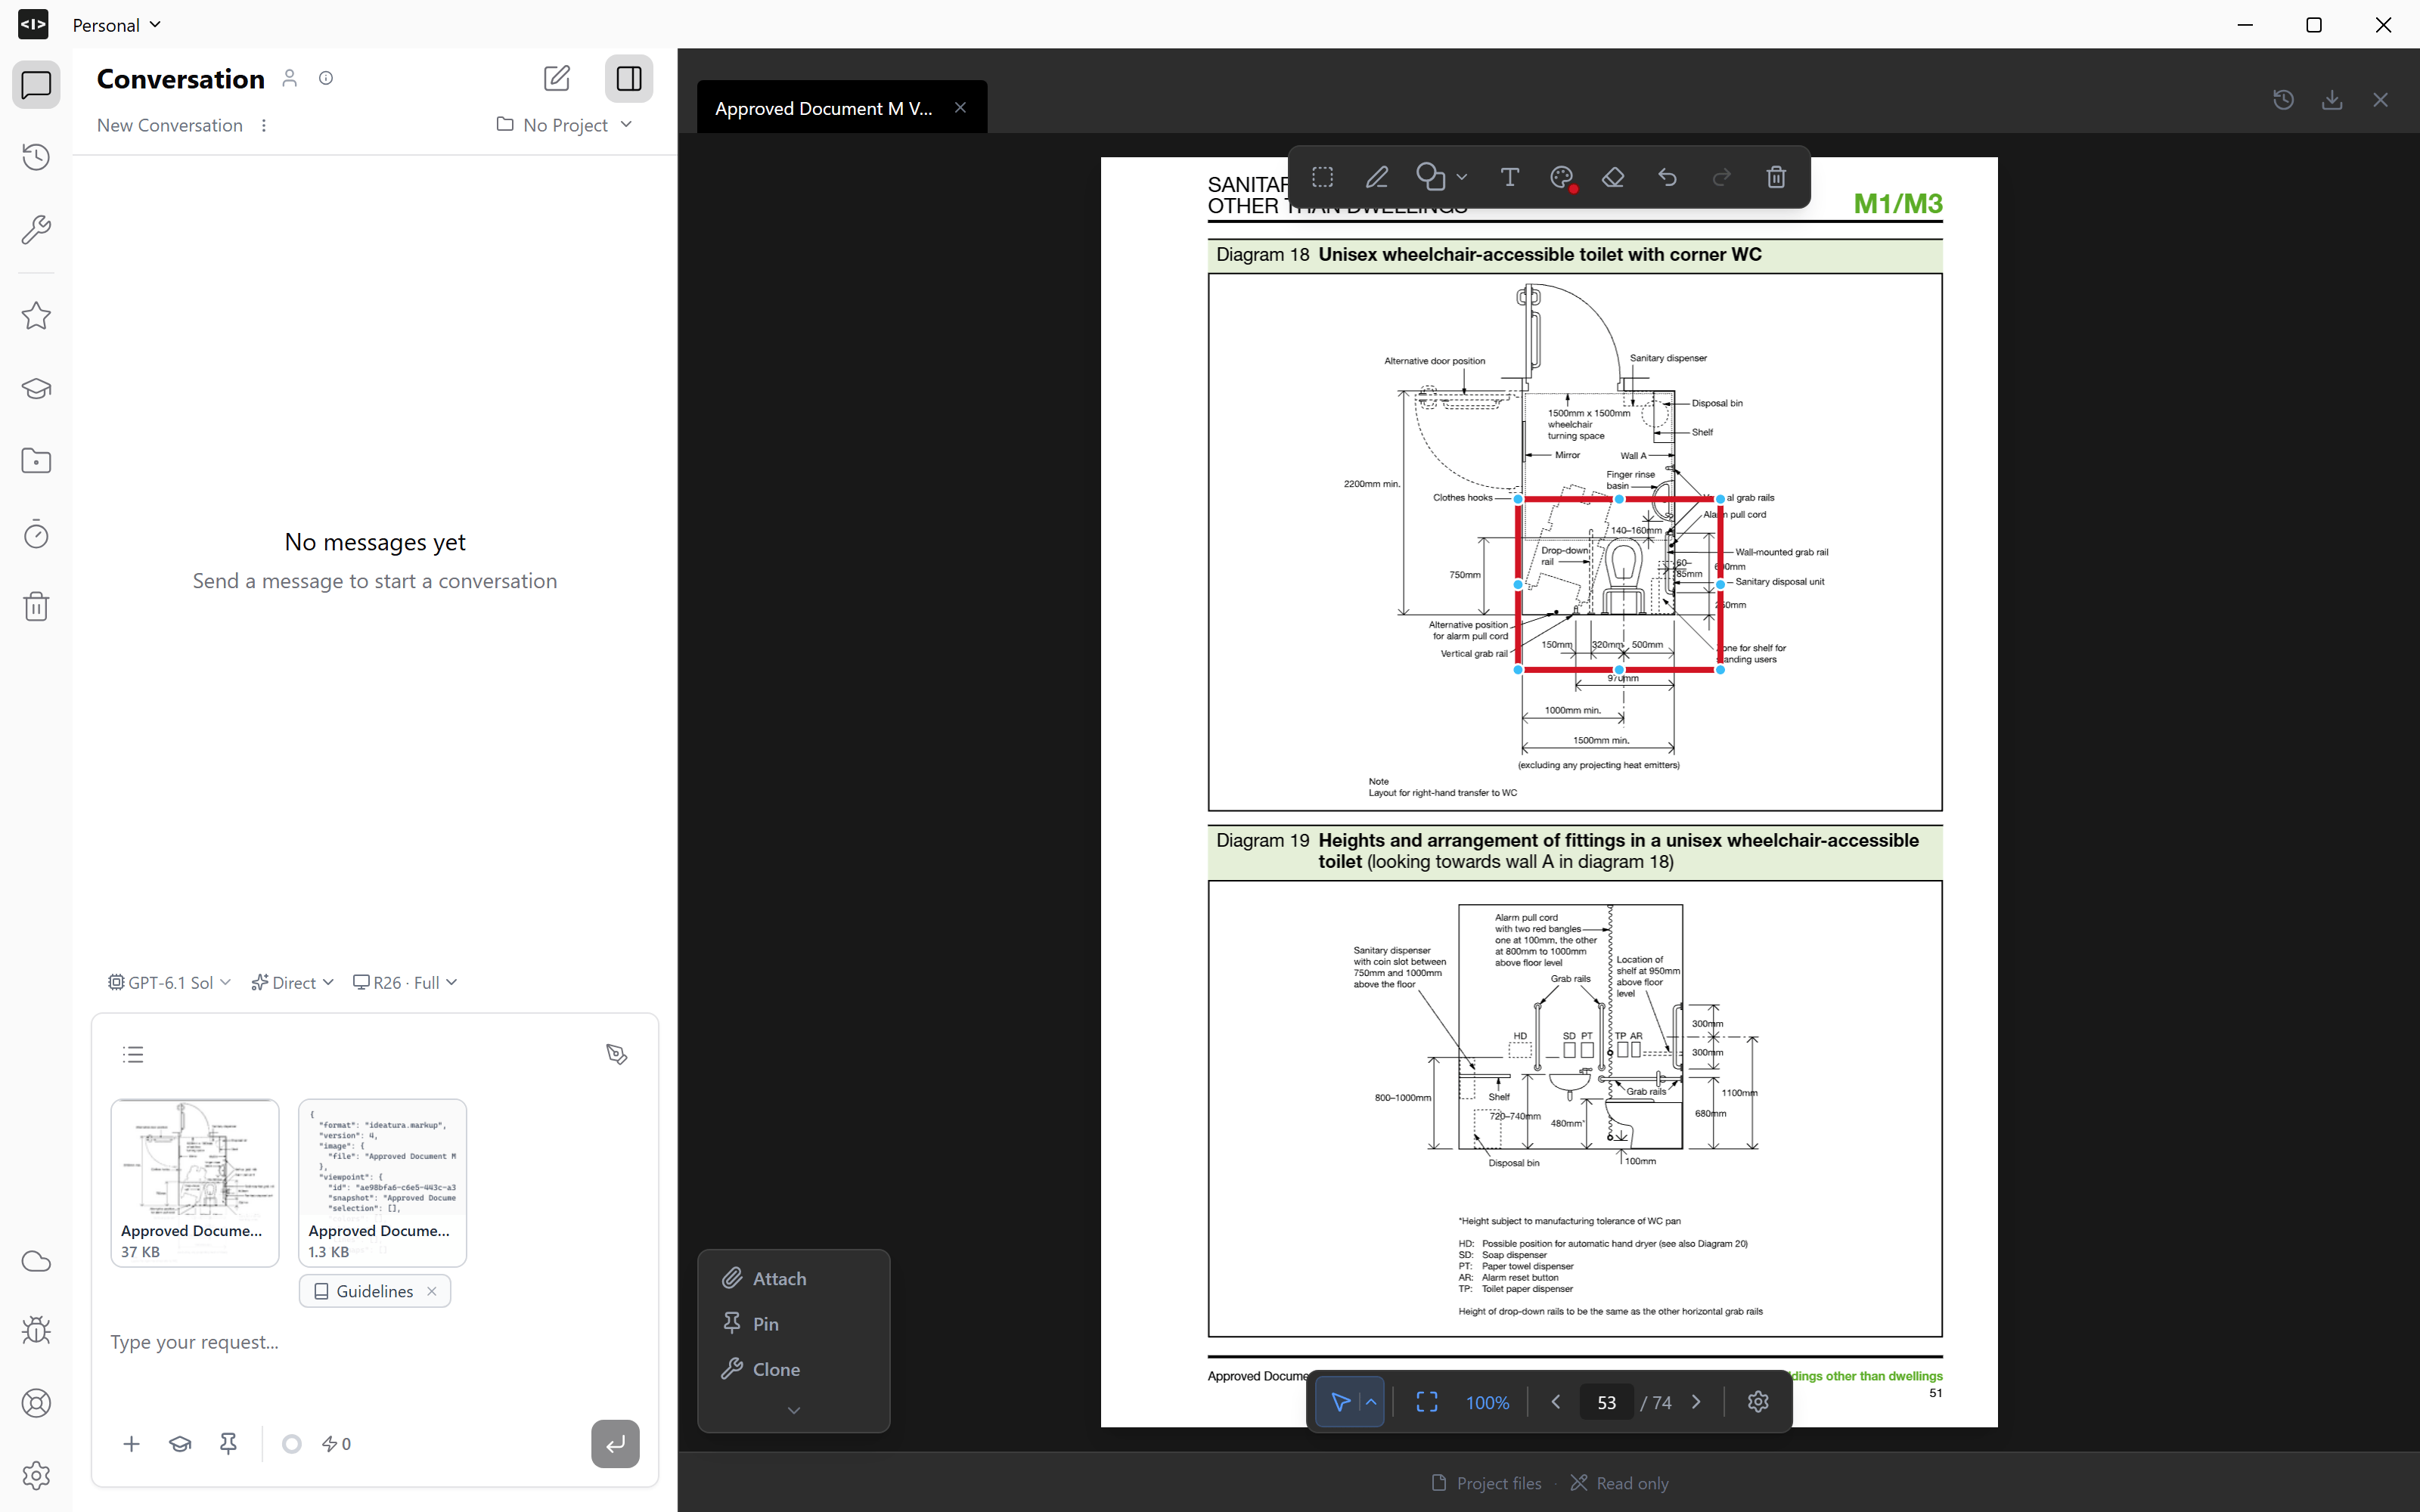
4. Edit markup
Use Eraser, Undo markup and Redo markup to correct your marks. Clear markup removes them so you can start again. Review the marked detail before sending your request.5. Viewer actions
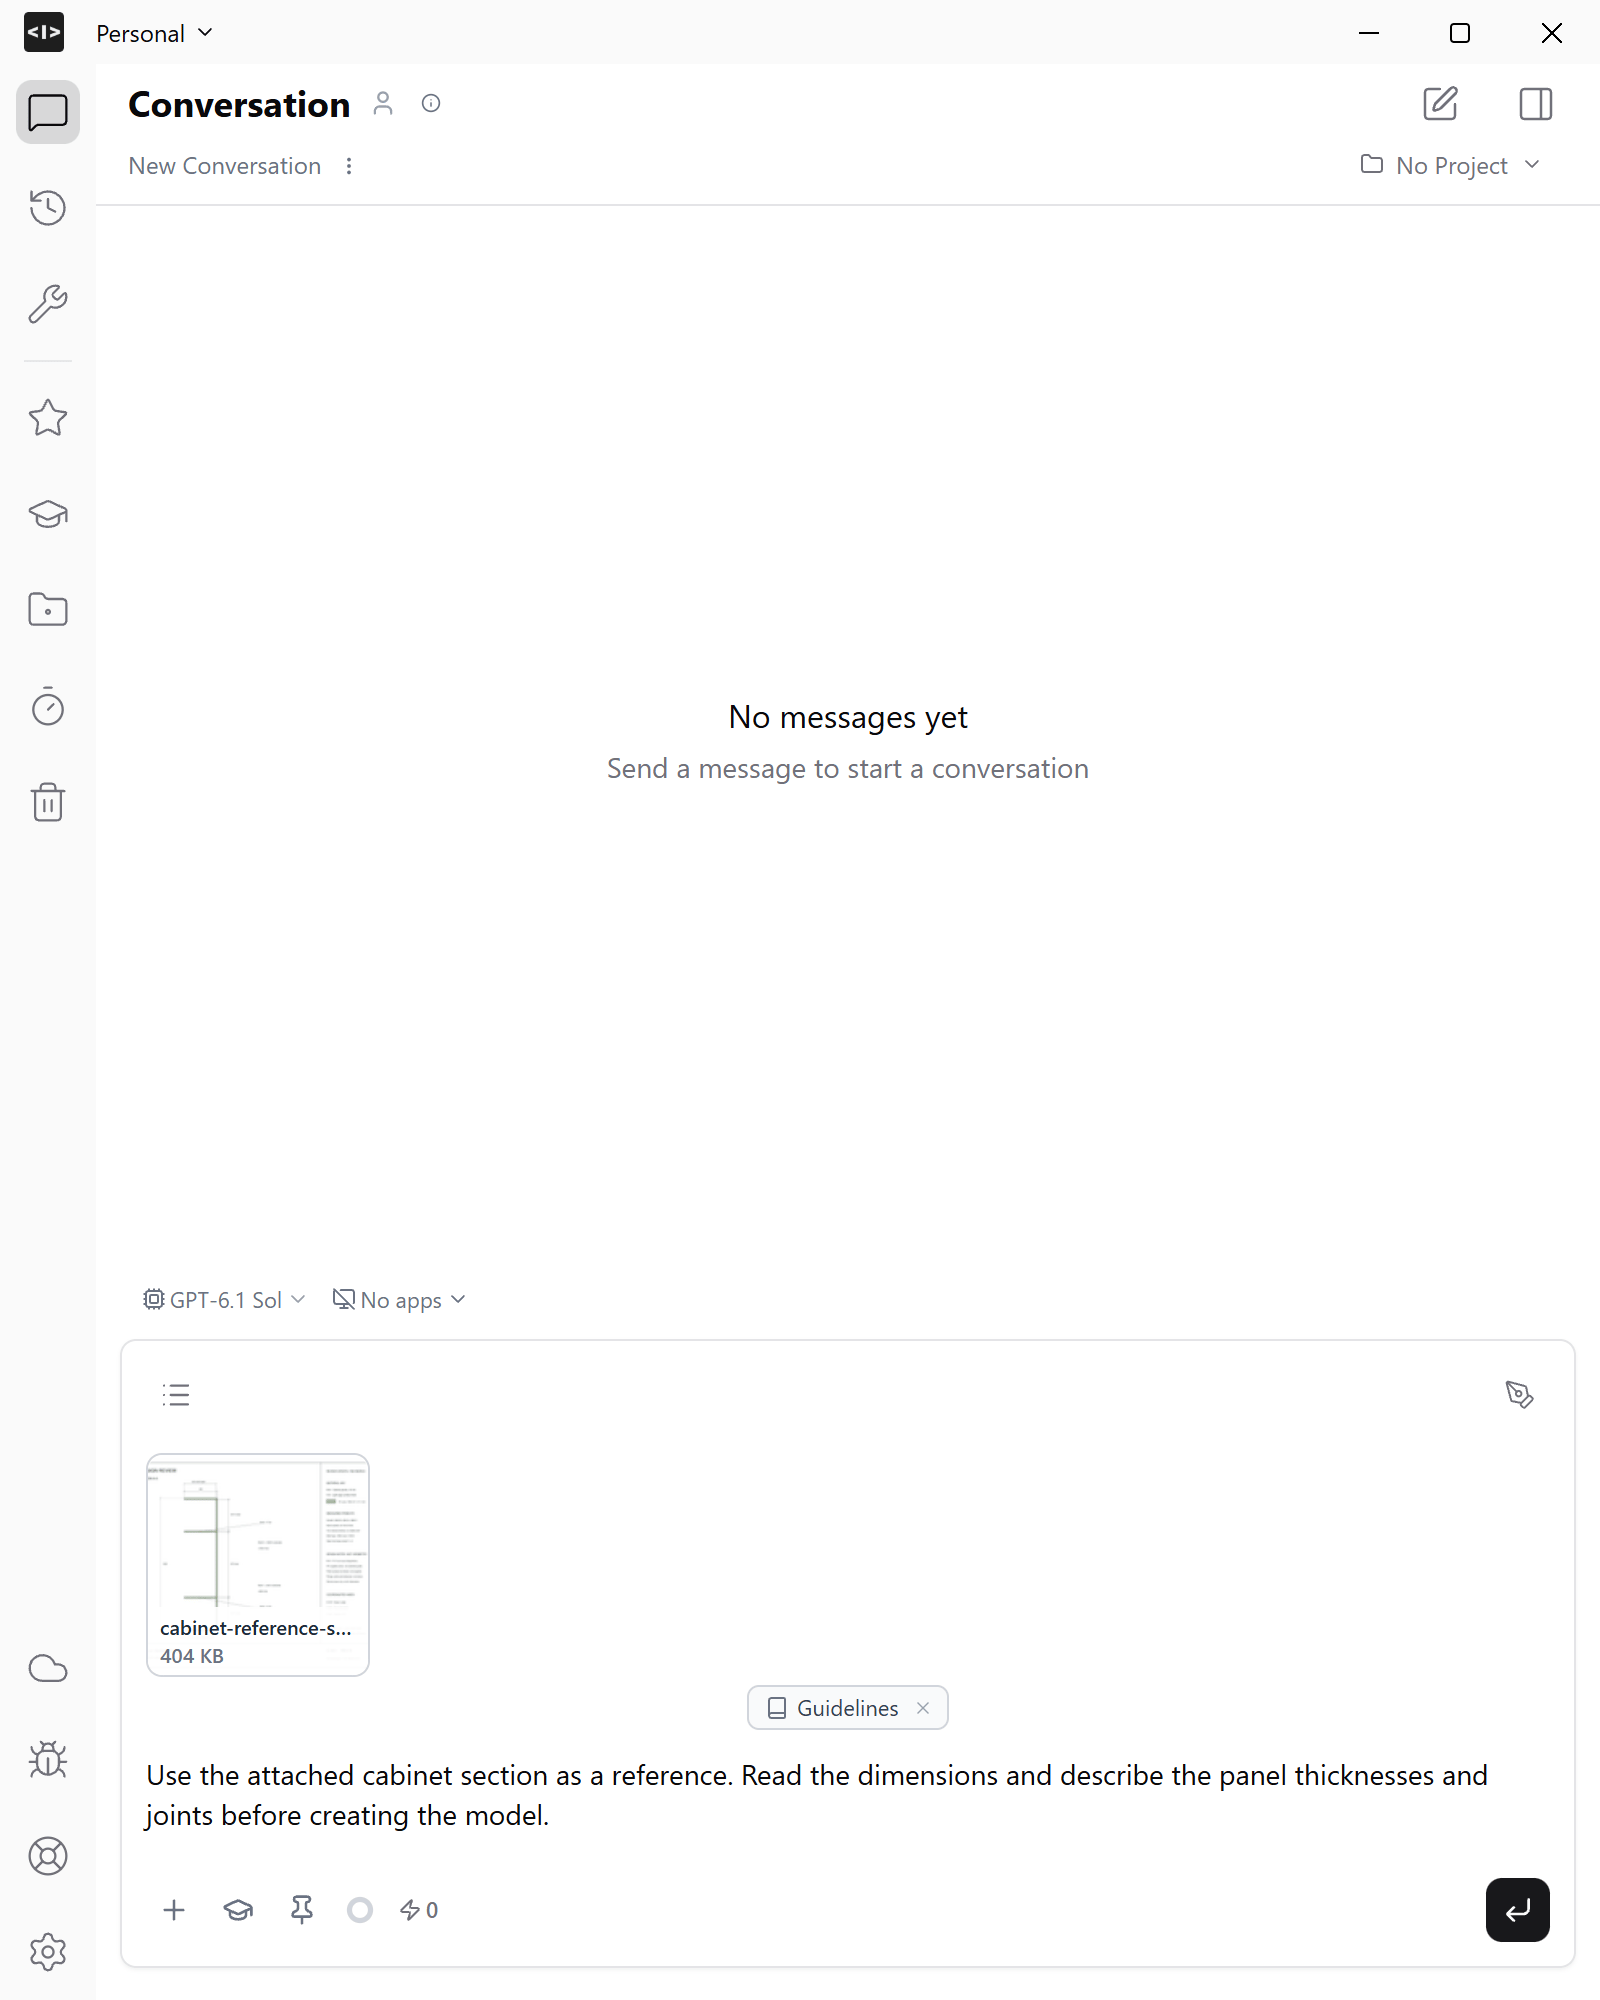
Use Attach to add the visible image or PDF area, or your selected crop, to the next message with its markup. Pin keeps the file available throughout the conversation; Unpin removes it from that context. Clone makes your own copy in Workbench. Check the attachment before sending.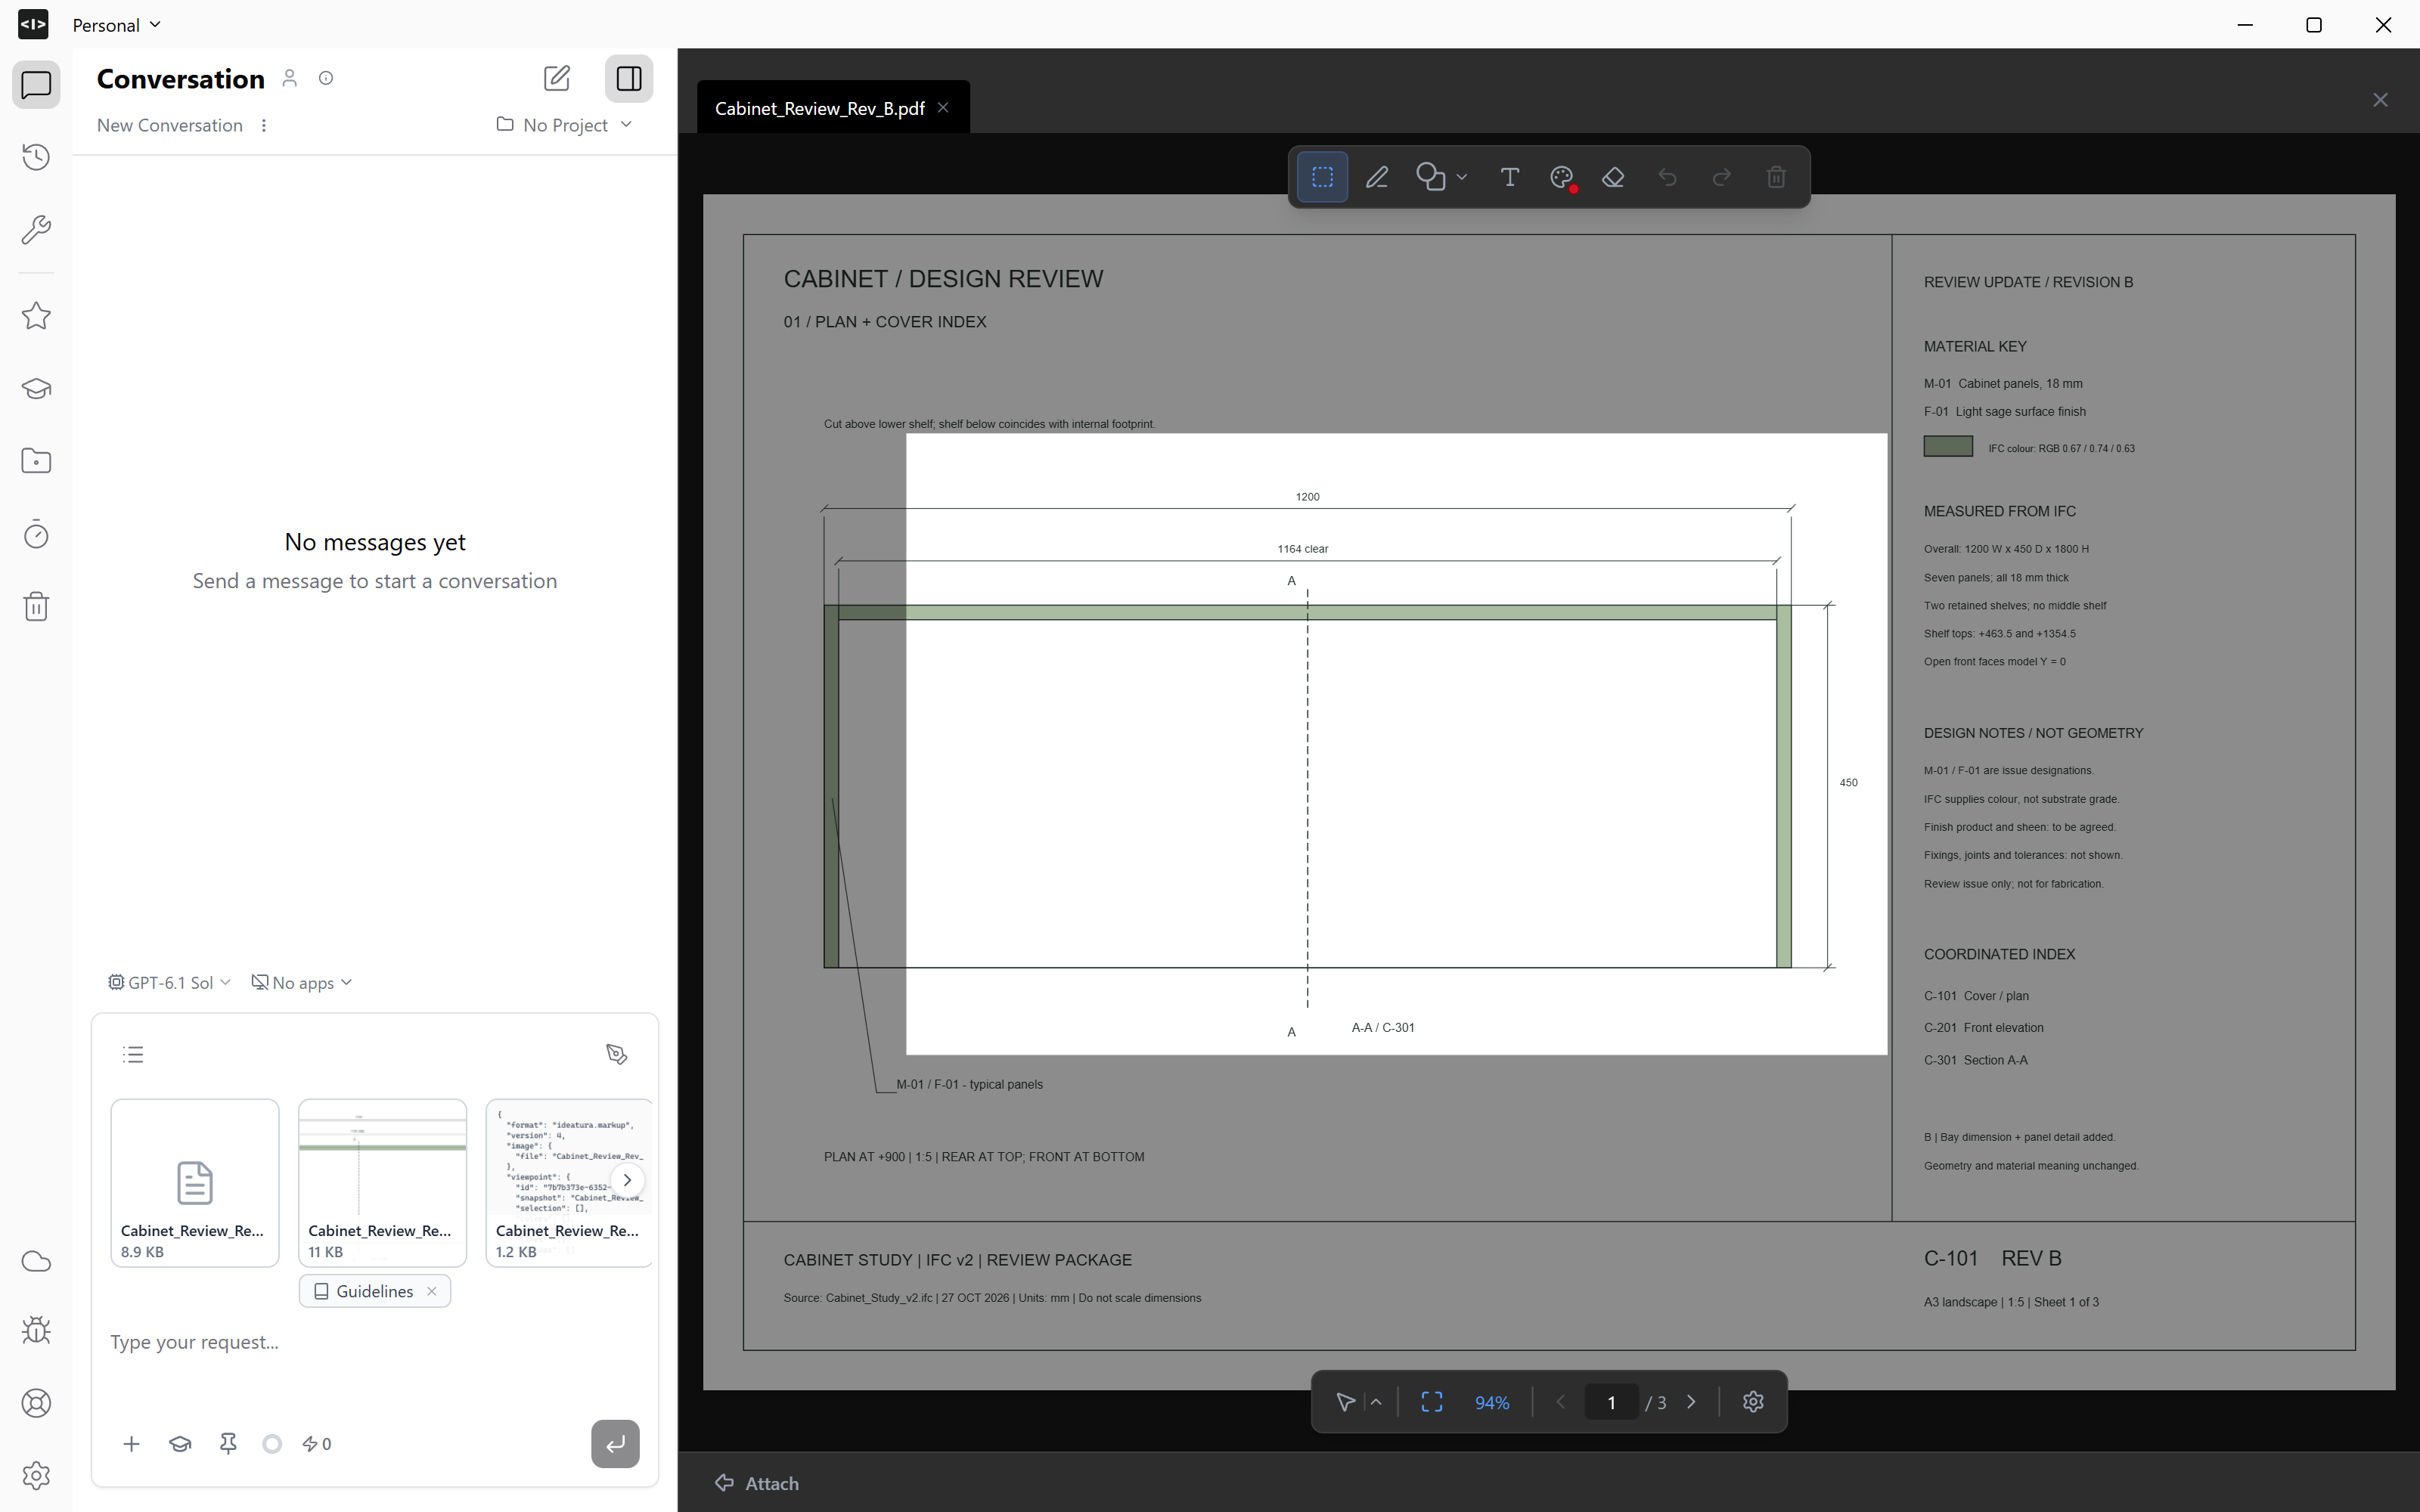
6. Save viewer files
Use Download in the viewer’s top bar to save the file to your computer. Download is also available for formats Studio cannot preview. For model downloads and temporary section views, follow IFC viewer.7. Read a PDF
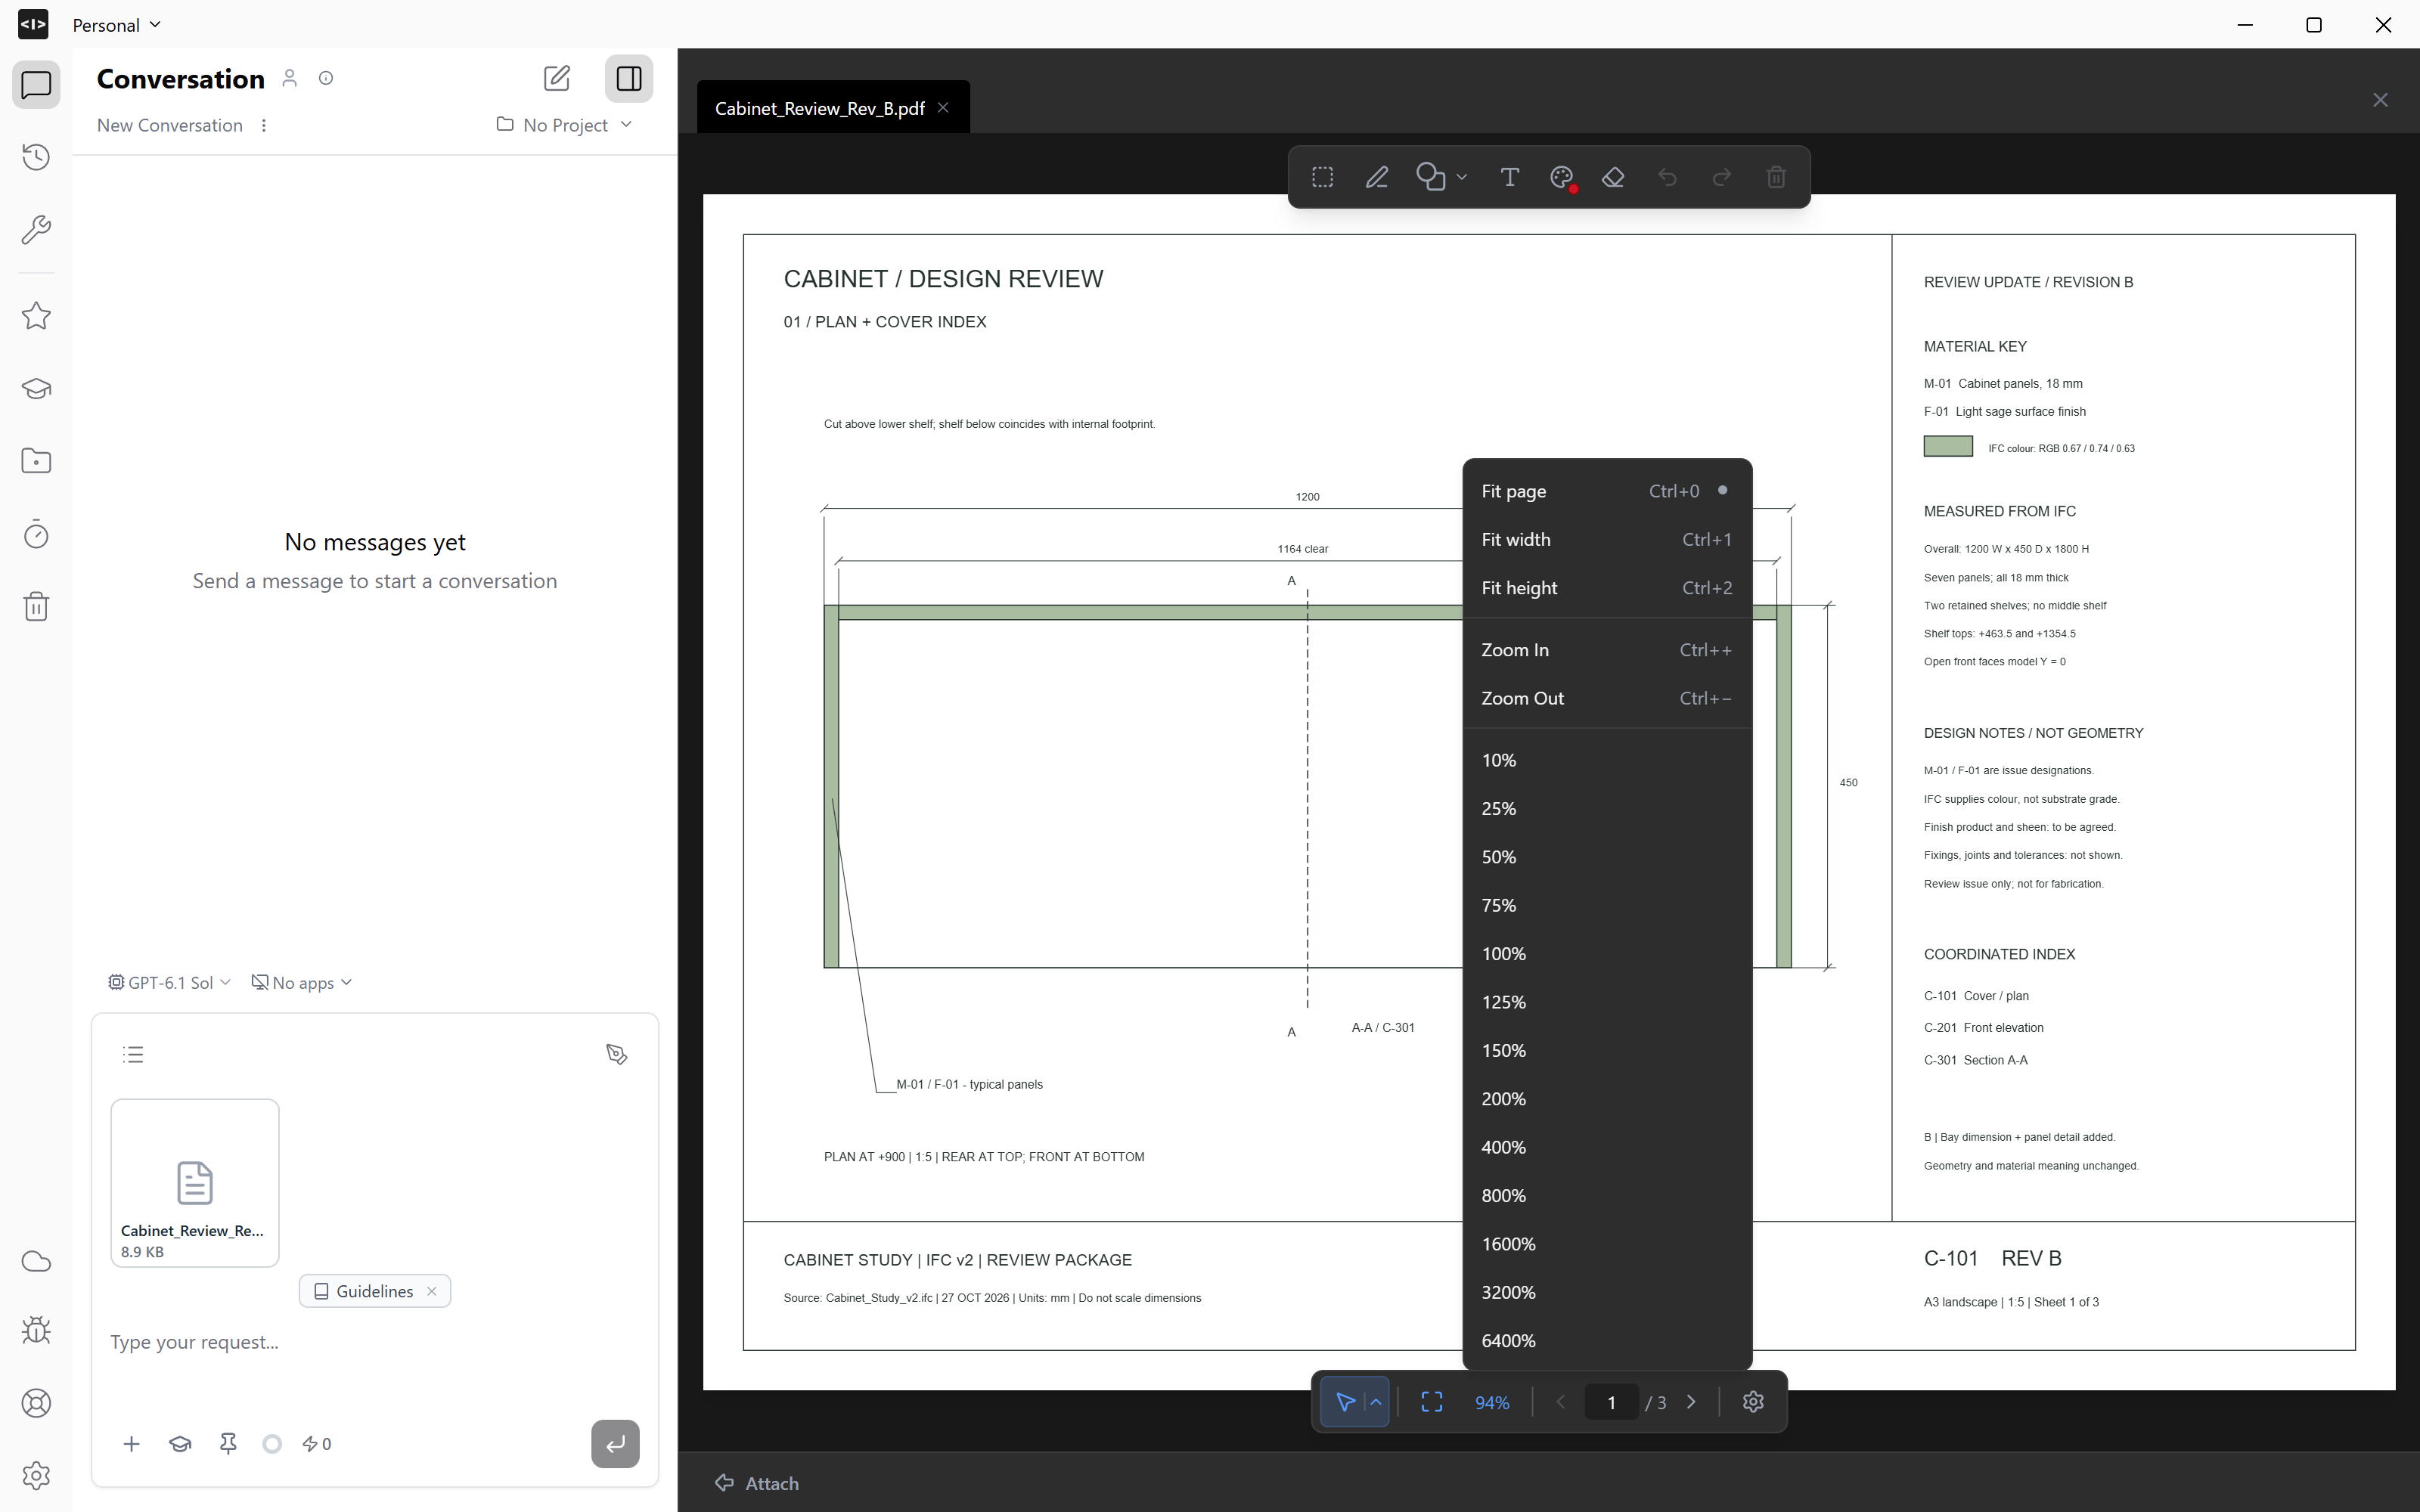
Use Previous page, Page number and Next page to find the drawing, then fit or zoom the page to read it. Name the page or diagram in your request. Here, Diagram 18 in Approved Document M, Volume 2: Buildings other than dwellings, with 2024 amendments, is on printed page 51 but PDF page 53.